QGIS is available in supported EOxHub Workspaces as a browser-based desktop environment launched through JupyterLab.
It provides a familiar graphical interface for exploring, visualizing, editing, and processing geospatial data without requiring users to download the data or install QGIS locally.
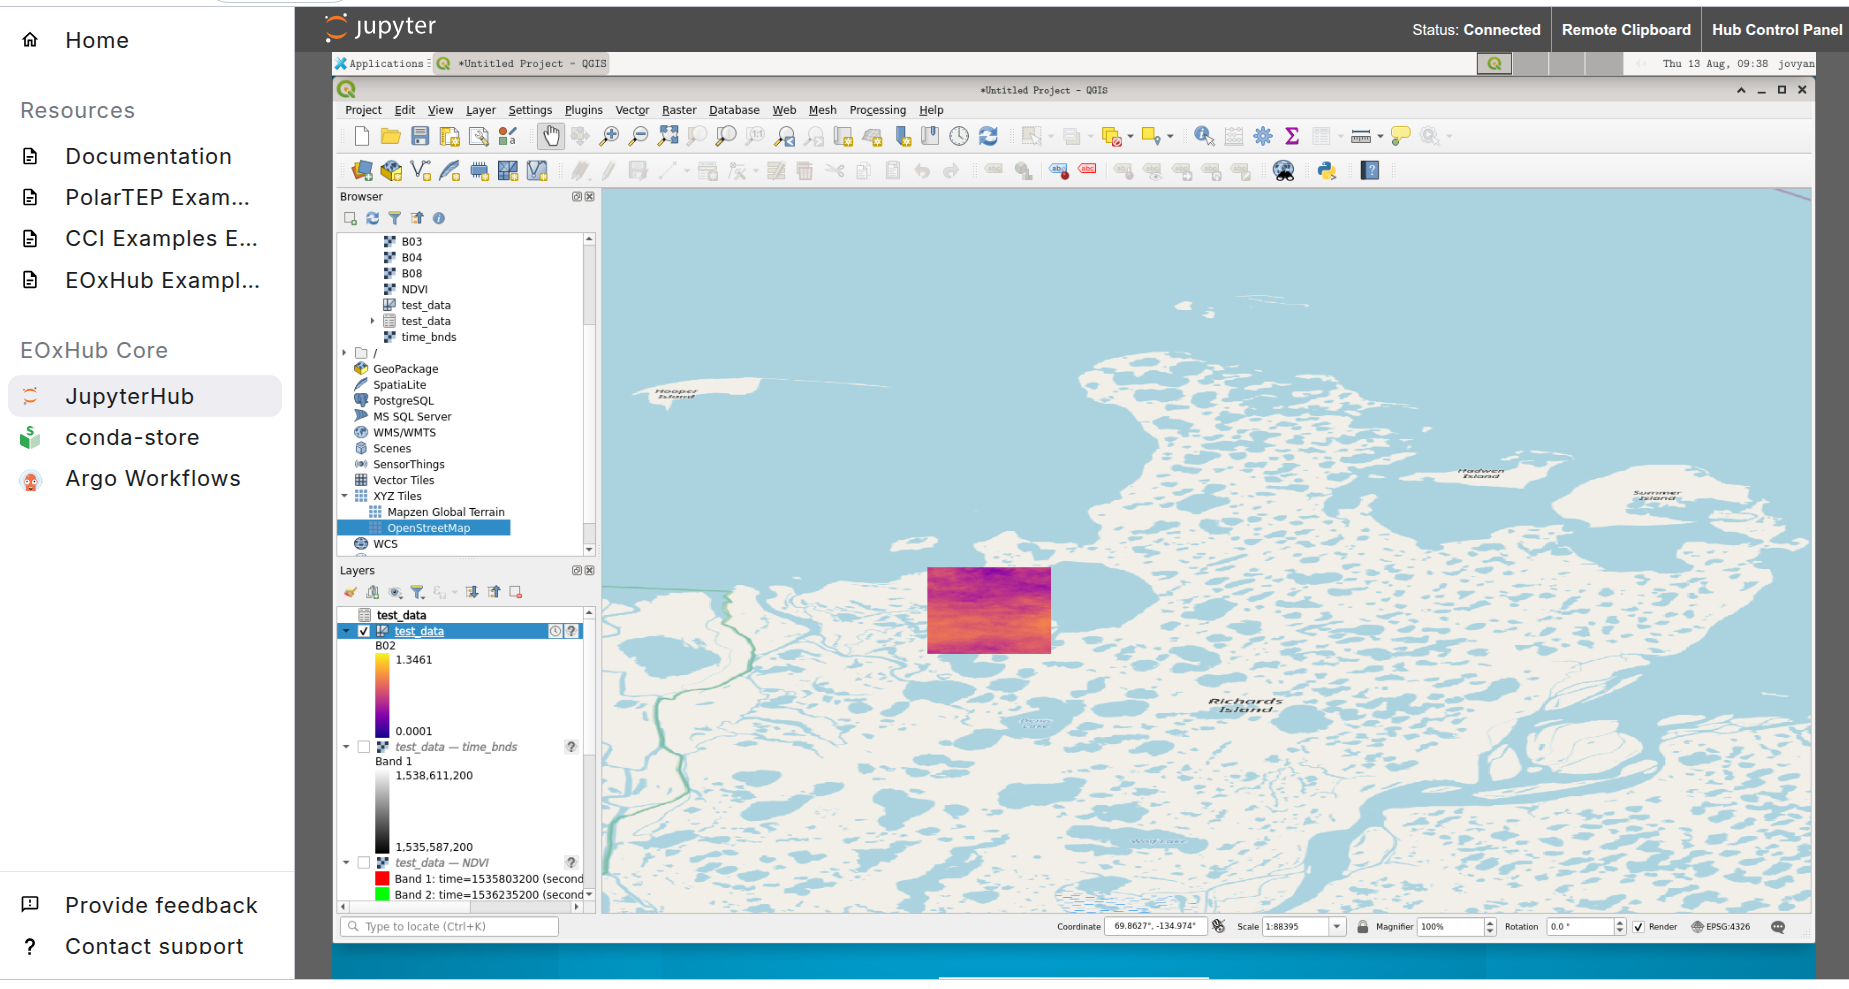
QGIS in EOxHub Workspaces
QGIS is provided as a dedicated JupyterLab user profile. When starting the JupyterLab server, users can select the QGIS profile instead of a standard notebook profile.
QGIS then opens directly in the browser while retaining access to the storage locations available through JupyterLab.
Depending on the Workspace configuration, this can include:
the user’s home directory;
folders shared between Workspace users;
mounted object storage or data buckets;
datasets generated by notebooks and other processing applications.
This makes it possible to move between code-based and desktop-based geospatial analysis without transferring data to a local computer.
What you can do with QGIS
QGIS supports a broad range of interactive geospatial tasks, including:
exploring raster and vector datasets
creating and styling map layers
inspecting attributes and metadata
editing vector data
applying spatial filters and selections
running standard QGIS processing tools
creating map layouts and visualizations
connecting to supported web services and databases.
Available plugins and data connections can depend on the QGIS environment and configuration provided by the individual Workspace. For special setup, contact your workspace administrator.
Starting QGIS
To start a QGIS session:
Open JupyterLab from your EOxHub Workspace.
Click Start My Server.
Select the QGIS Workspace profile.
Select the computational resources required for your session.
Start the server.
QGIS will open inside the JupyterLab application window.
For a complete walkthrough with screenshots, follow the Launch QGIS from JupyterLab tutorial.
Working with Workspace Data
QGIS and a standard JupyterLab session can access the same Workspace storage. Data created or downloaded in a notebook can therefore be opened in QGIS without downloading it locally.
For example, you can:
Use a notebook to access and process an Earth Observation dataset
Save the result to your home or shared folder
Start the QGIS profile
Add the generated file as a layer
Inspect, style, or further process the result interactively
Files can be added using the QGIS data-source tools or by dragging them into the Layers panel.
Choosing Between QGIS and Notebooks
QGIS and Jupyter Notebooks support complementary ways of working with geospatial data.
Use QGIS when you want to:
Interactively explore a dataset
Create or adjust a visualization
Inspect spatial features and attributes
Use graphical geospatial processing tools
Prepare a map without writing code
Use Jupyter Notebooks when you want to:
Automate or reproduce an analysis
Process many datasets or time steps
Develop a custom algorithm
Document code and results together
Move an analysis towards scheduled or headless execution
A typical workflow can use both: notebooks for reproducible processing and QGIS for interactive inspection and visualization.
Session Resources
The resources available to QGIS are determined by the profile selected when starting the JupyterLab server.
Choose a profile appropriate for the size and complexity of the data you intend to use. Large raster datasets, complex processing operations, or projects containing many layers may require more memory or CPU.
If the required QGIS profile or resources are not available, contact your Workspace administrator.