This guide demonstrates the process of accessing a QGIS desktop environment directly within your browser using JupyterHub inside the EOxHub Workspace. It provides simple instructions to configure your server resources and successfully launch a specialized session for your data.
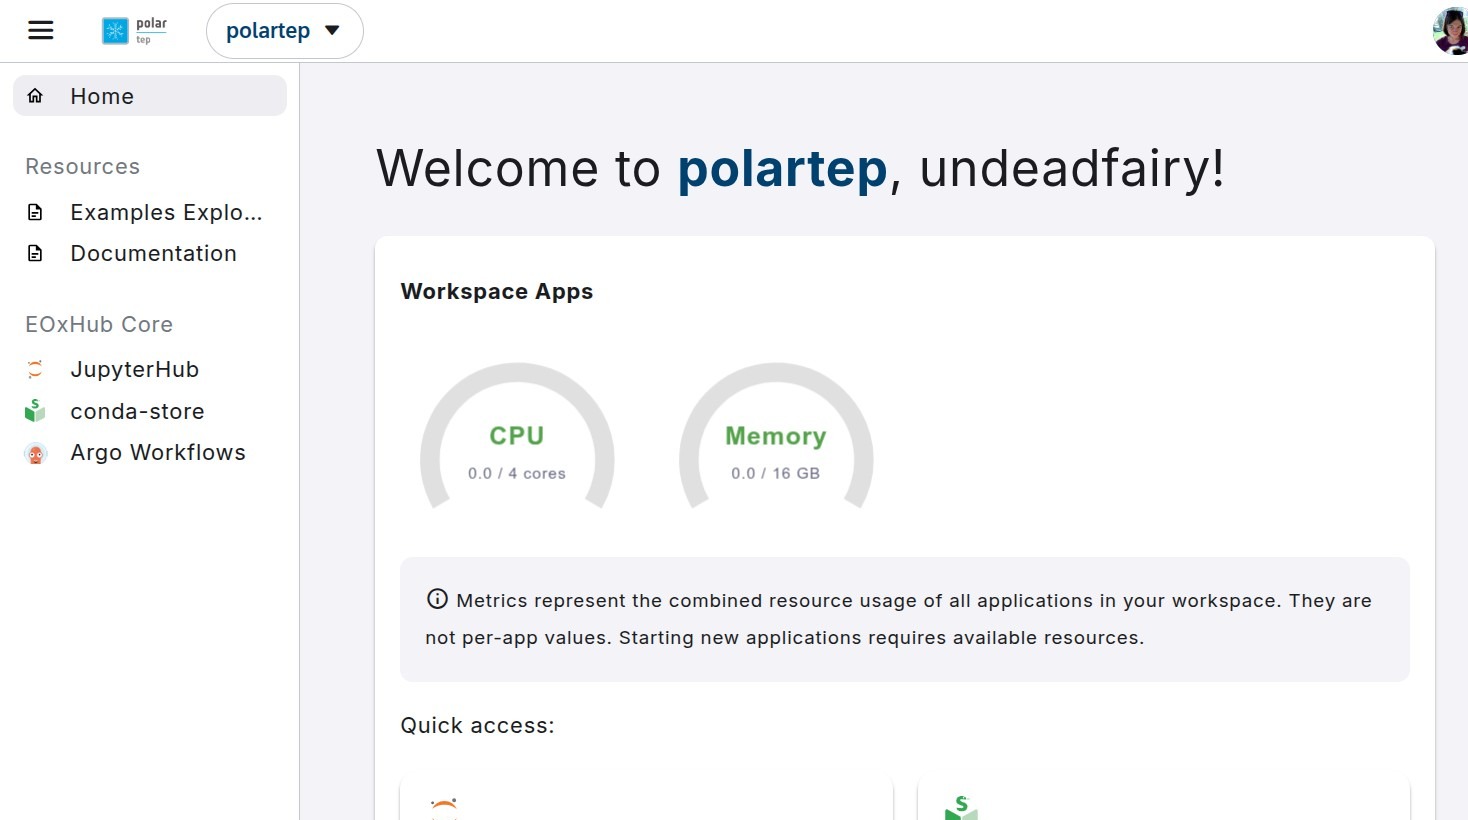
1. Navigate to your EOxHub Workspace with JupyterHub and QGIS enabled
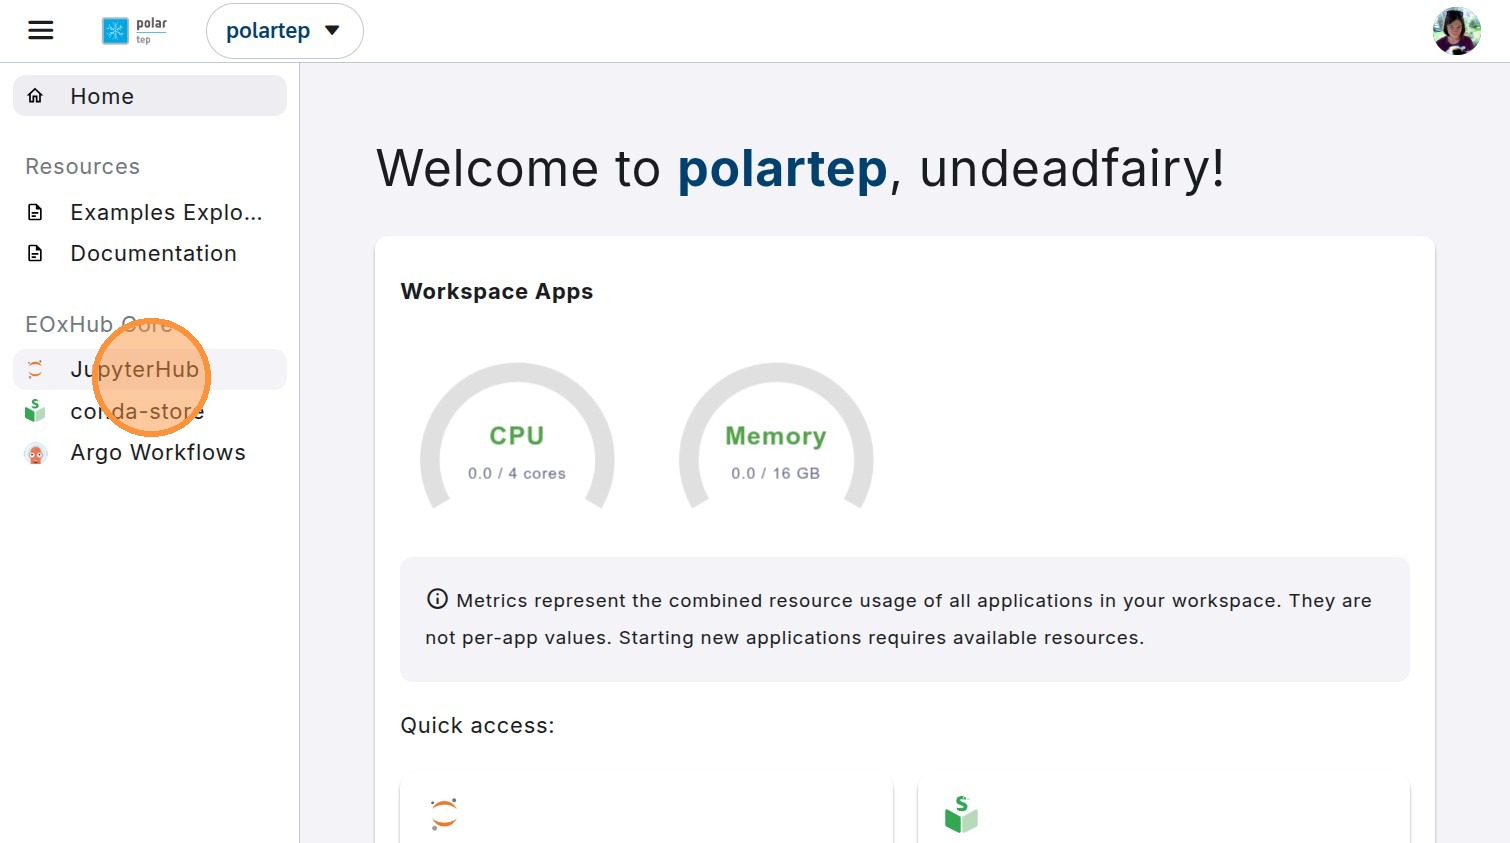
2. Open “JupyterHub” application
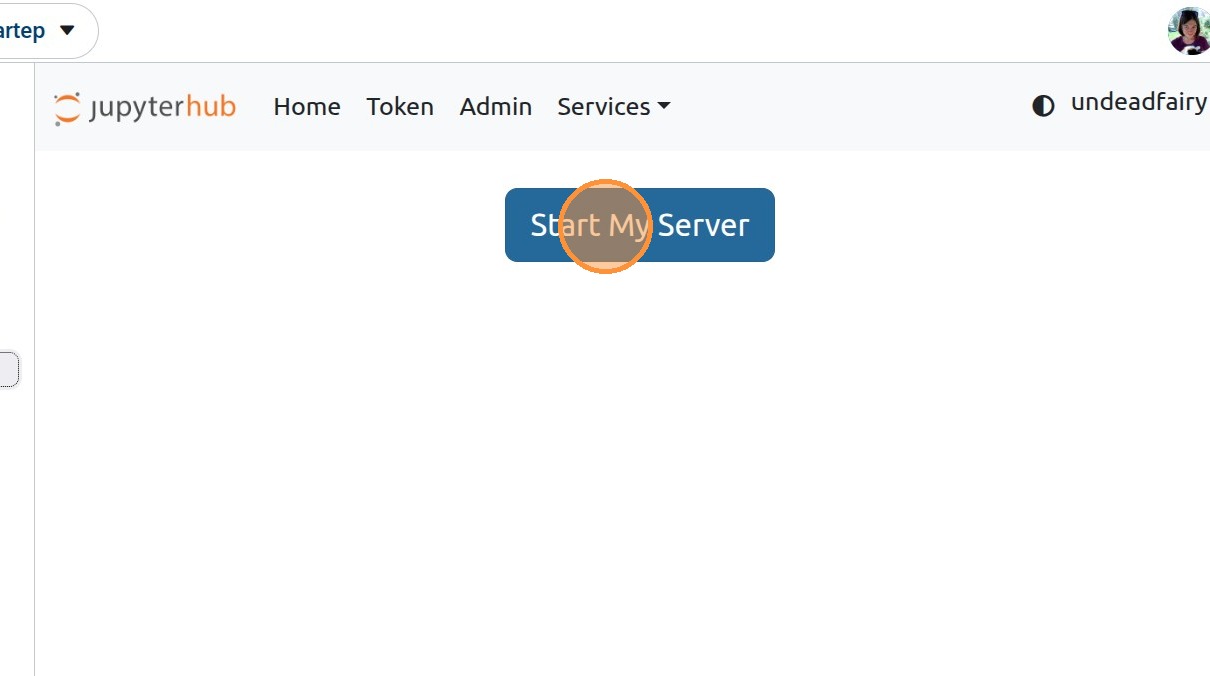
3. Click “Start My Server”
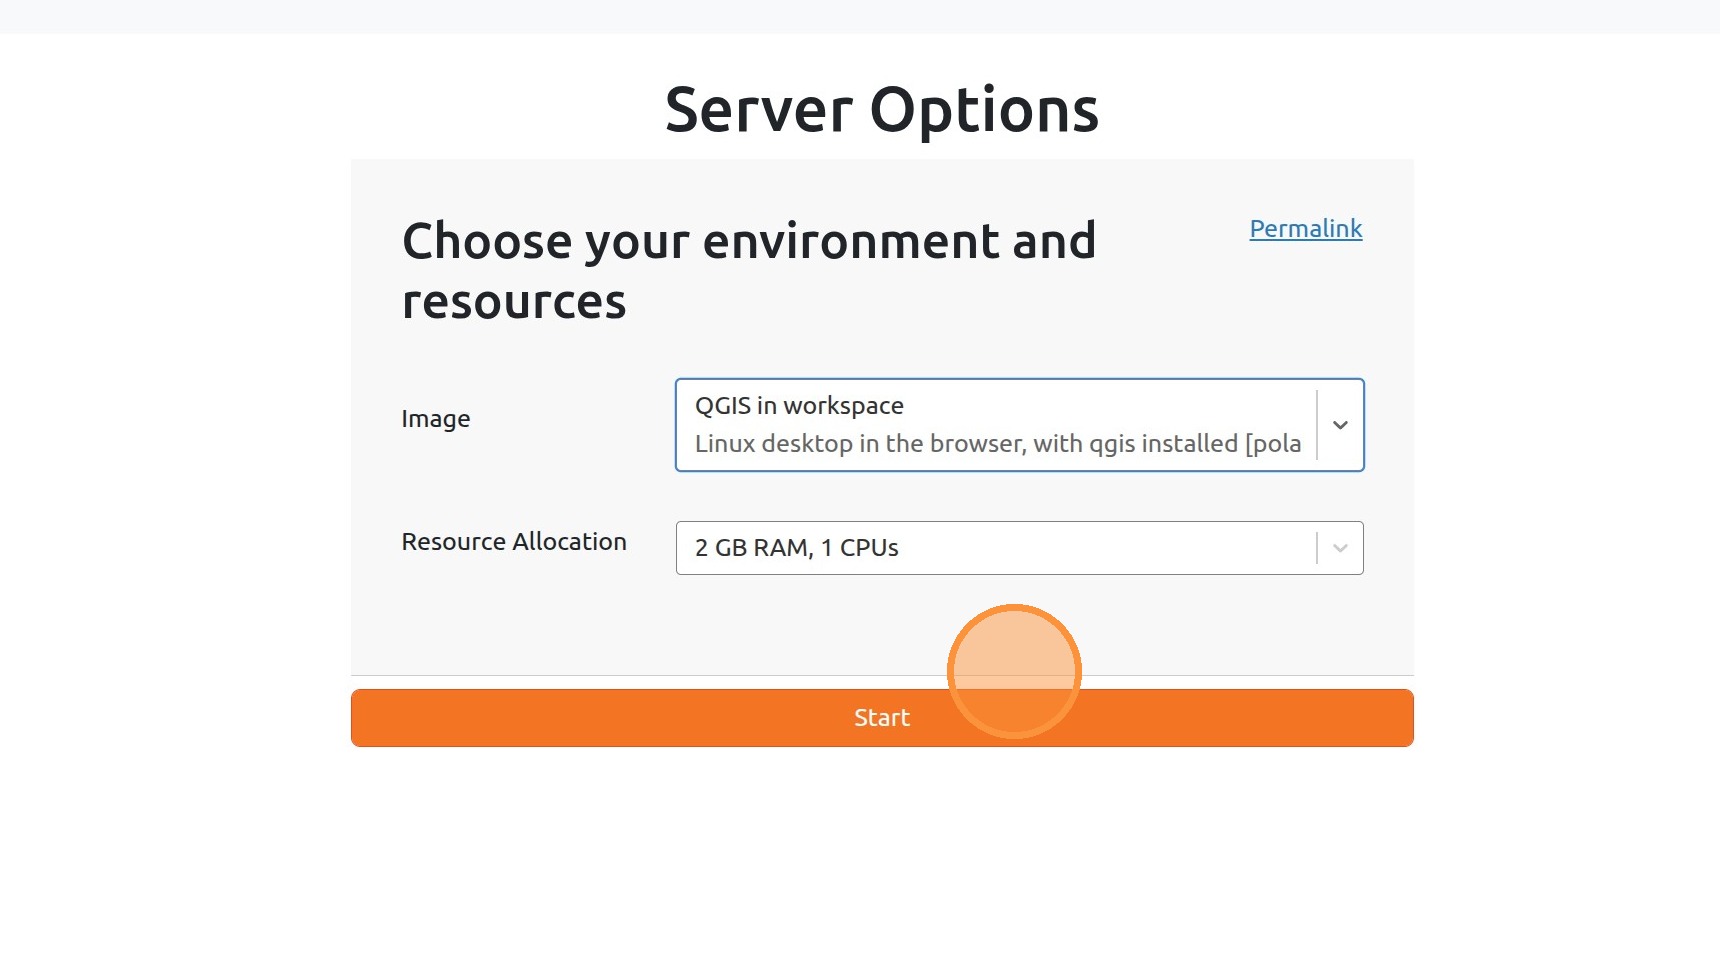
4. From the dropdown, select QGIS in the workspace profile
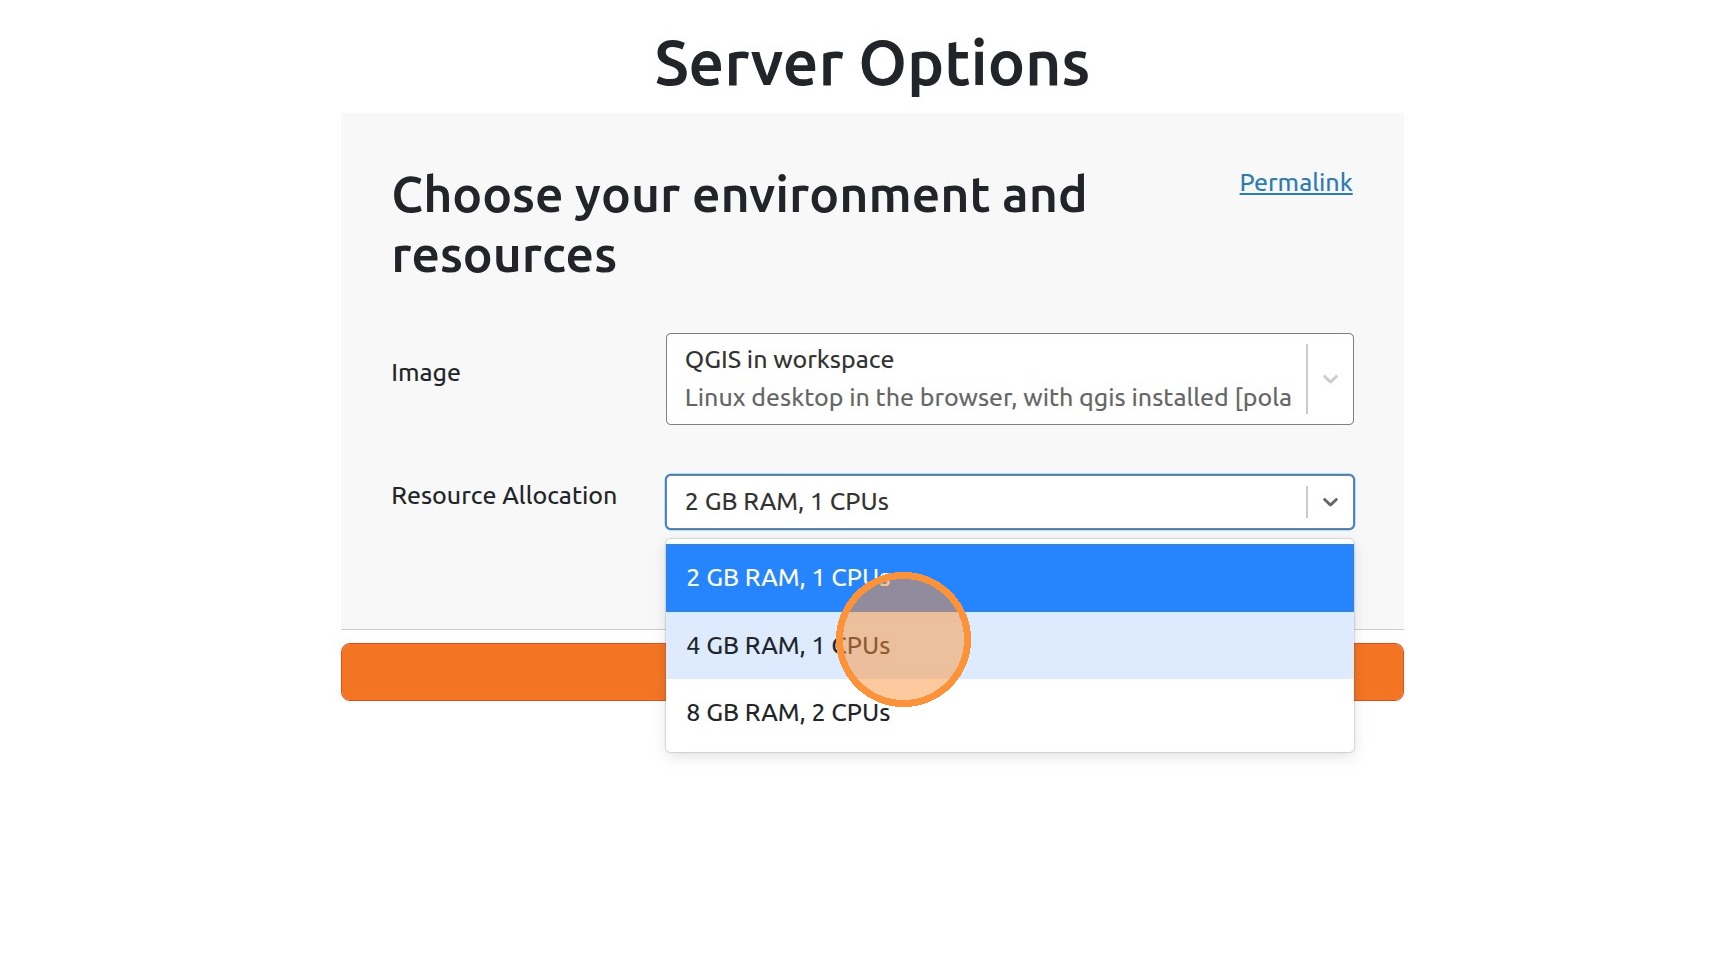
5. From the second dropdown, multiple resource options can be selected
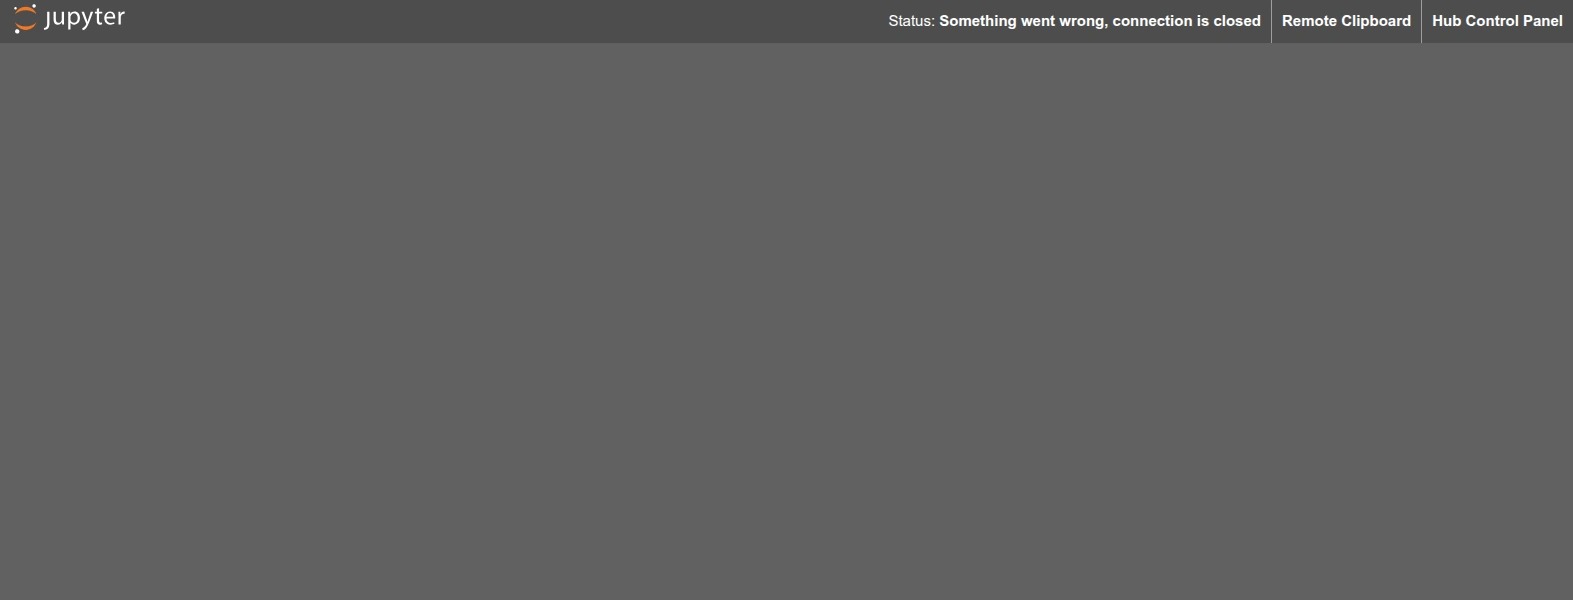
5.5 . It can happen that QGIS do not start on a first start - if that happens, click on jupyter icon in the upper left corner. This will refresh the session and fix the issue.
6. QGIS then opens inside the JupyterHub app window
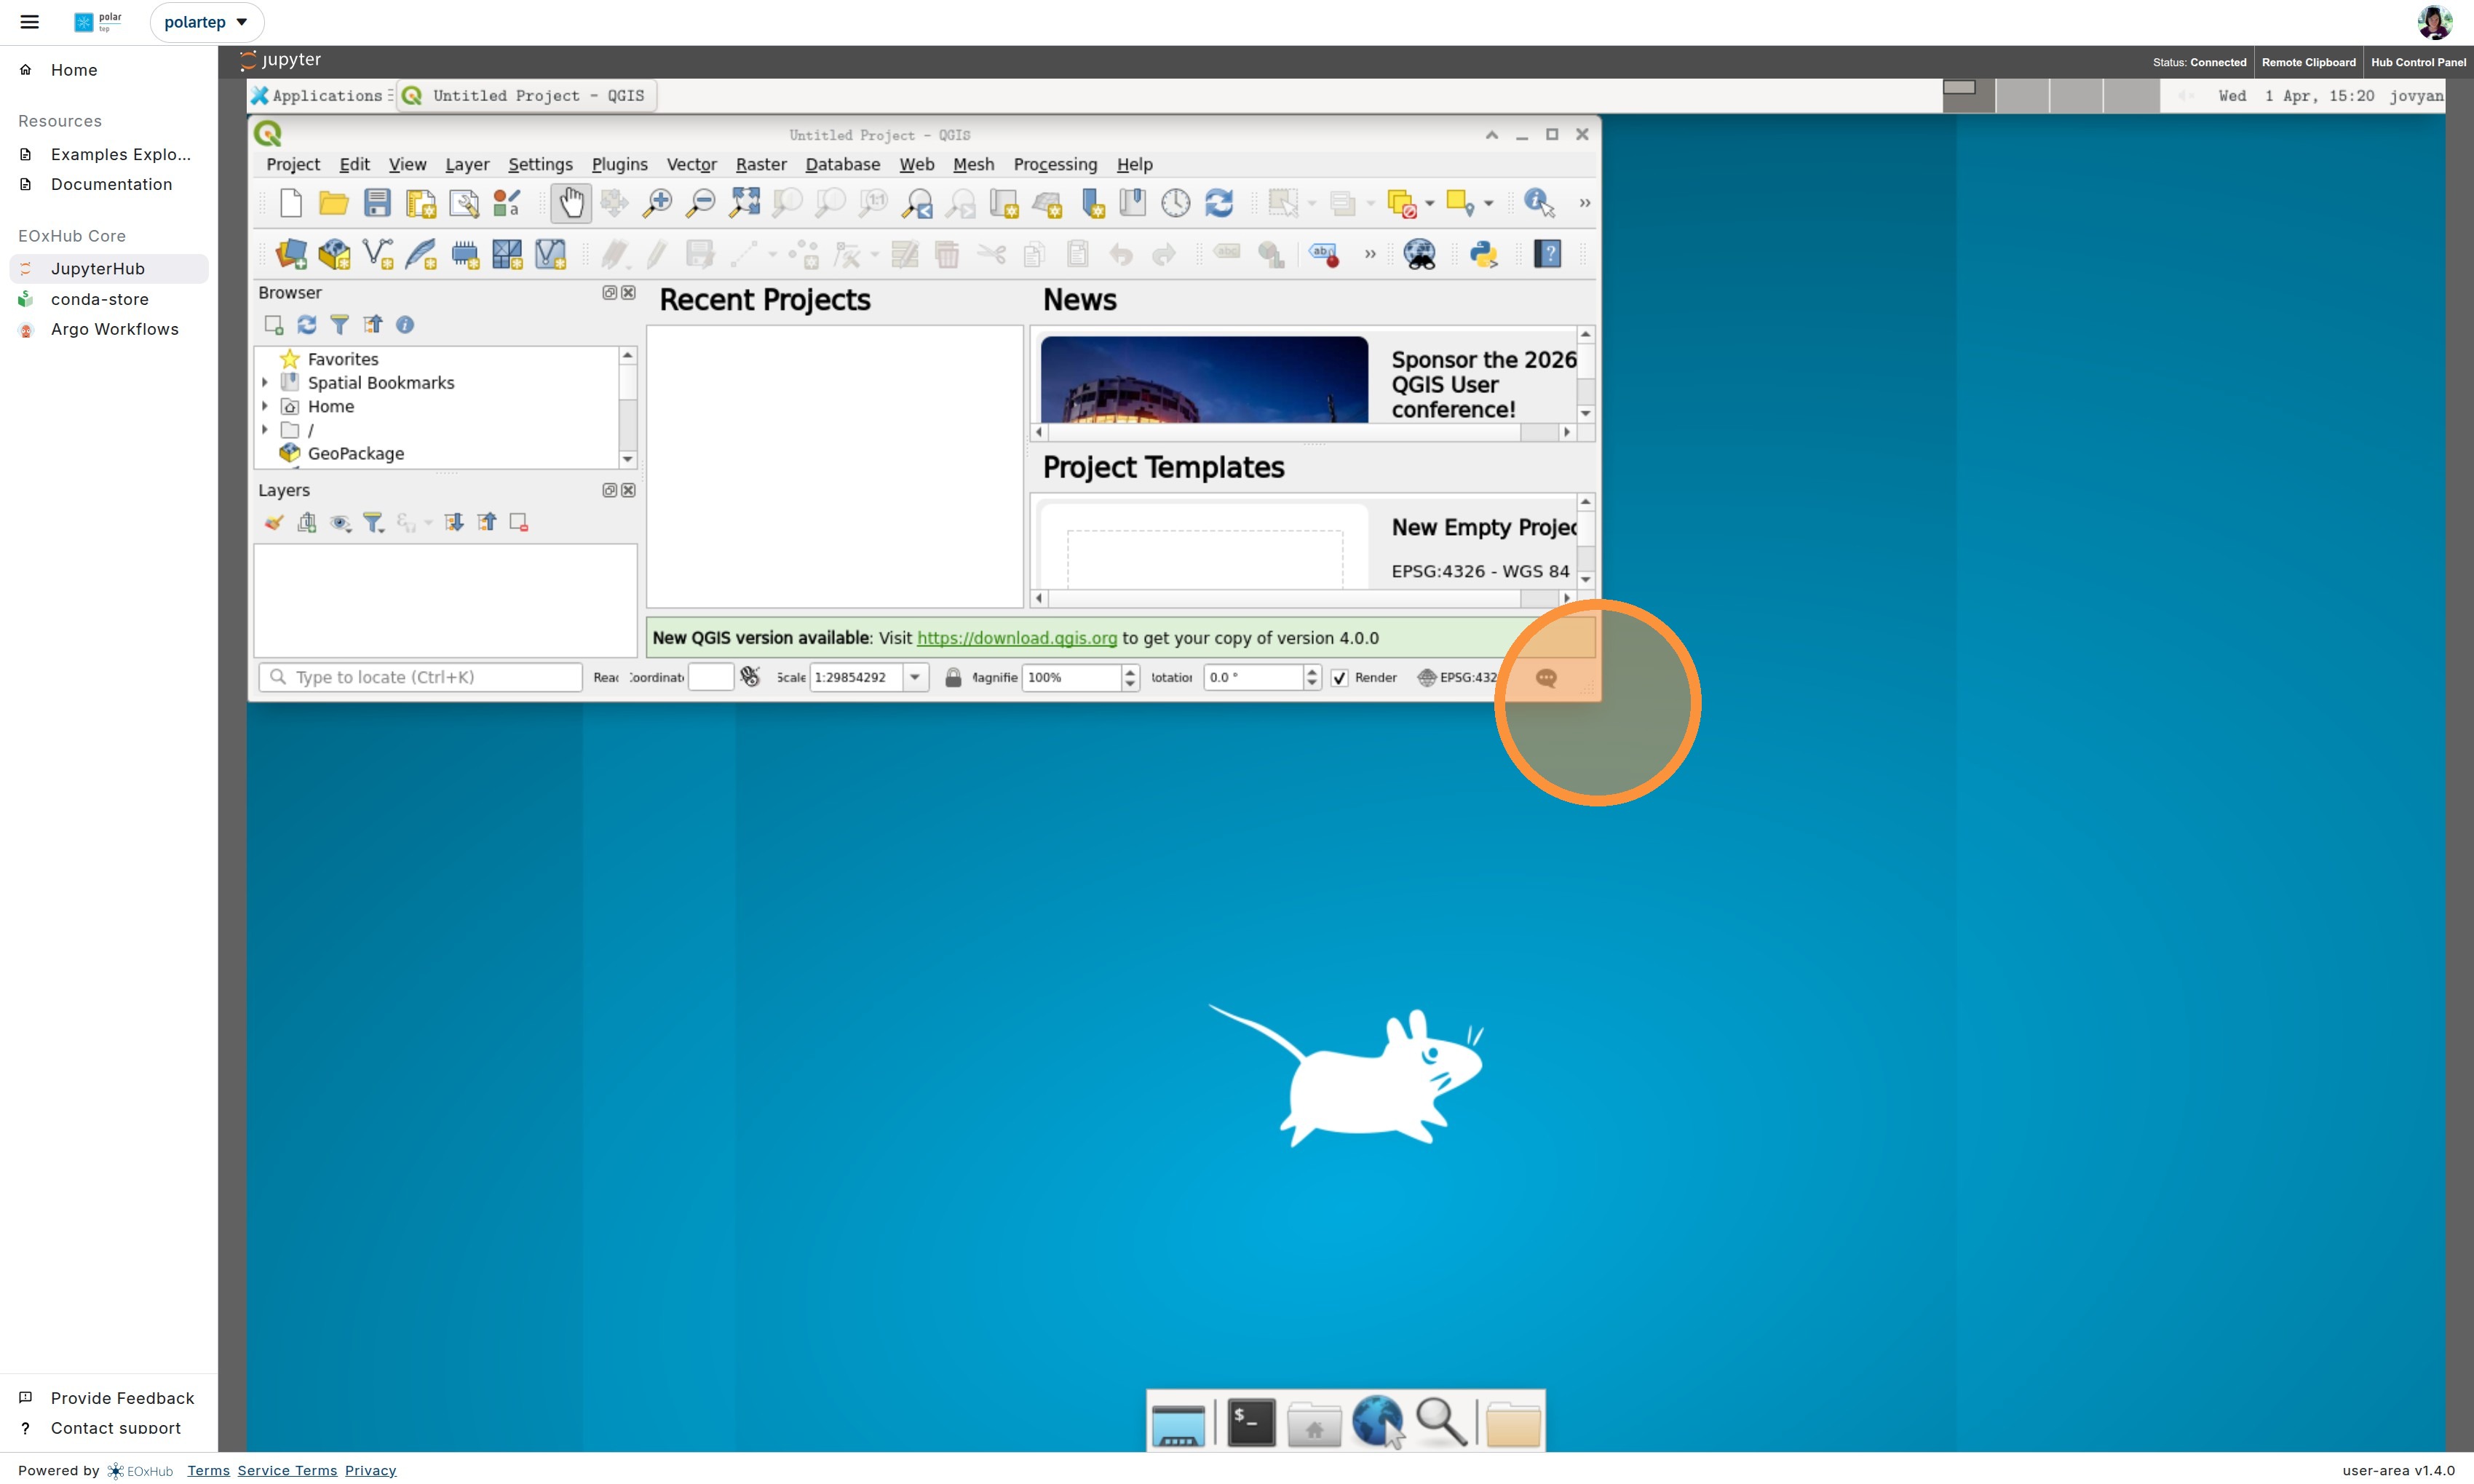
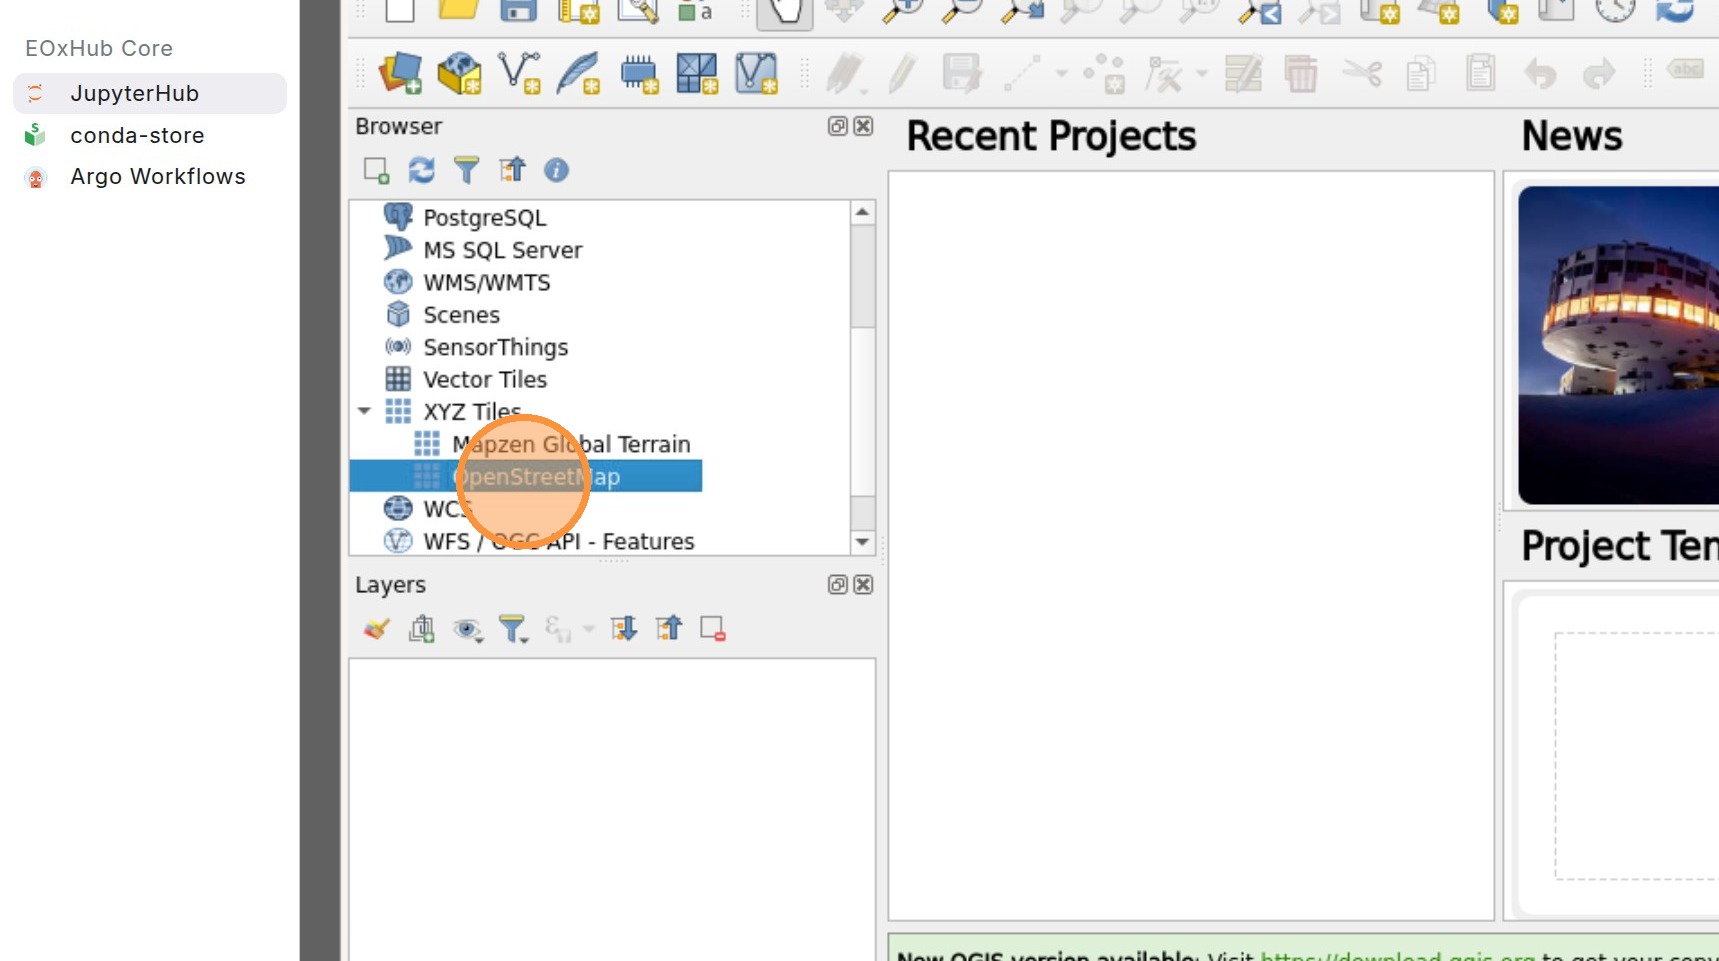
7. Standard QGIS features, such as adding base layers, are available. The full spectrum of functions is enabled.
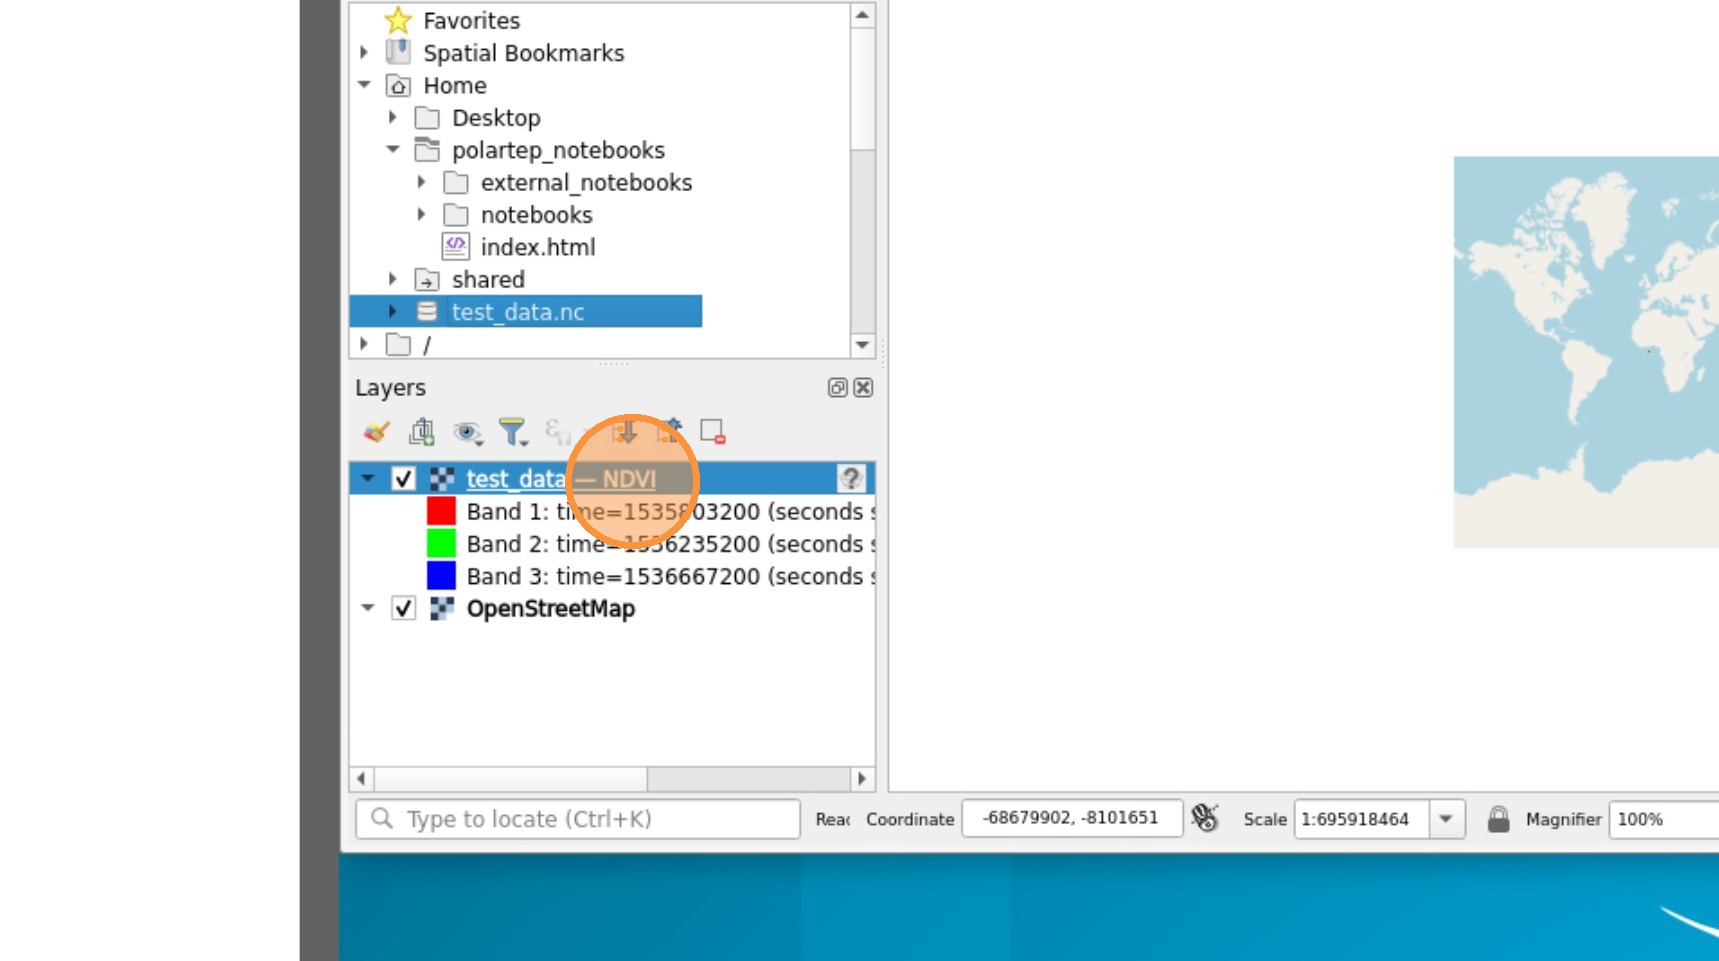
8. The Home folder, shared folder, and bucket are available in the same way they are in JupyterHub. Data can be easily viewed and interacted with without the need to download them and process locally.
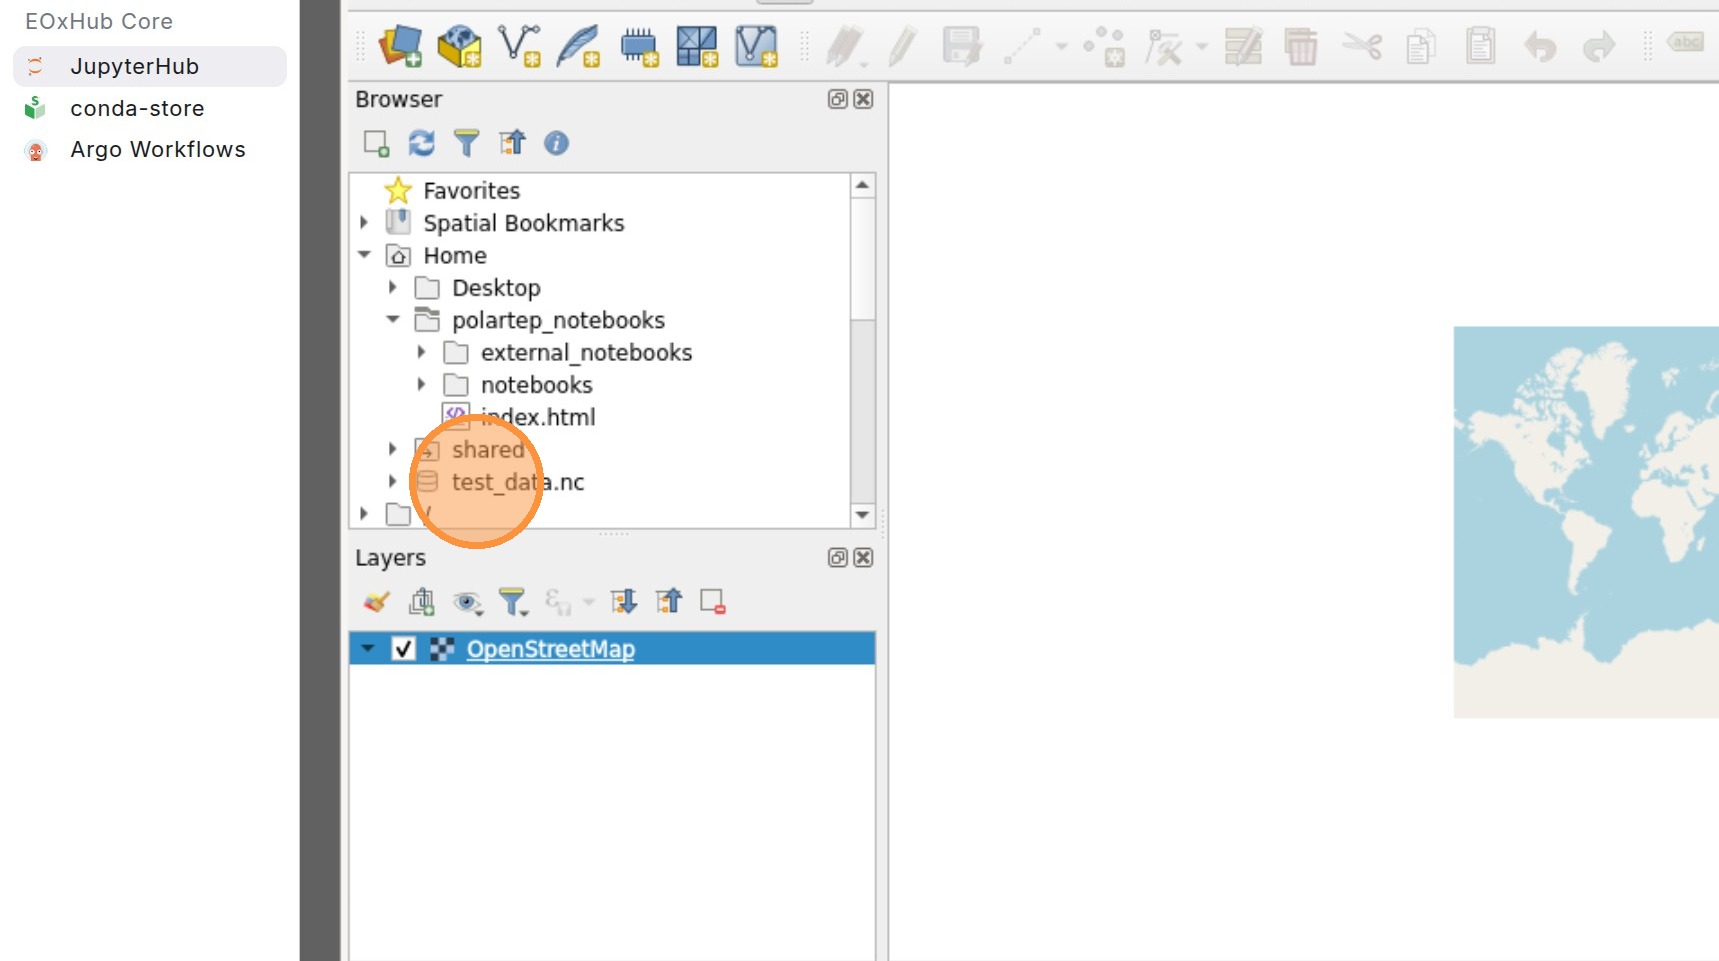
9. Simple drag-and-drop can be used to add your data into the “Layers” box.