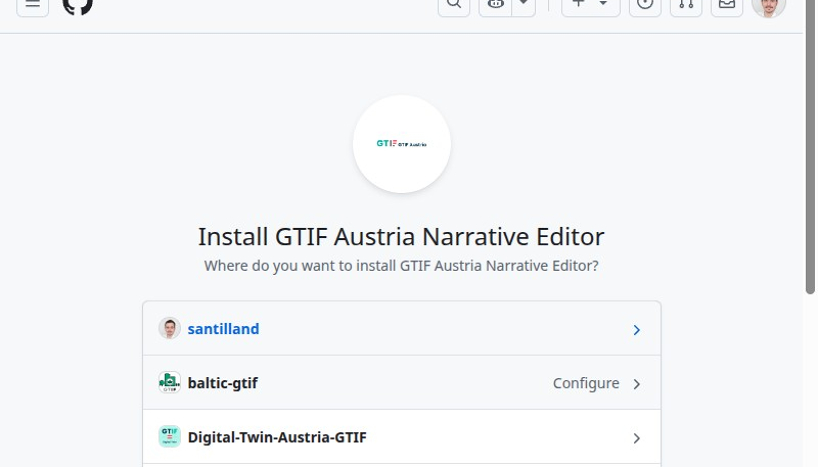
1. Navigate to your workspace where Narrative Editor is available
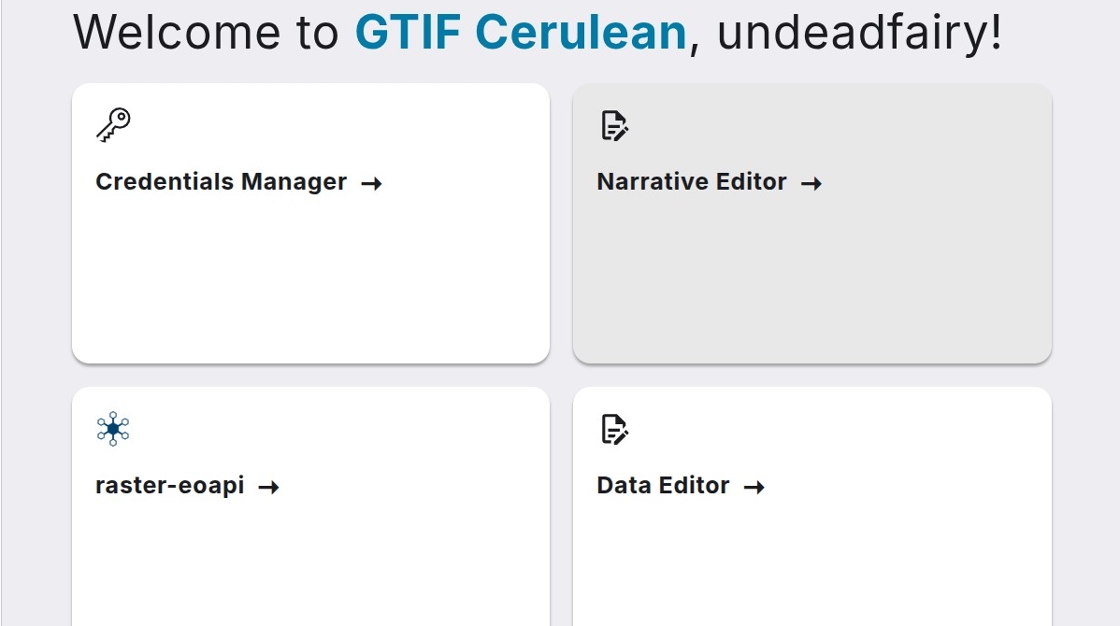
2. Click on Narrative Editor box
3. If it is your first visit to the Narrative editor it needs to be linked to your github account. Click “Authorize Narrative Editor”
4. Click on your username
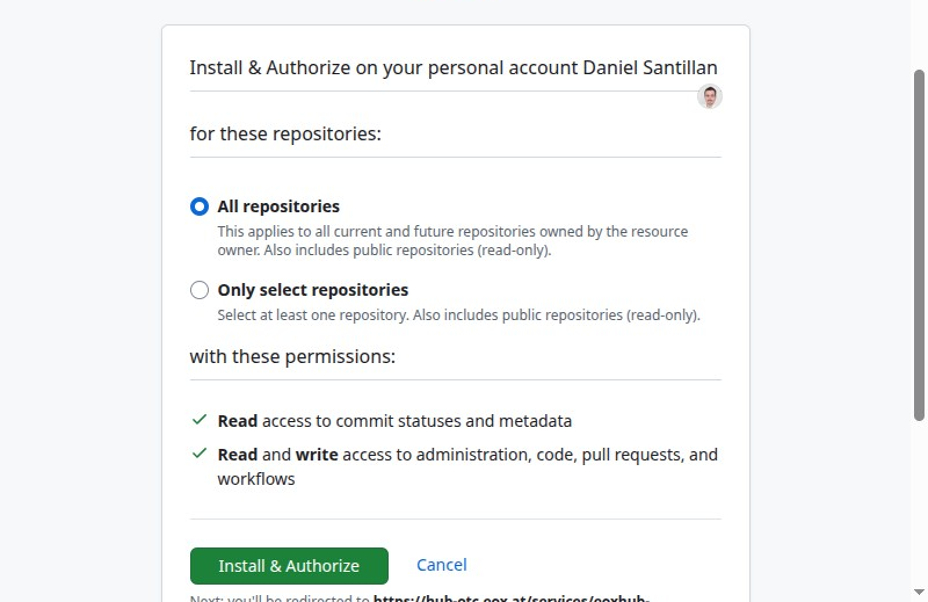
5. Select All repositories and click Install and Authorize. All repositories are needed as the tool is creating fork under your user.
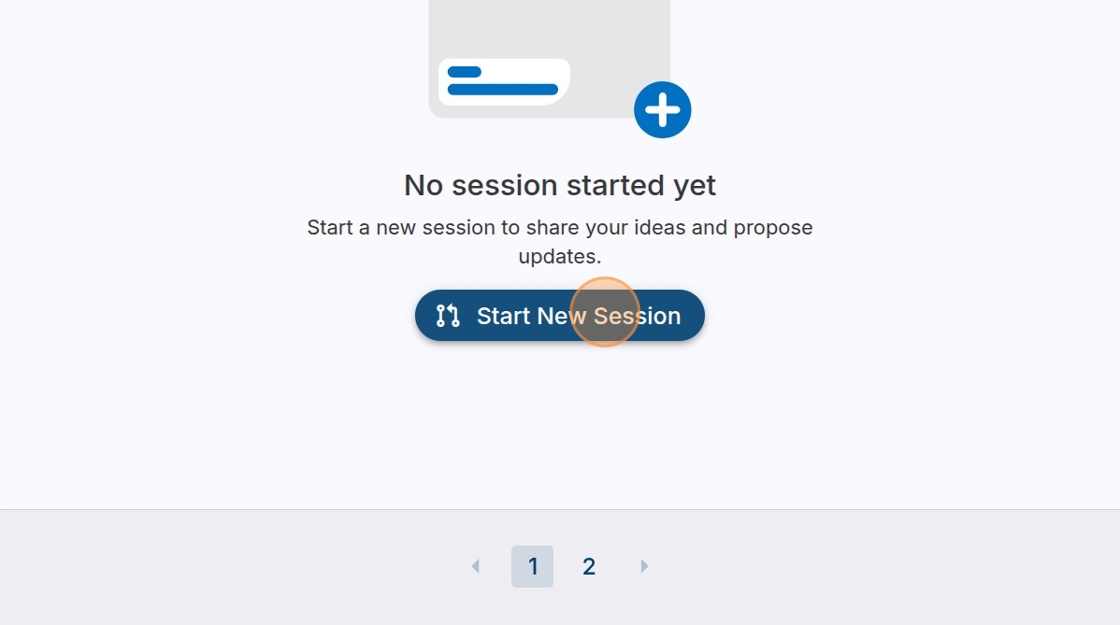
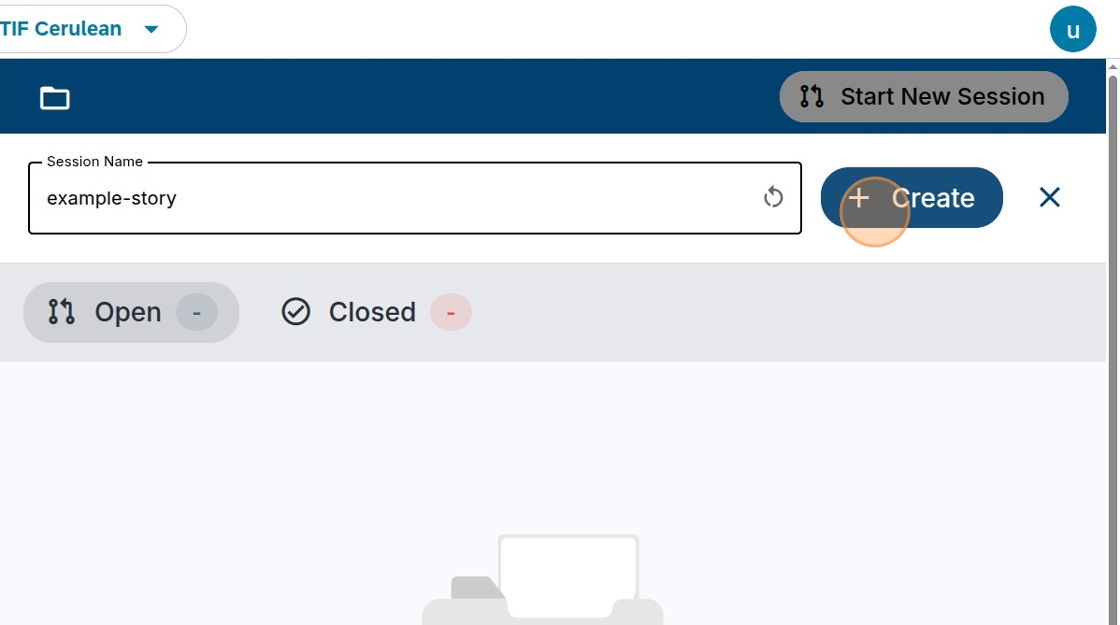
6. Click “Start New Session”
7. Fill in the “Session Name” field. It is not a name of the story, but for the session and GitHub connection
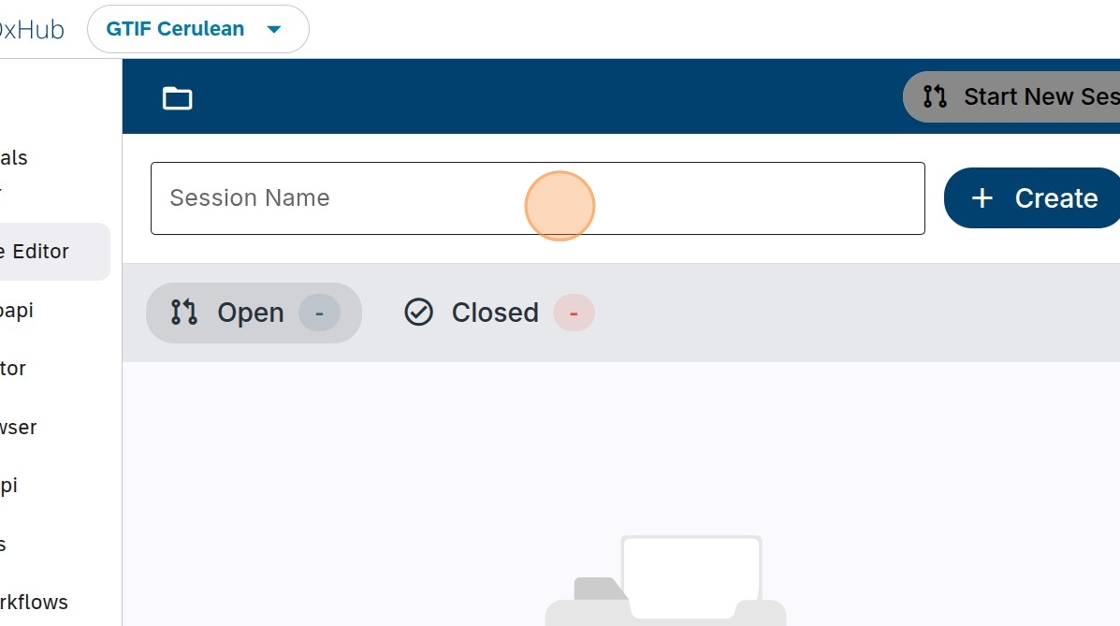
8. Click “Create”
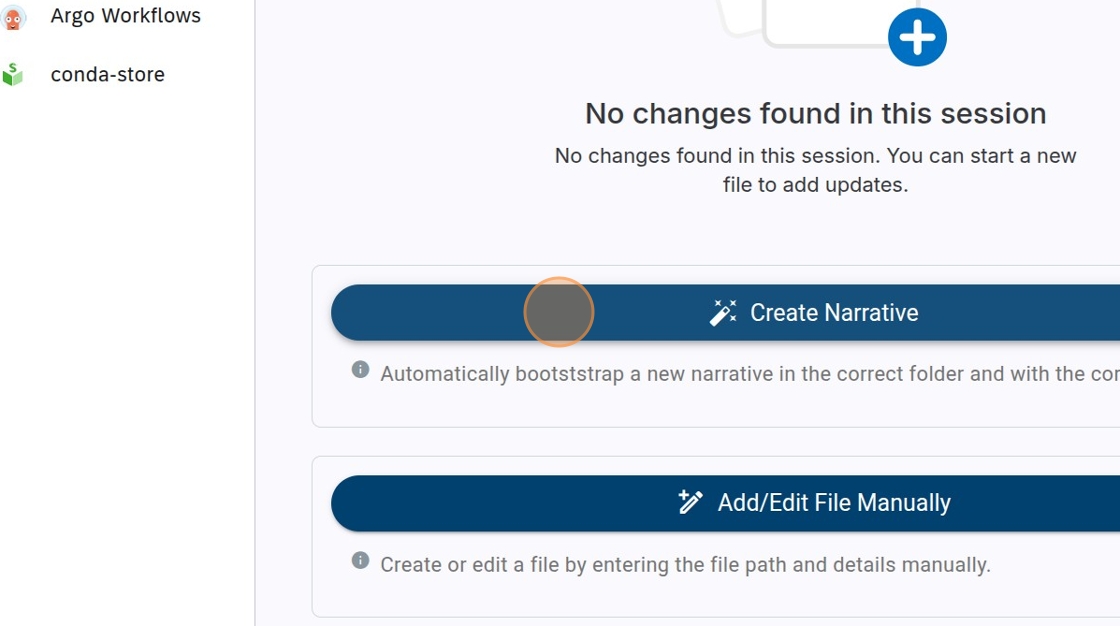
9. Click “Create Narrative” to start a new Narrative creation
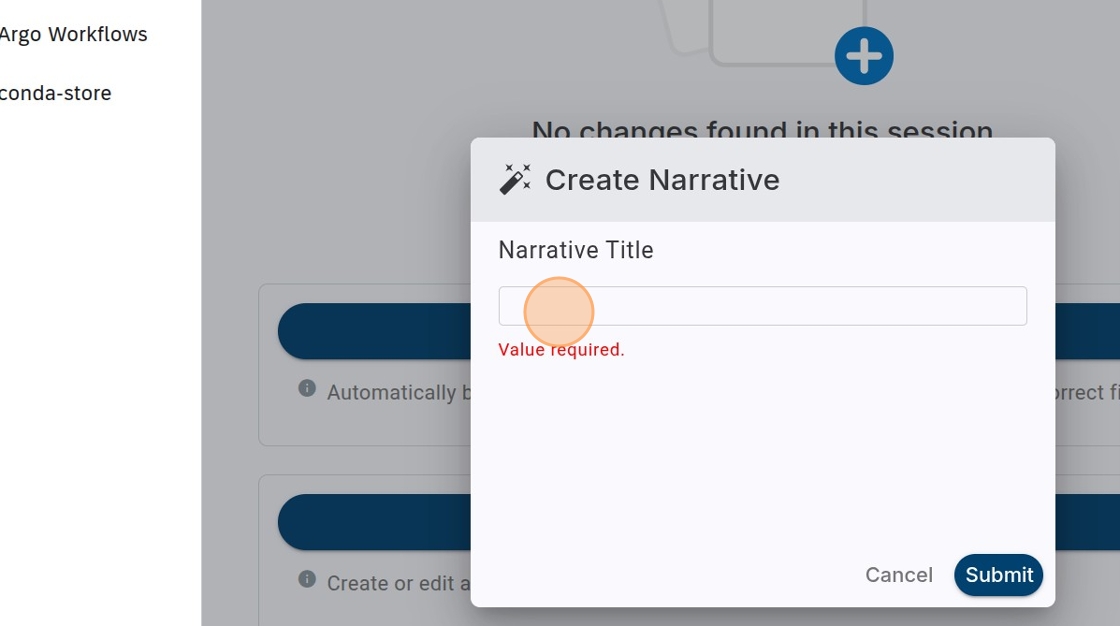
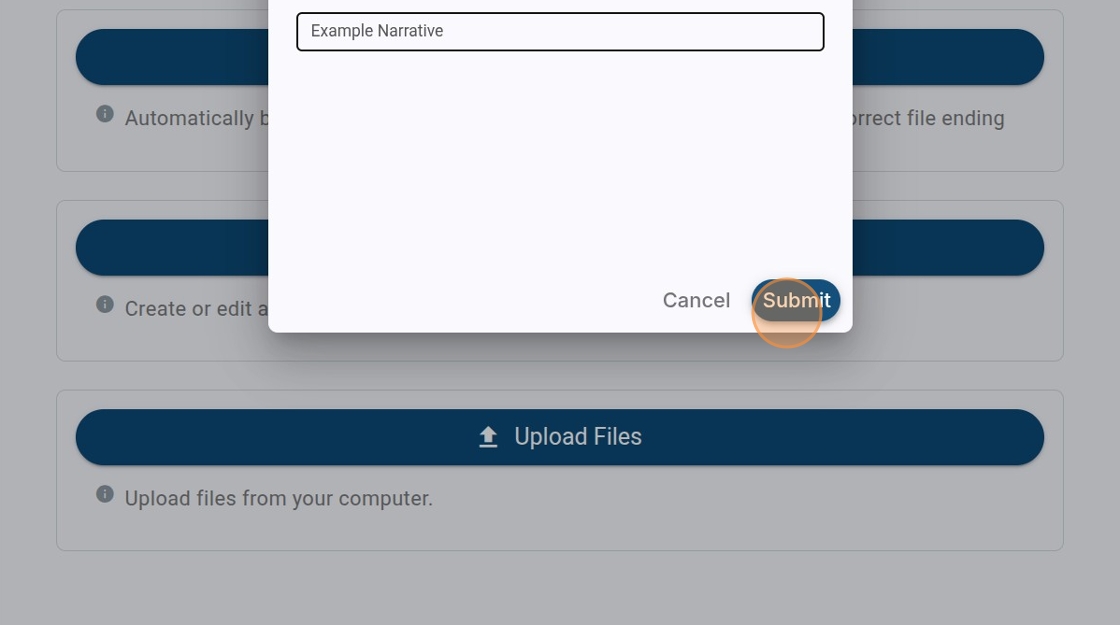
10. Here fill the Narrative Title - this will actually be used inside the story and also metadata
11. Here is is named “Example Story”
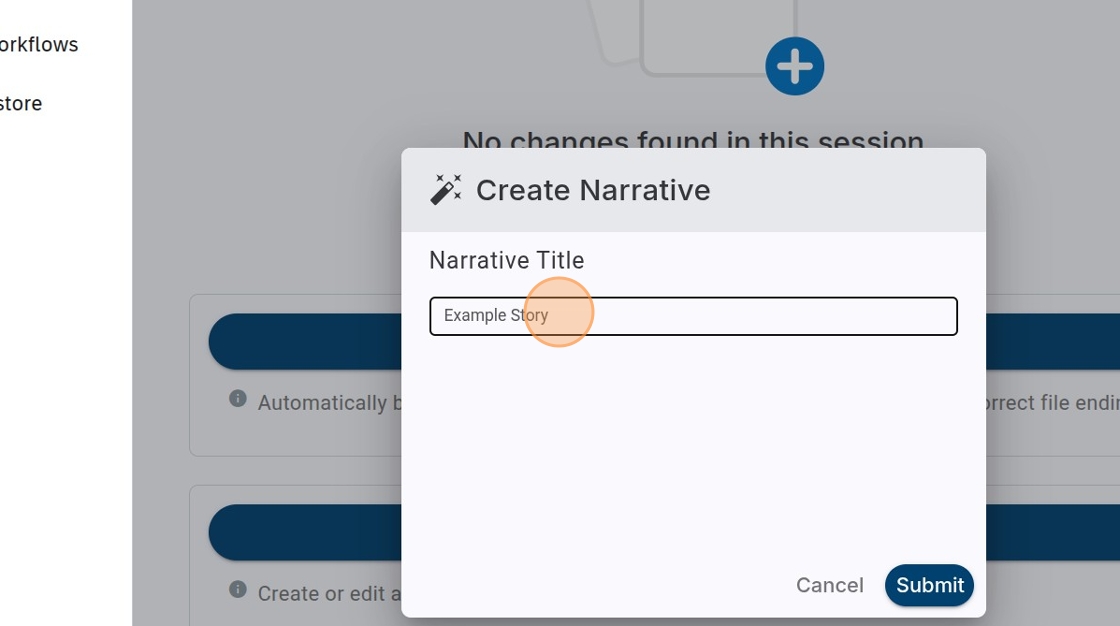
12. Click “Submit”
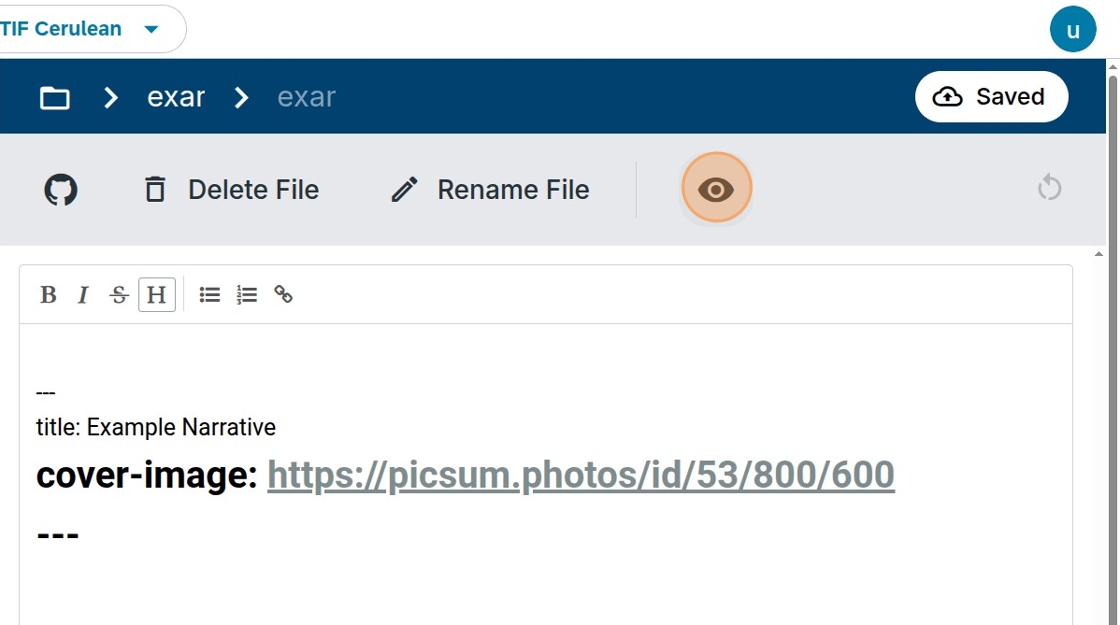
13. Basic story template is created including the Title

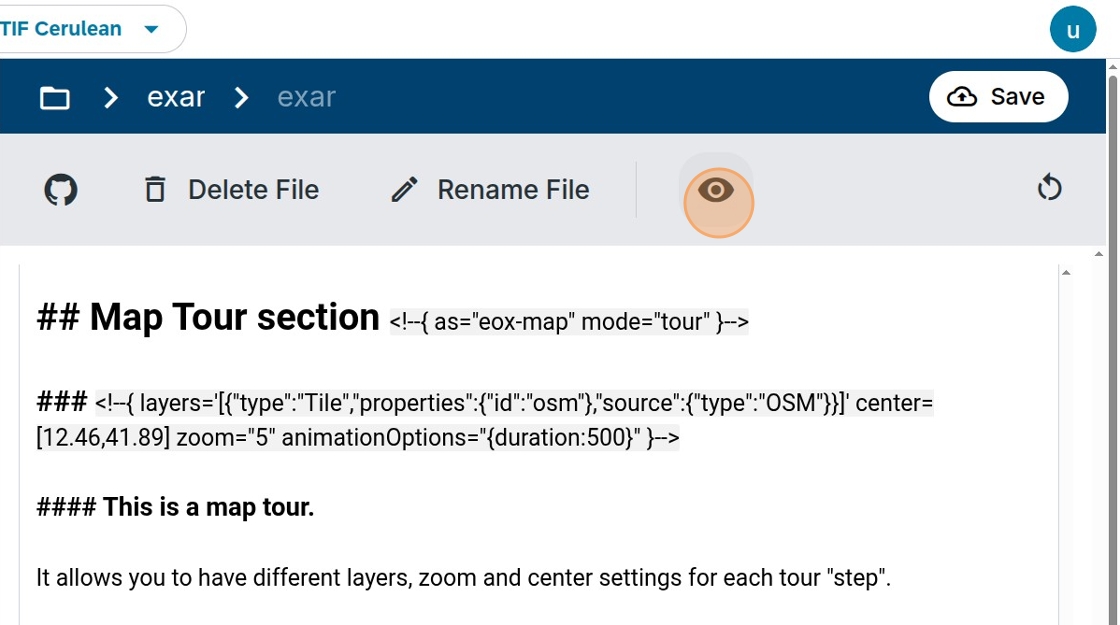
14. Eye Icon will open the Preview which can be used to visually confirm the Narrative status
15. Some editing and Section adding can be done also in the Preview Mode
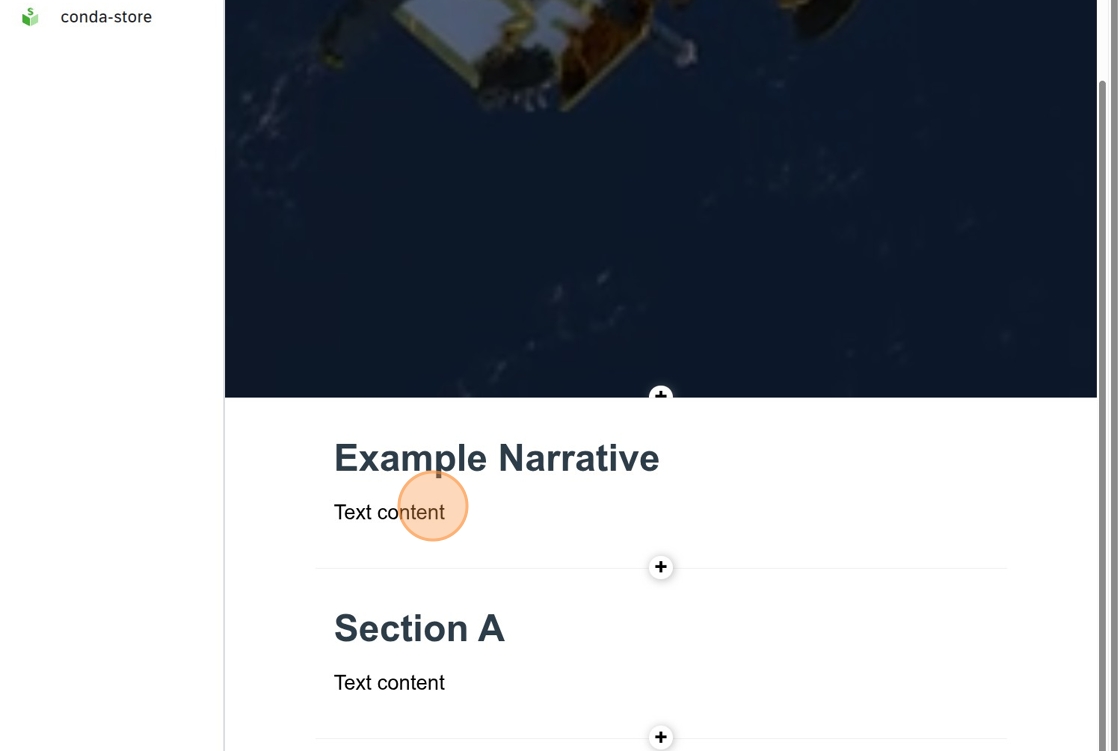
16. Preview can be closed again by clicking on Eye icon
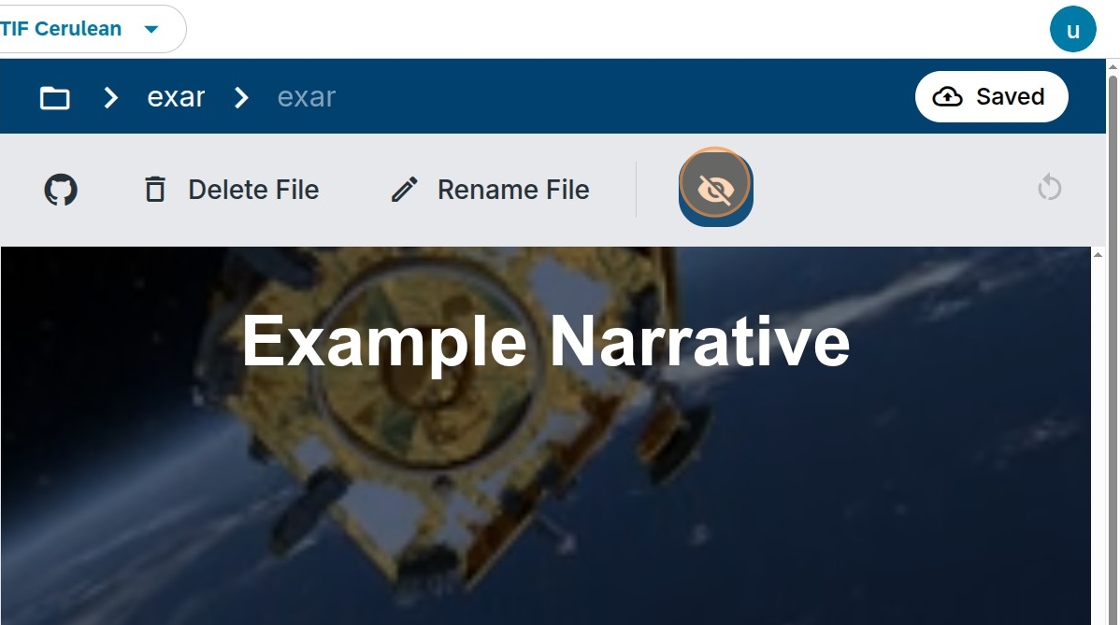
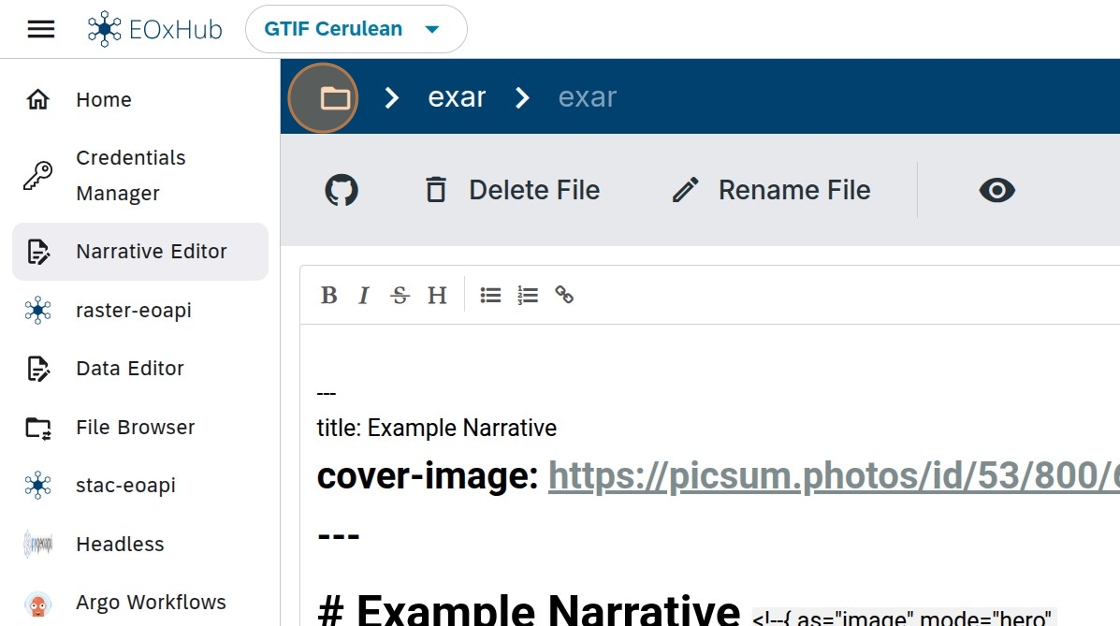
17. You can add your content using markdown syntax and additional features like map sections from eodash dashboards. Full list of available features can be found here: https://
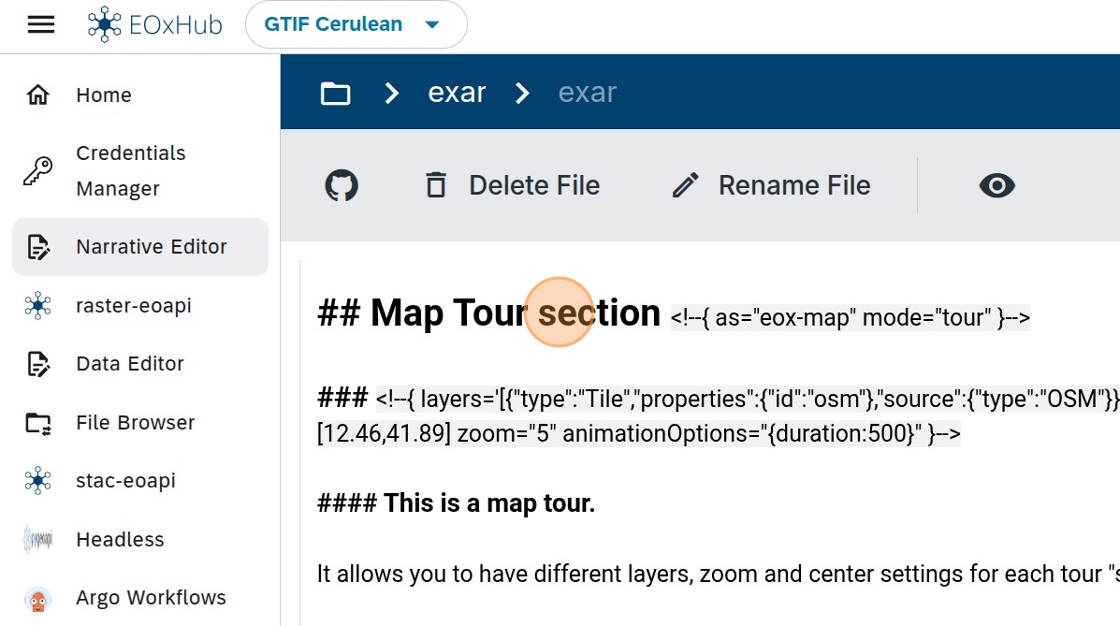
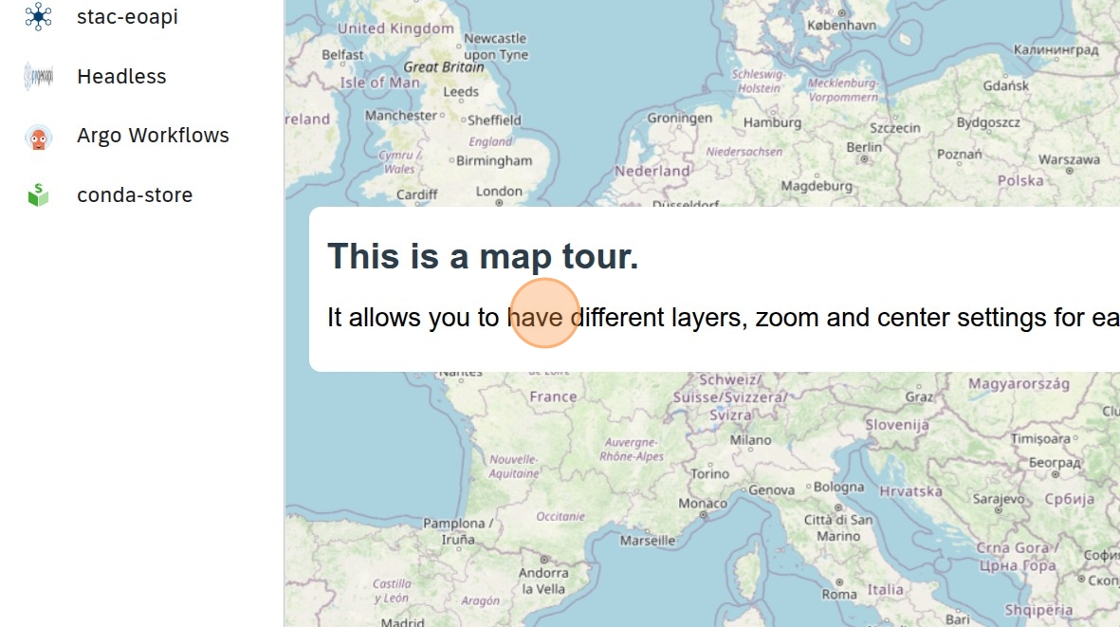
18. Again Map Tour sections can be checked in Preview
19.
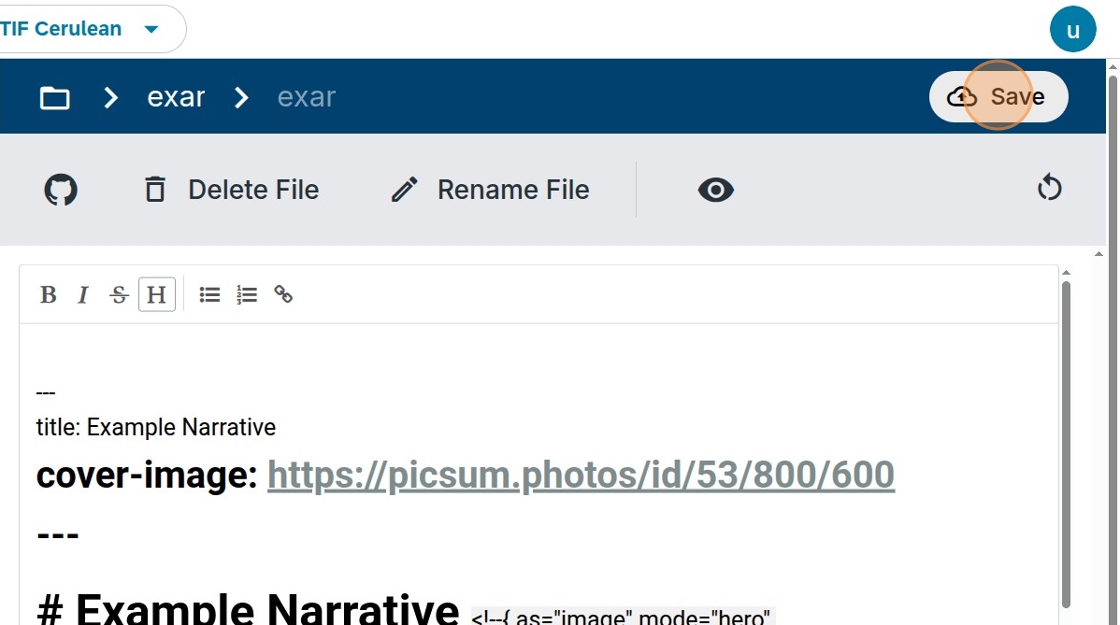
20. Click “Save” to save your content. This doesn’t have to be final version - you will be able to continue working in the same session until Narrative is ready for publishing
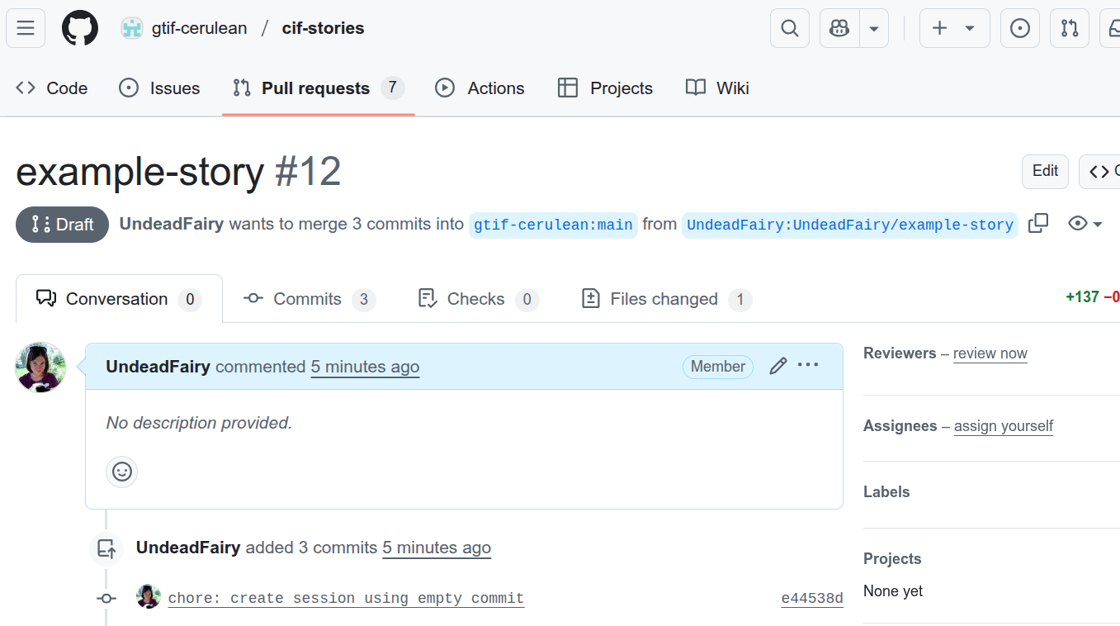
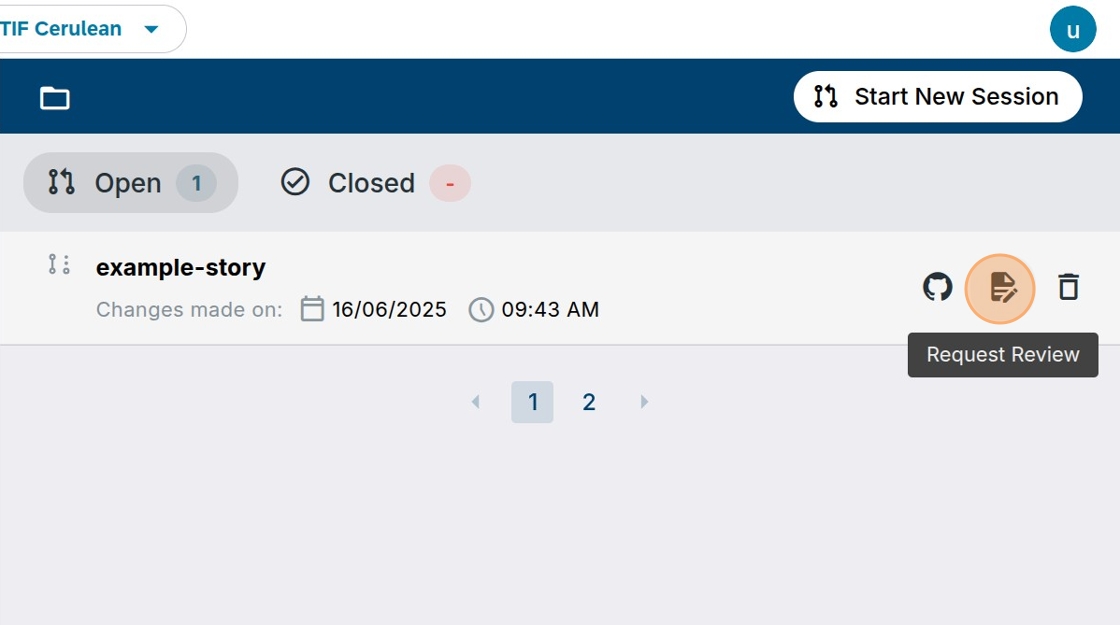
21. Once the story is finalized, it can be submitted for review. Click on “folder” icon to get to home location
22. “Request Review” Icon click will start the Review process on GitHub
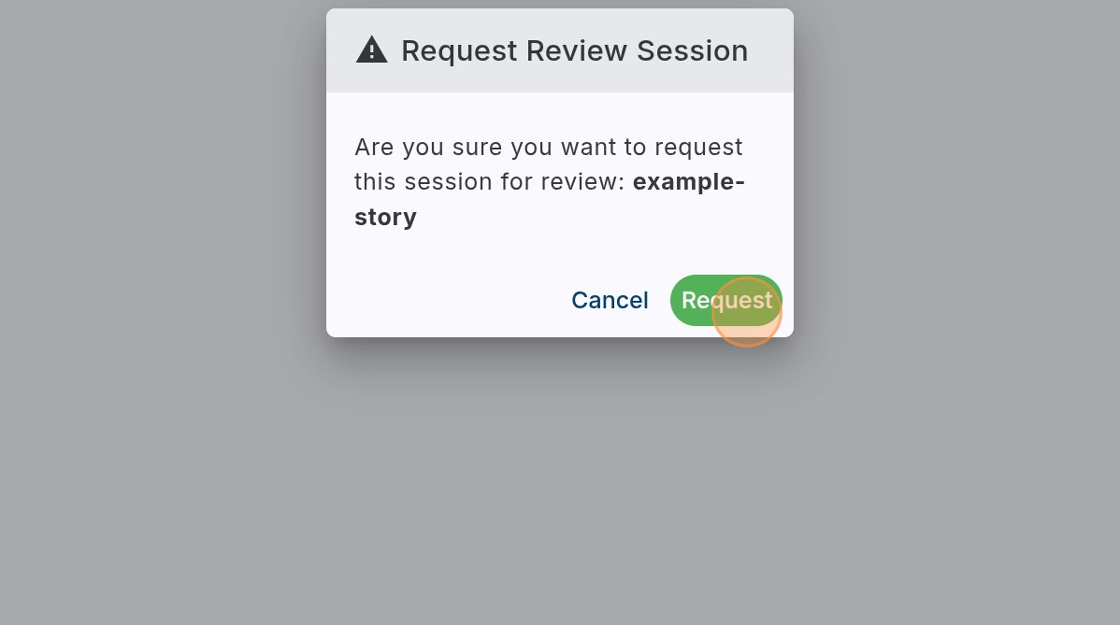
23. Confirm “Request”
24. You can follow the Review process on GitHub - to do that, use GitHub icon
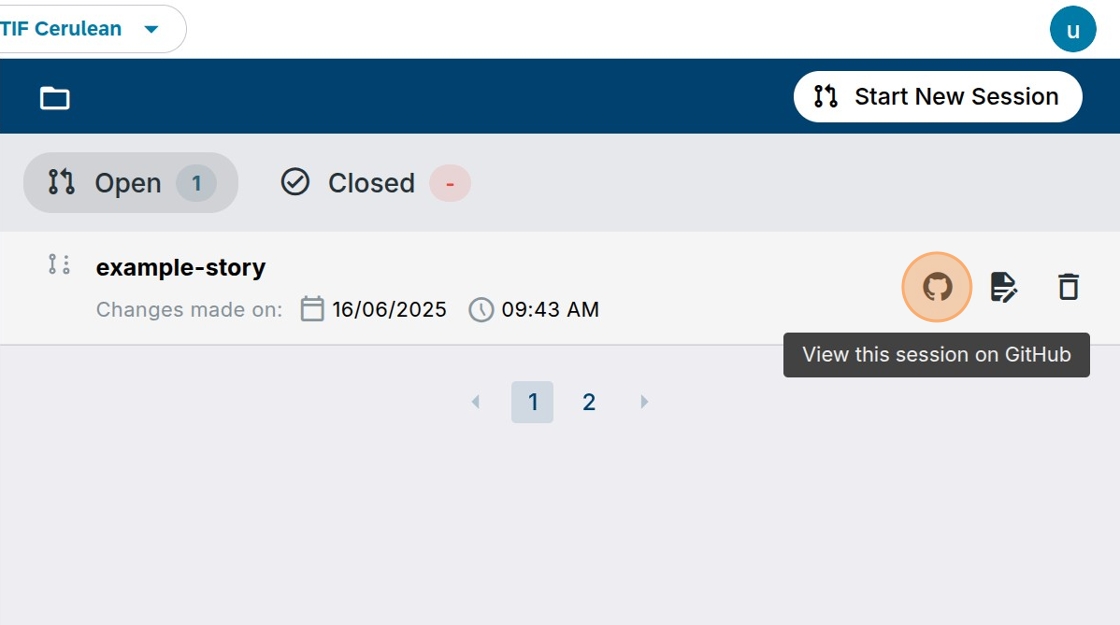
25. GitHub Pull Request with the new story will open and reviewers and other contributors can be tagged. Story can be modified and once approved merged and displayed in the official Narrative catalog