Integrating a dataset from the Copernicus Marine Data Store into the eodashboard.org service
1. Navigate to https://
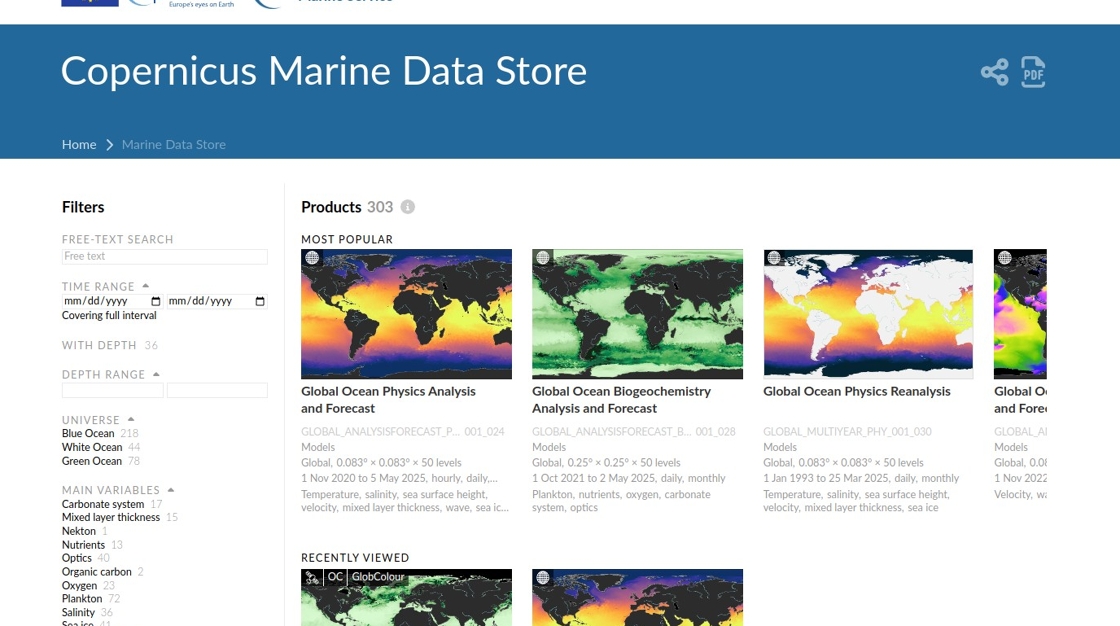
2. Search for the dataset you are interested in, for example by using the Click the “Free text” search. (In order for free search to work it seems you need to add also a date range or it will get stuck), for example you can type “chlorophyll a” enter a time range.
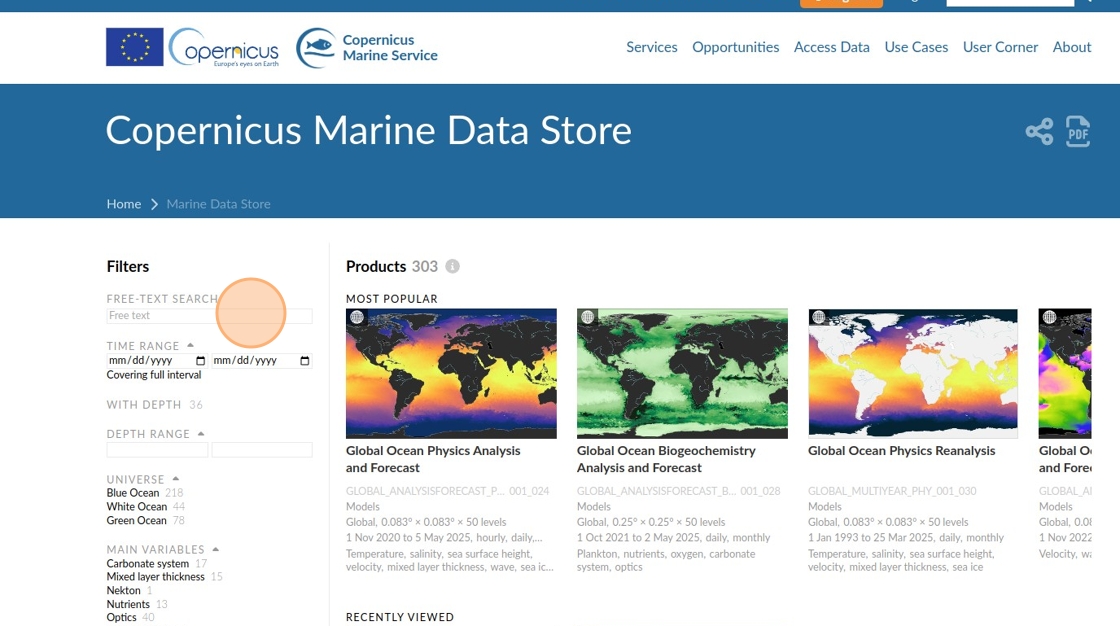
3. Let us continue the example wit “Global Ocean Colour”.
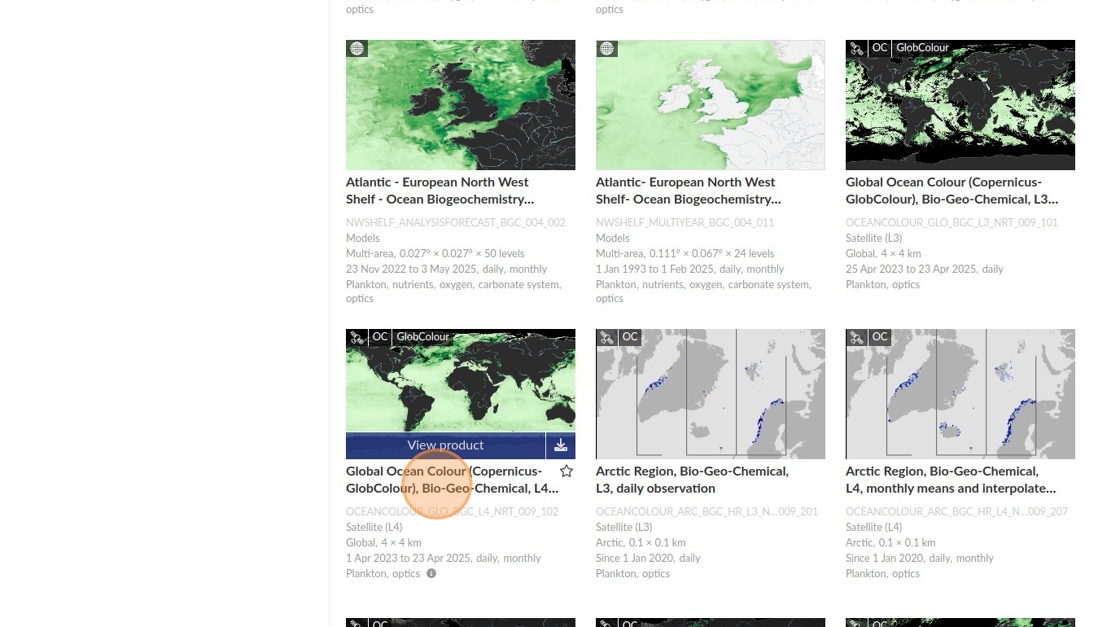
Click “Global Ocean Colour (Copernicus-GlobColour), Bio-Geo-Chemical, L4 (monthly and interpolated) from Satellite Observations (Near Real Time)”
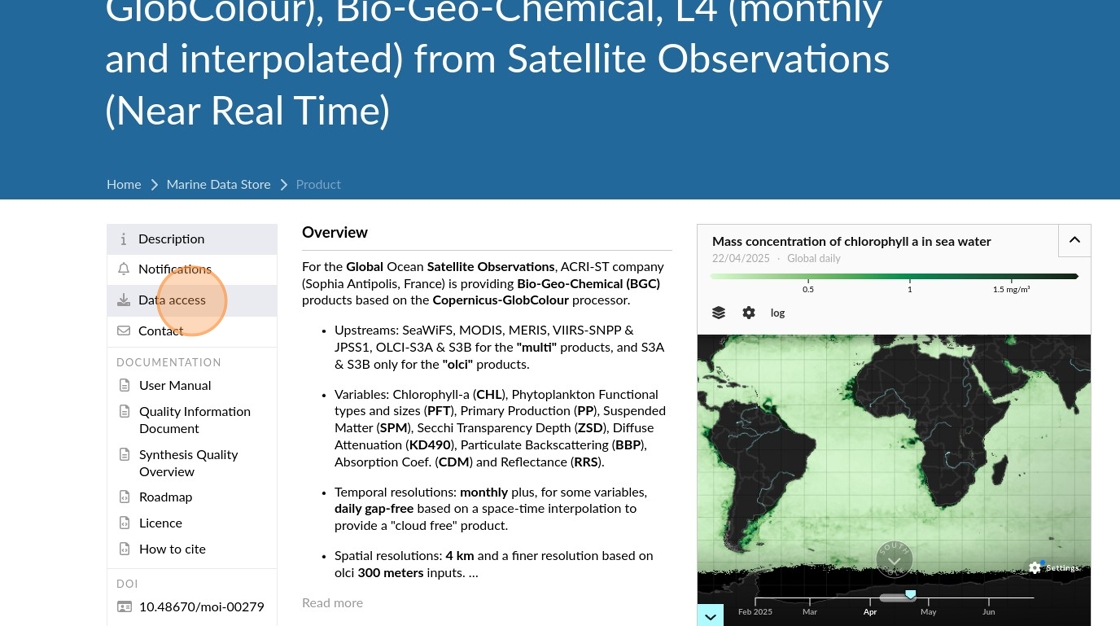
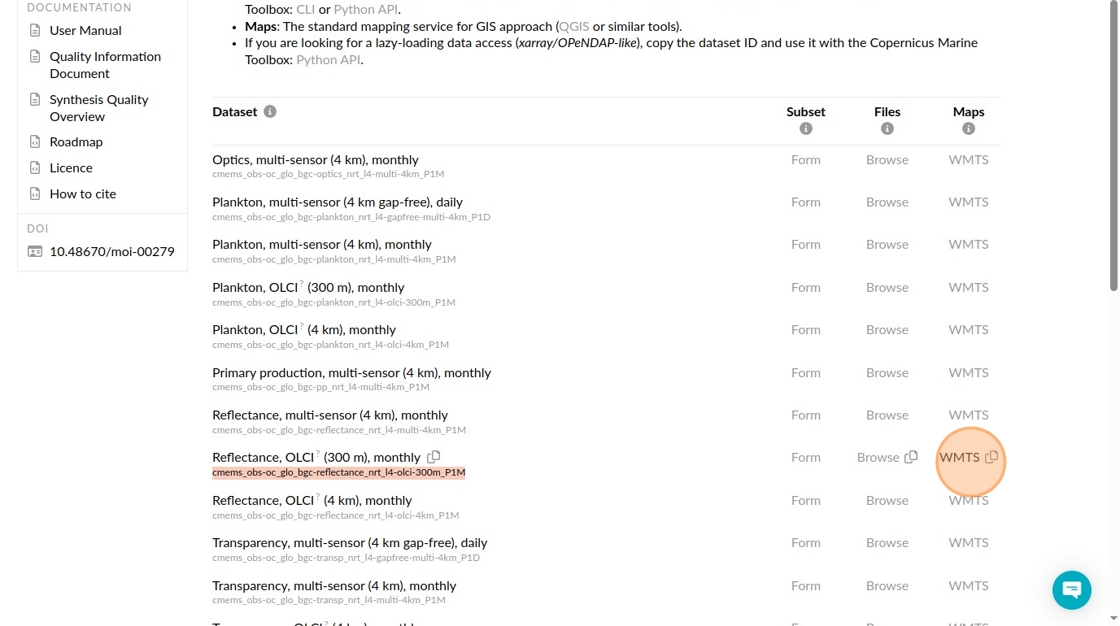
4. Click “Data access”
5. Click “WMTS”
6. Use search within the WMTS xml file to find the [[<Layer]] you are interested in which includes the [[ows:Identifier]] you will need for the form later, as well as valuable information in the [[VariableInformation]] and default style
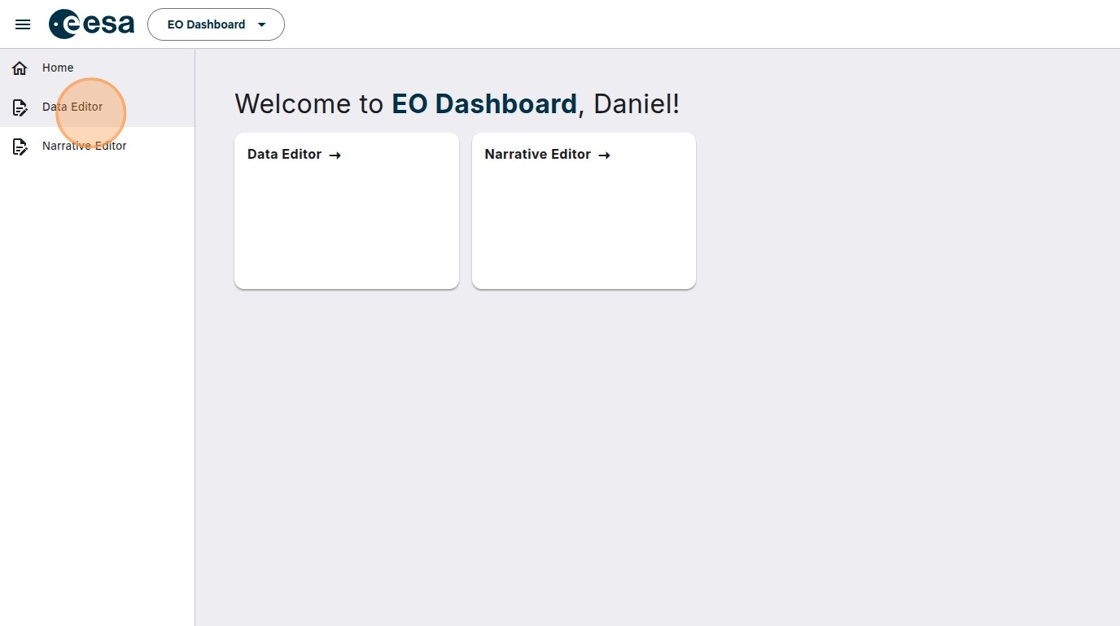
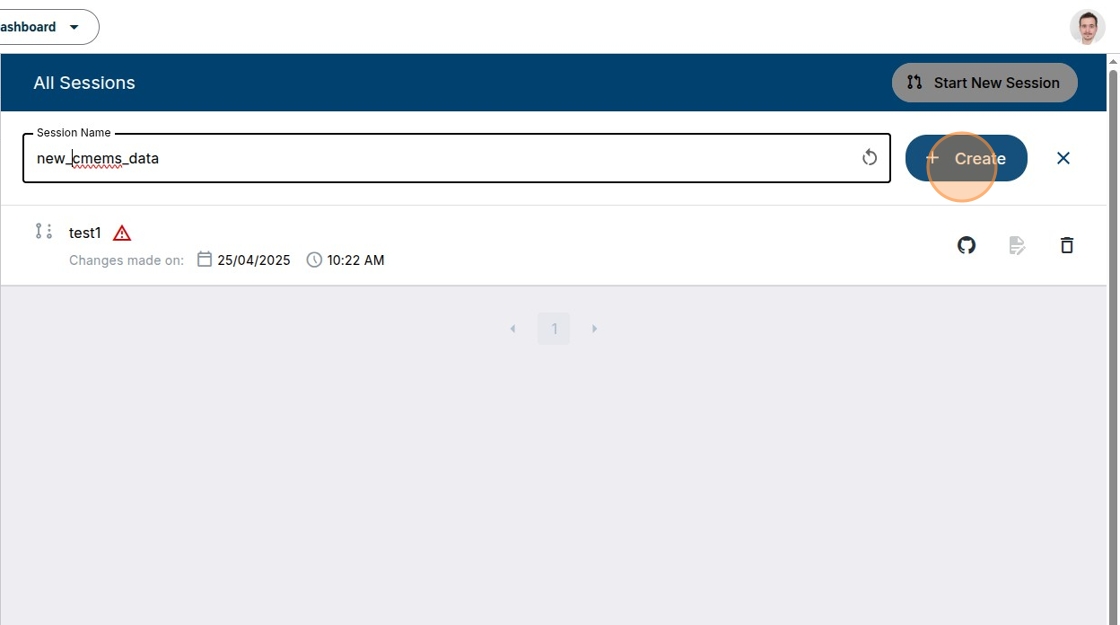
7. Go to EO Dashboard workspace http://
If you do not have an account you need to register. Currently new users need to be manually authorized to get access
8. Click “Data Editor”
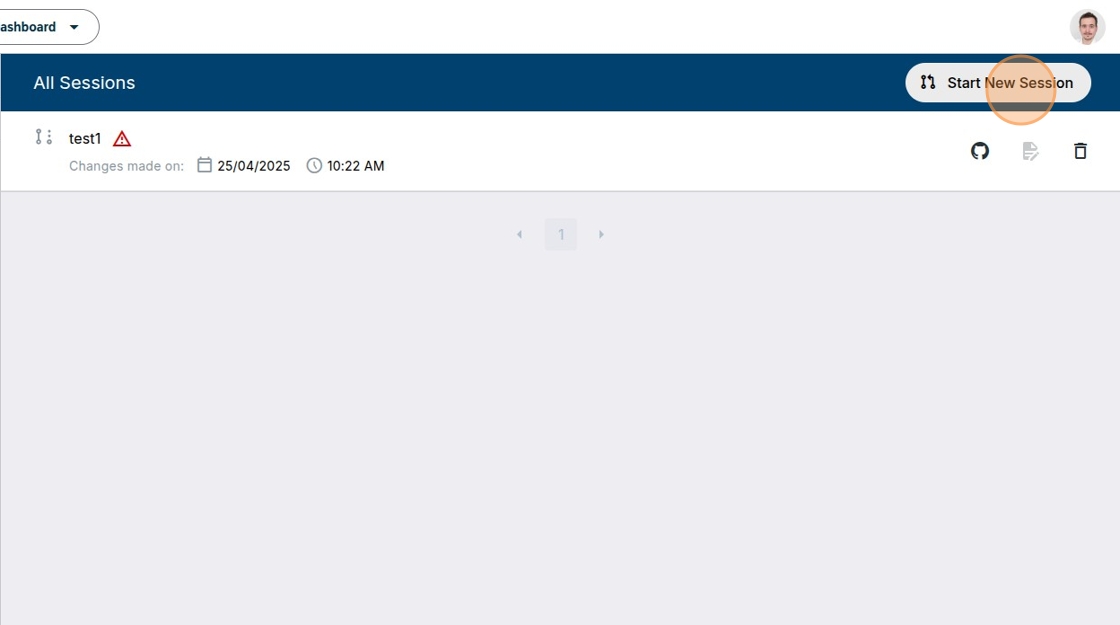
9. Click “Start New Session”
10. Click the “Session Name” field.
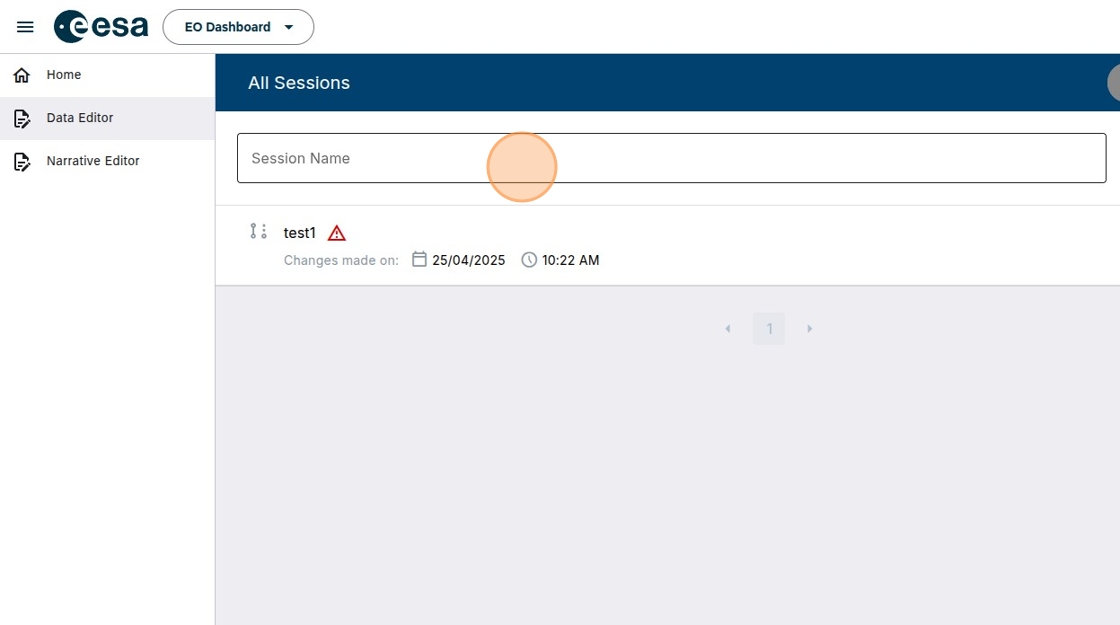
11. Type the session name you want to have e.g. “new_cmems_data”
12. Click “Create”
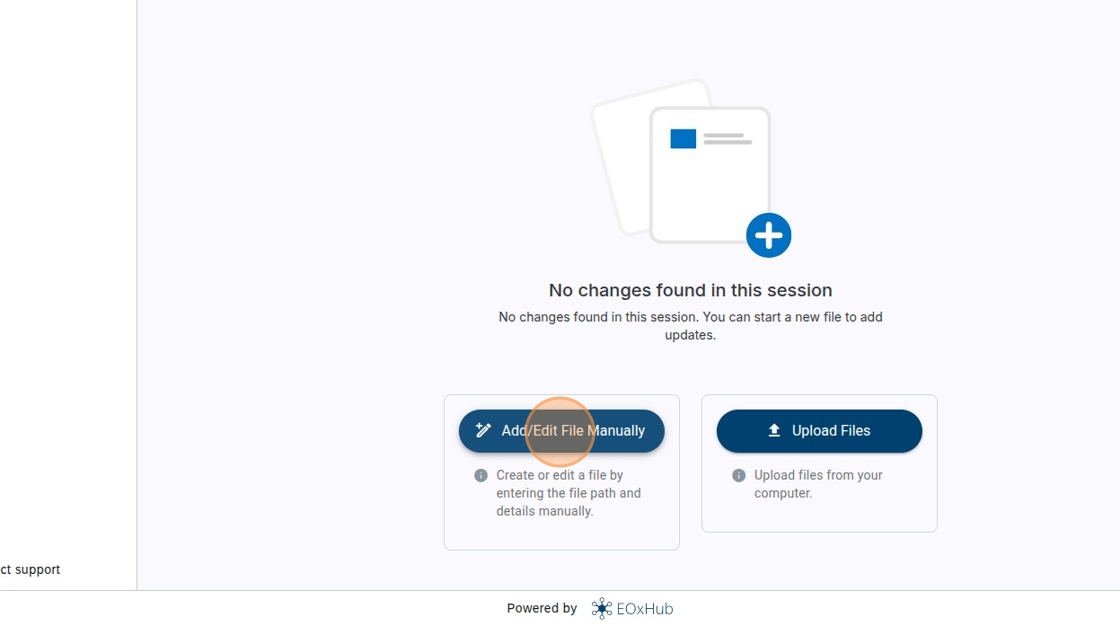
13. Click “Add/Edit File Manually”
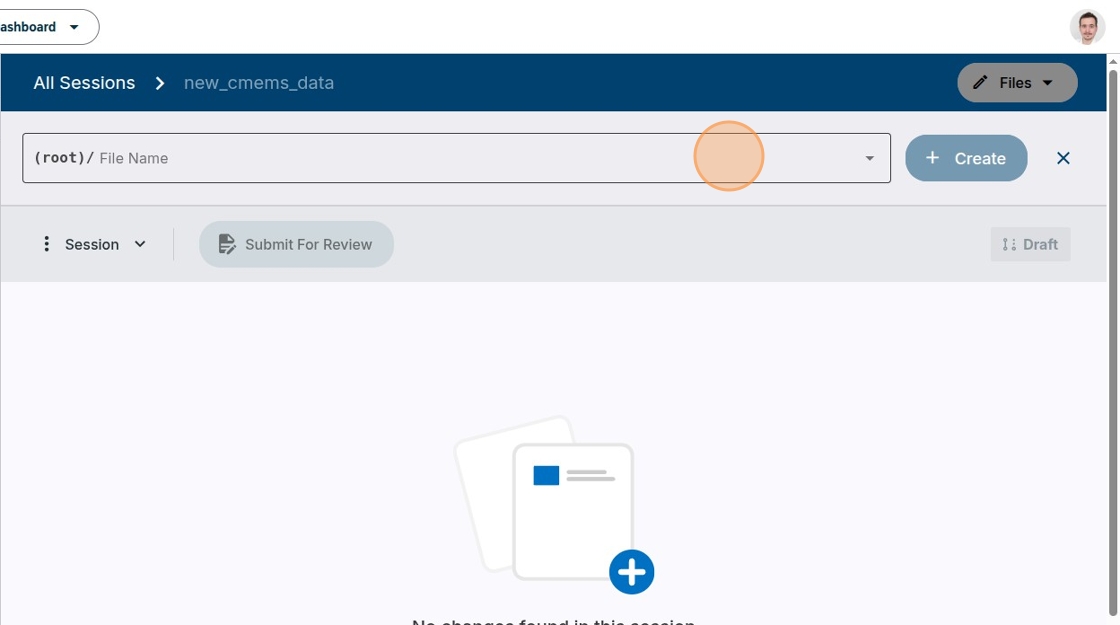
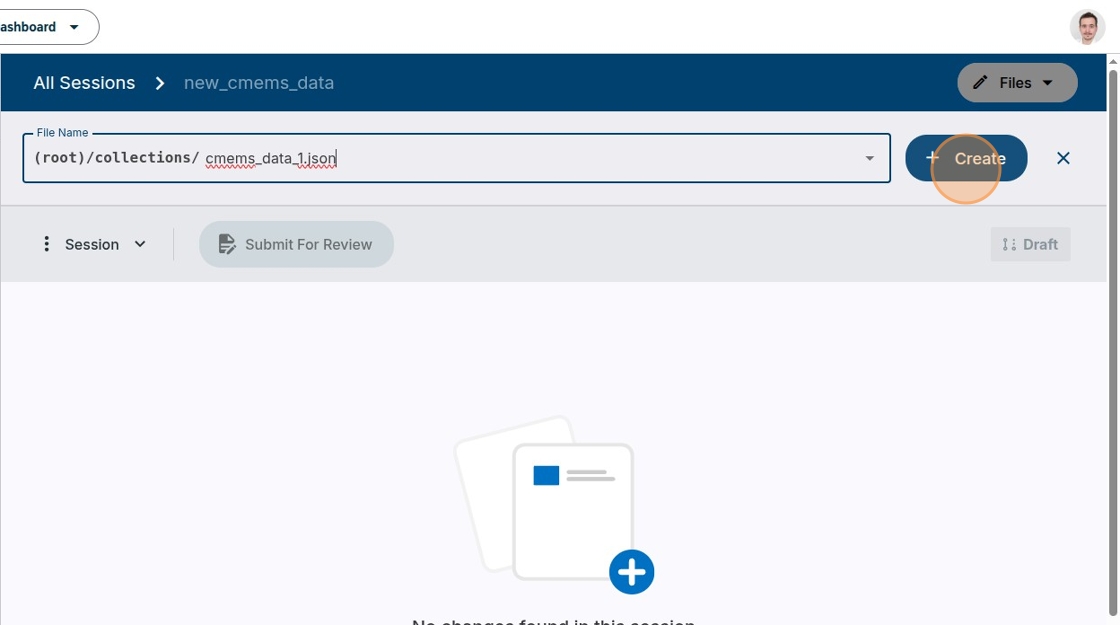
14. Click the “File Name” field.
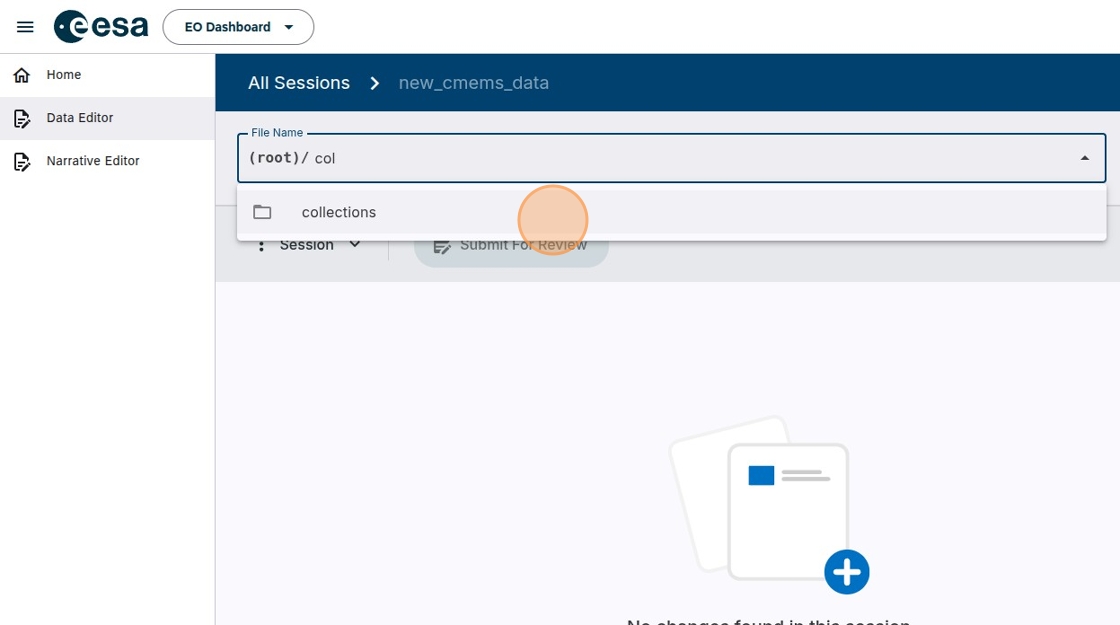
15. Type “col”
16. Select the “collections” folder
17. Type the name to use as collection file name (has to be a JSON file), e.g. “/cmems_data_1.json” (A new button will be introduced to simplify this step in the future)
18. Click “Create”
19. Start filling out the fields:
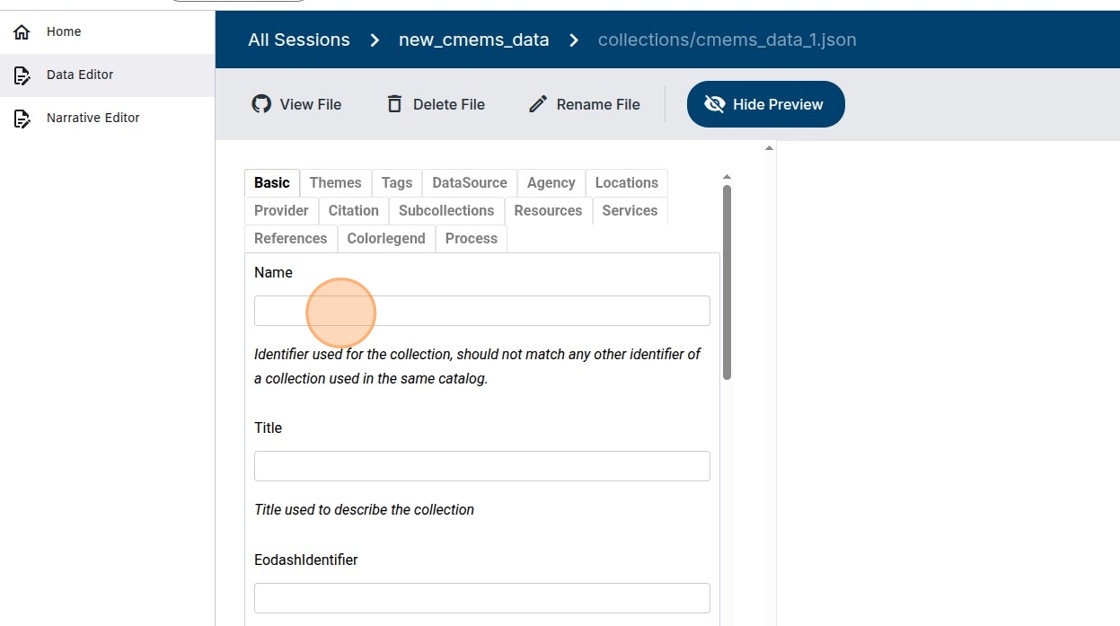
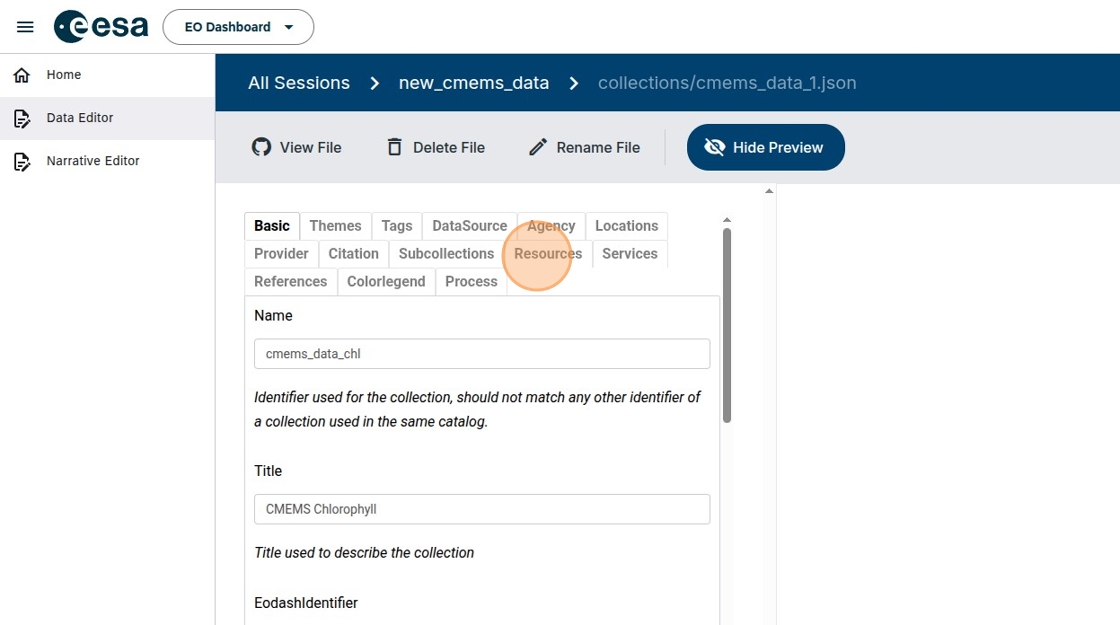
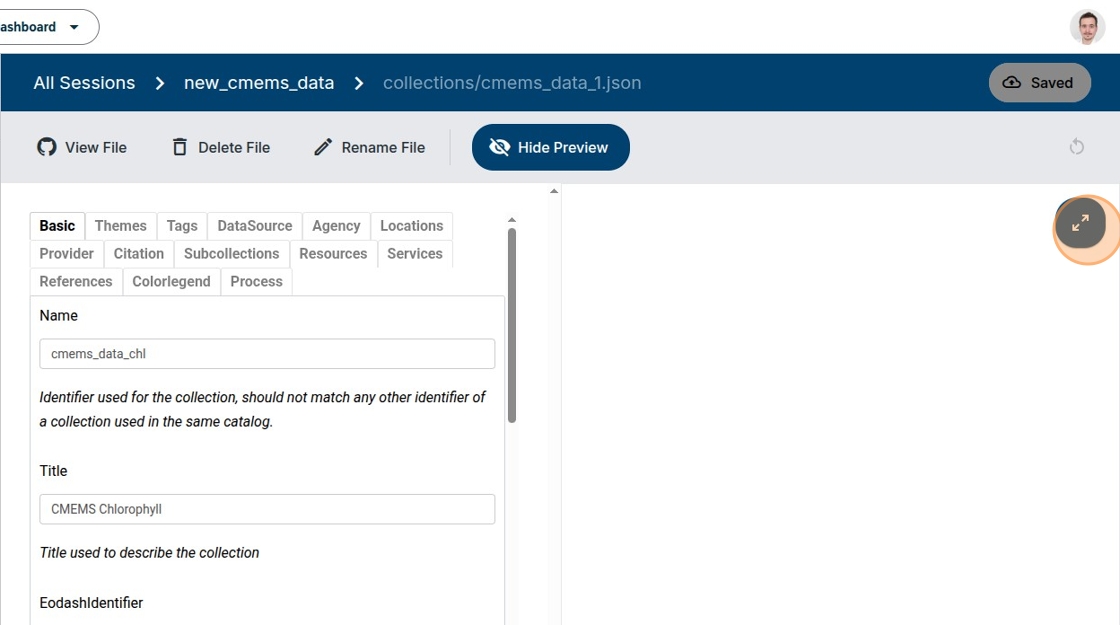
20. Type “cmems_data_chl”
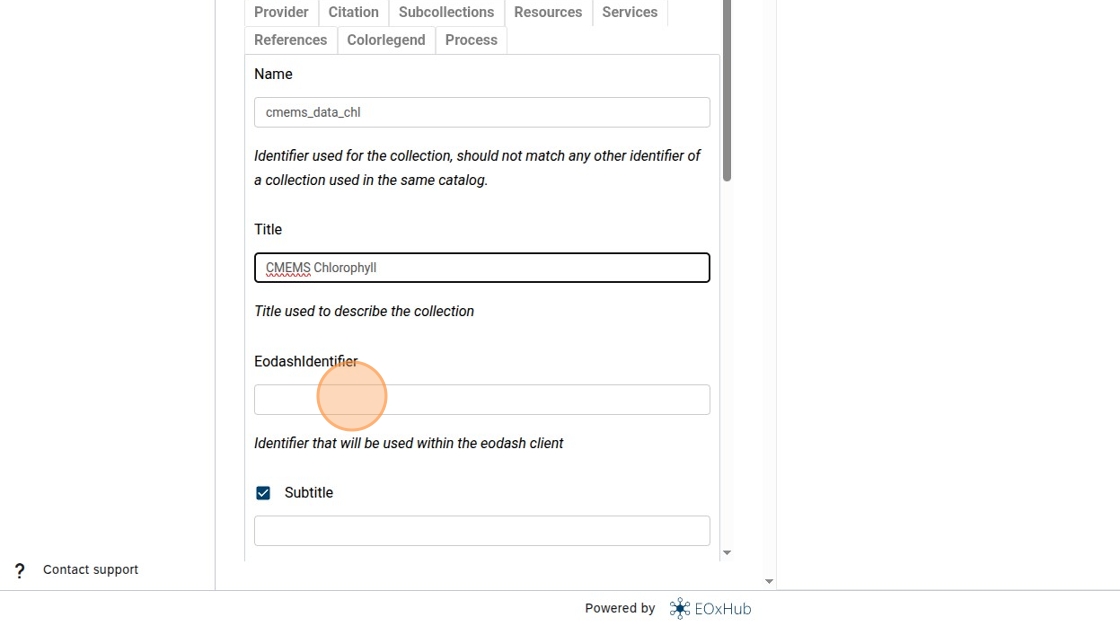
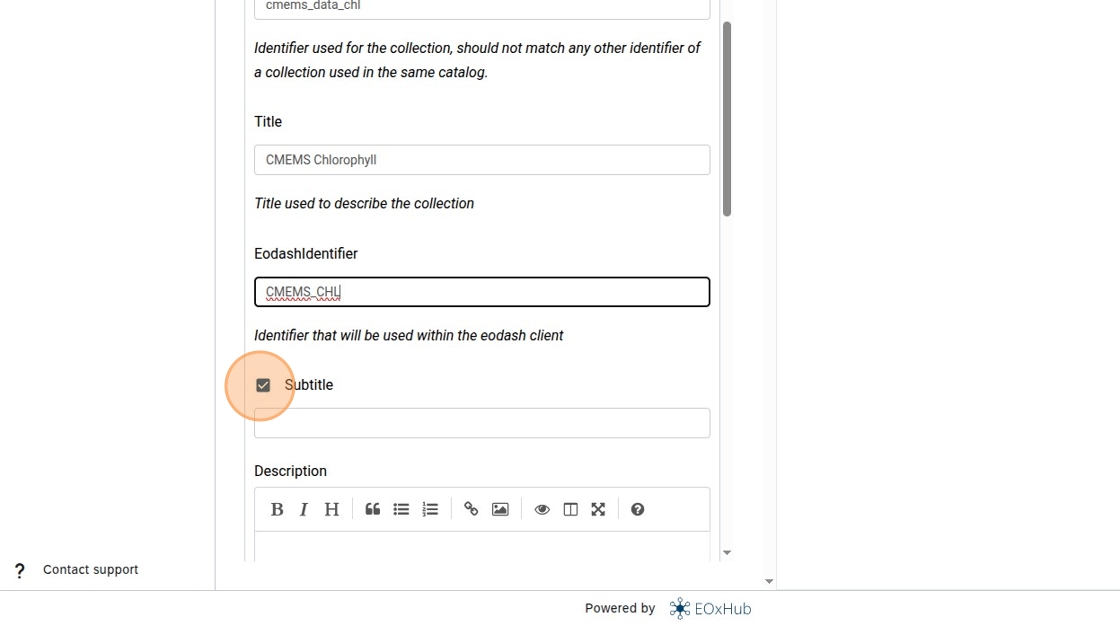
21. Add a title
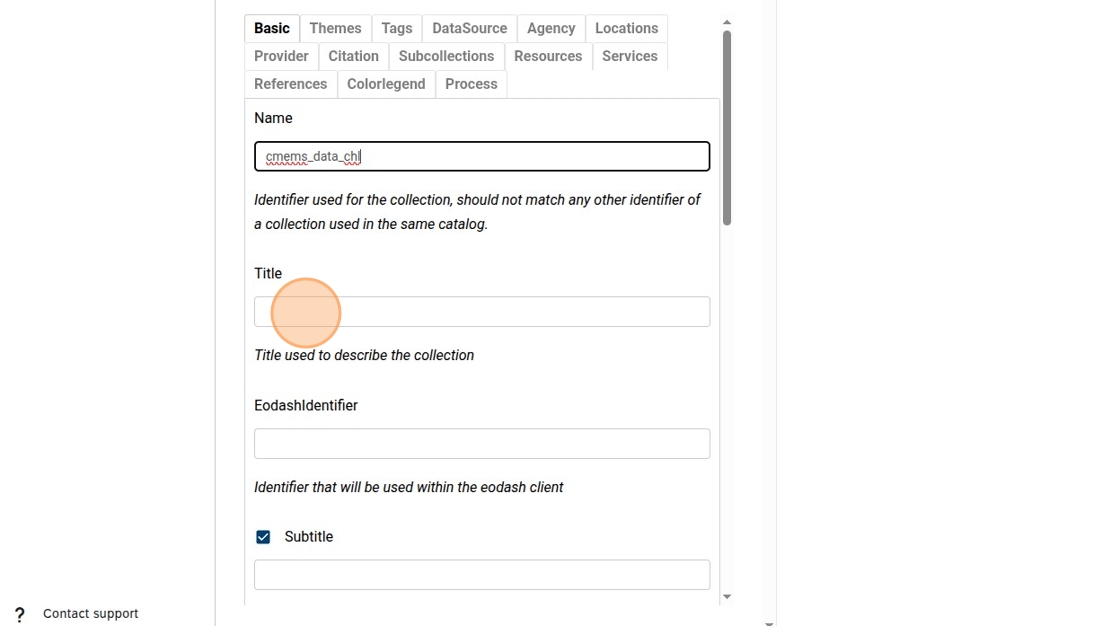
22. Add an Eodashidentifier, it should be unique among the available collection, will be used in the URL to link to it directly e.g: ?indicator=CMEMS_CHL
23. Optional properties can be enabled by clicking the check boxes
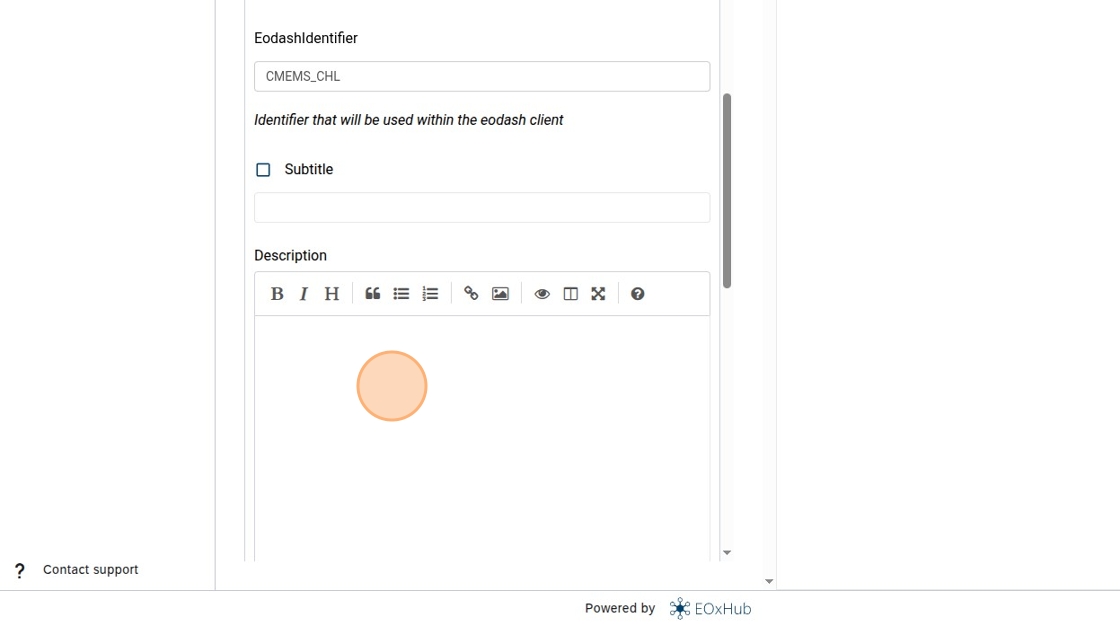
24. Add some description for the dataset as markdown text
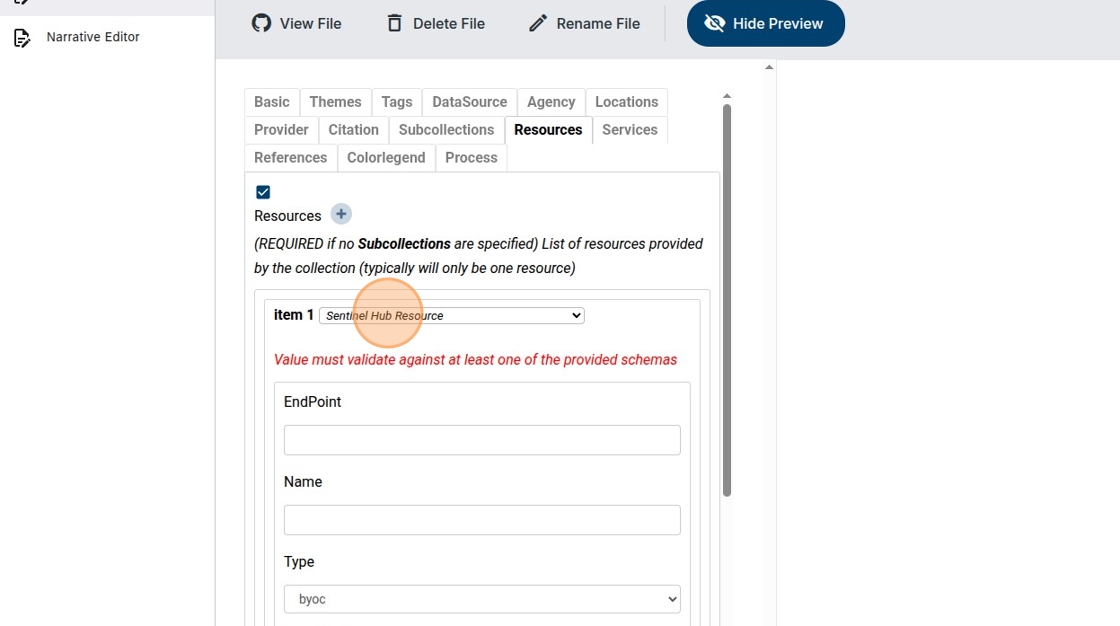
25. Click to resources, in principle all other tabs are optional
26. Click on the plus symbol
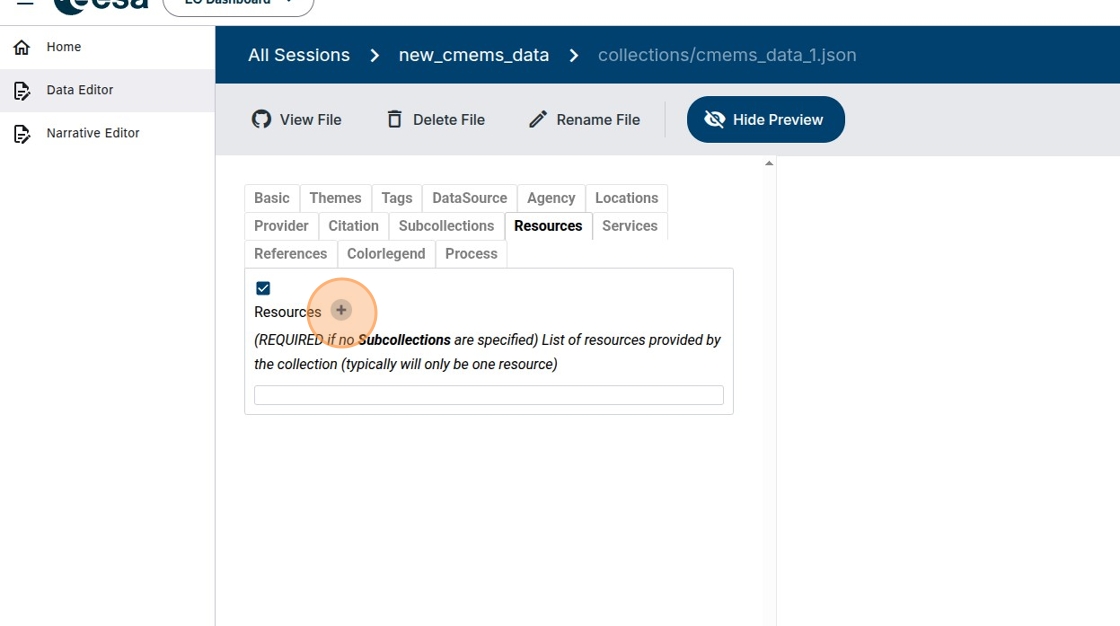
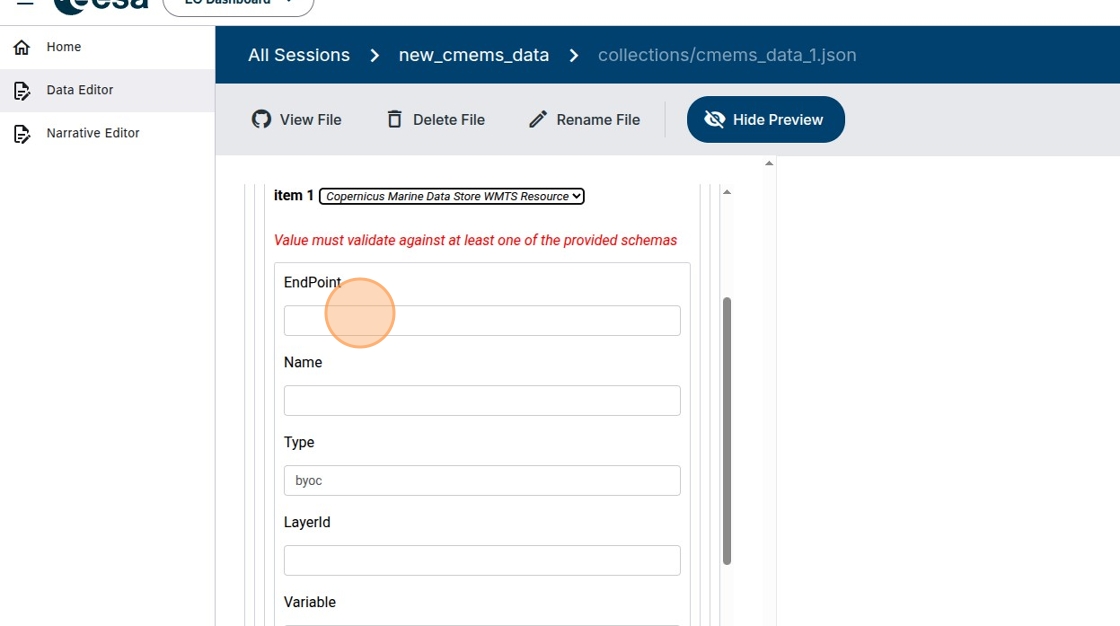
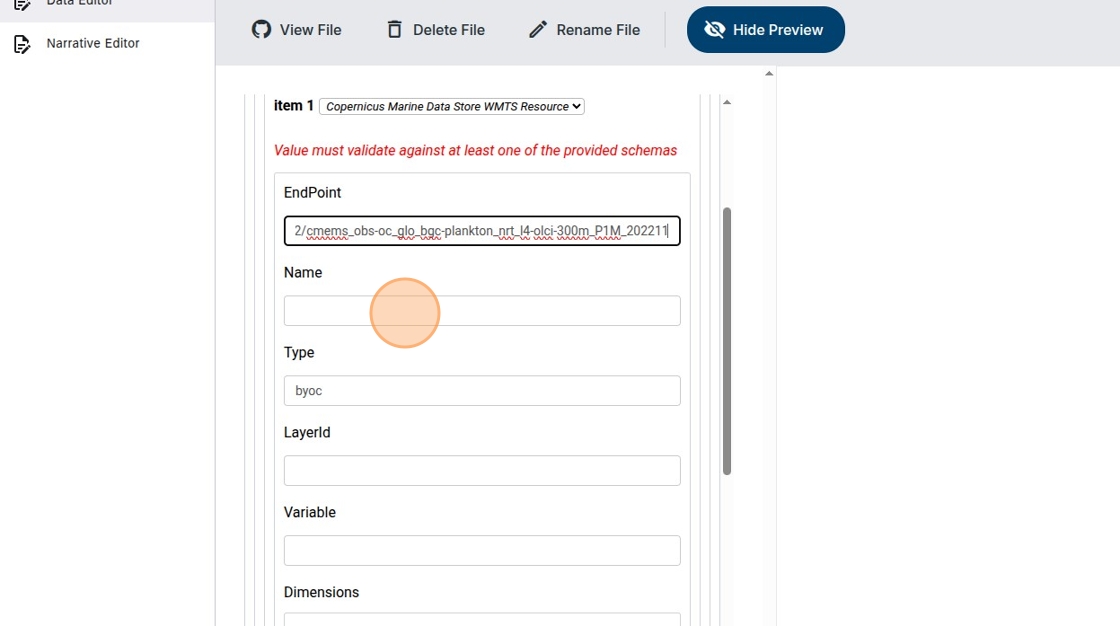
27. Select the resource type, in this case “Copernicus Marine Data Store WMTS”
28. Click on endpoint
29. Copy the URL from the WMTS tab you opened earlier and remove the section starting from the question mark e.g. from https://
https://
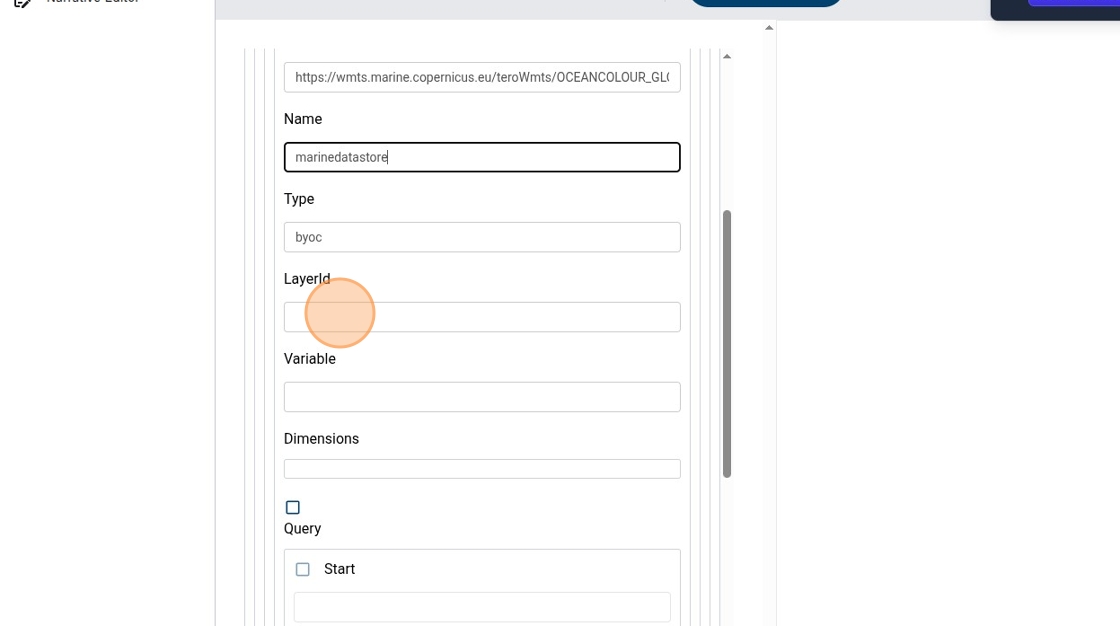
30. Click here.
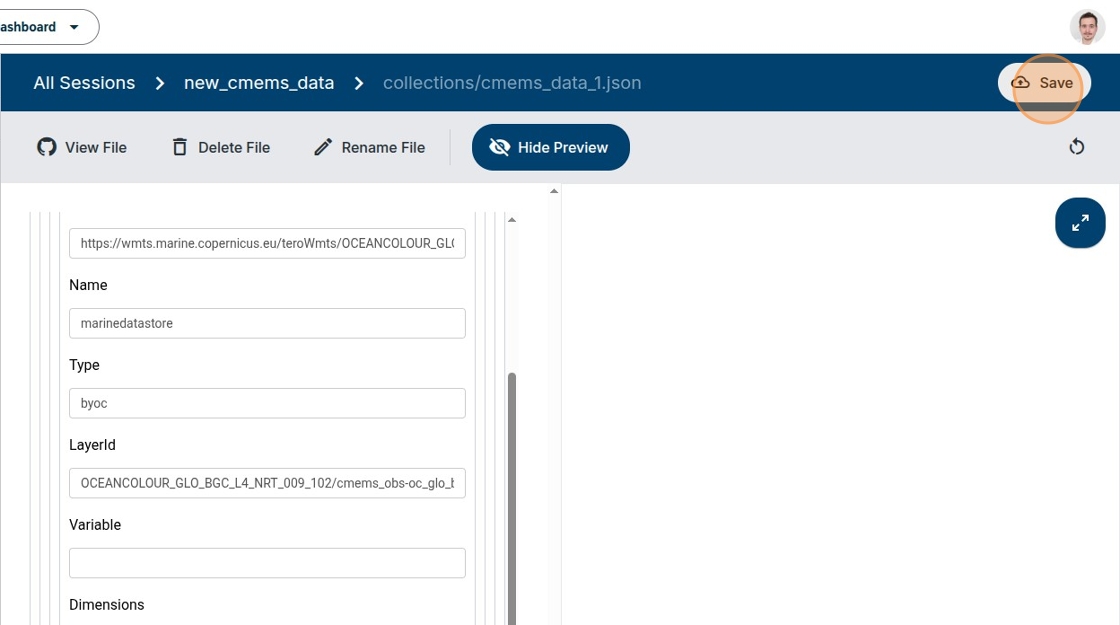
31. Type “marinedatastore” in the Name field as well as “WMTSCapabilities” in the Type field.
32. Fill in the LayerID field
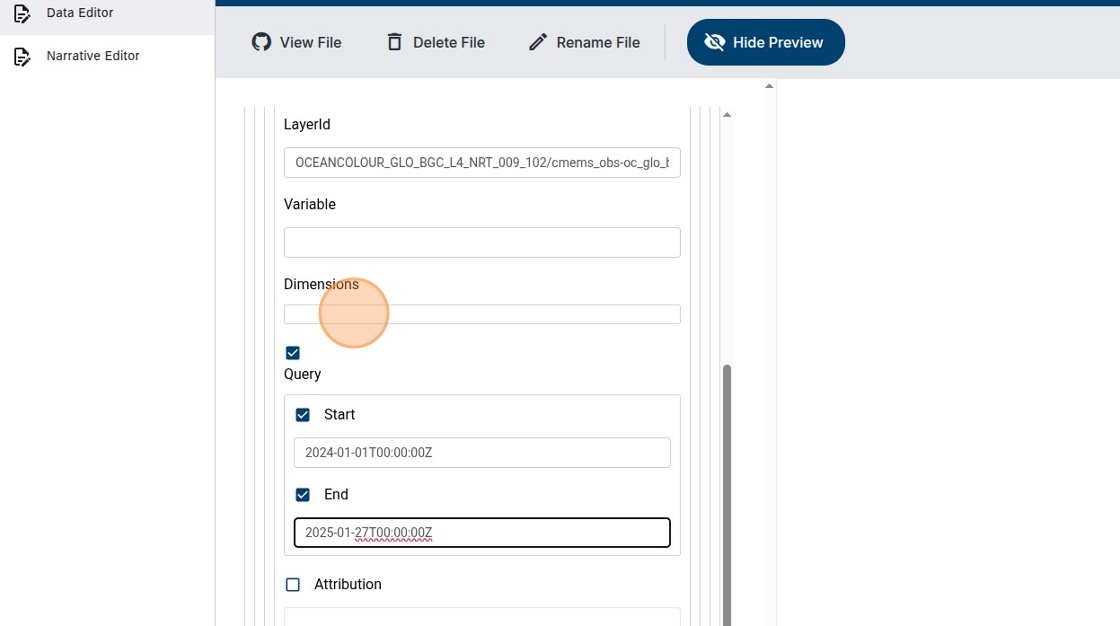
33. You can enable the time query start and end parameter to only retrieve specific time extent, for example 2024-01-01T00:00:00Z to 2025-01-27T00:00:00Z
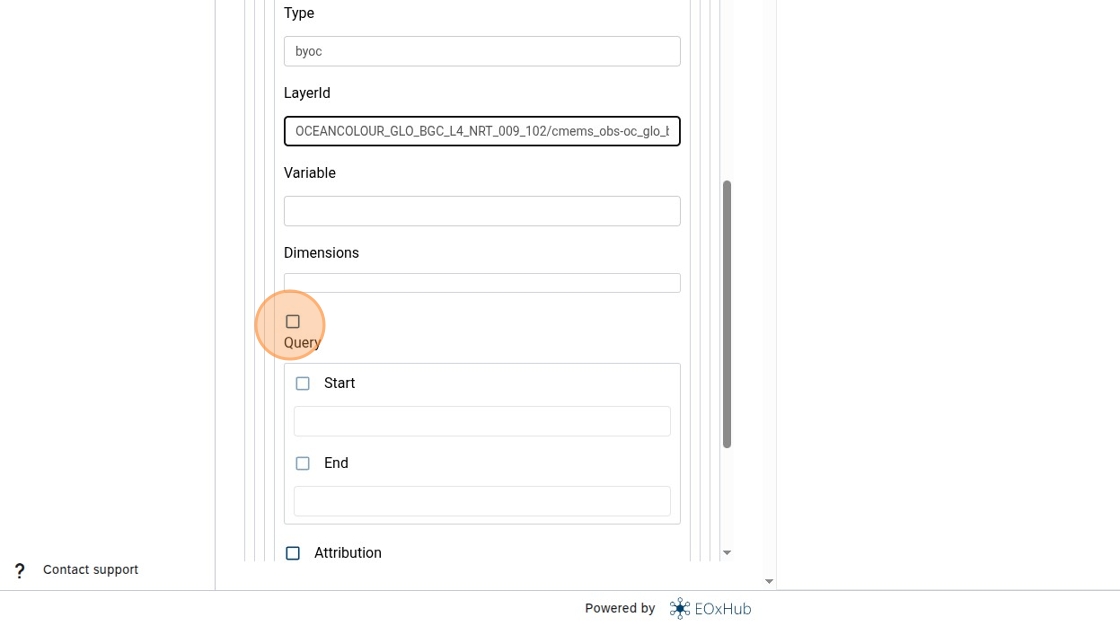
34. The dimensions specification through the UI is still in progress
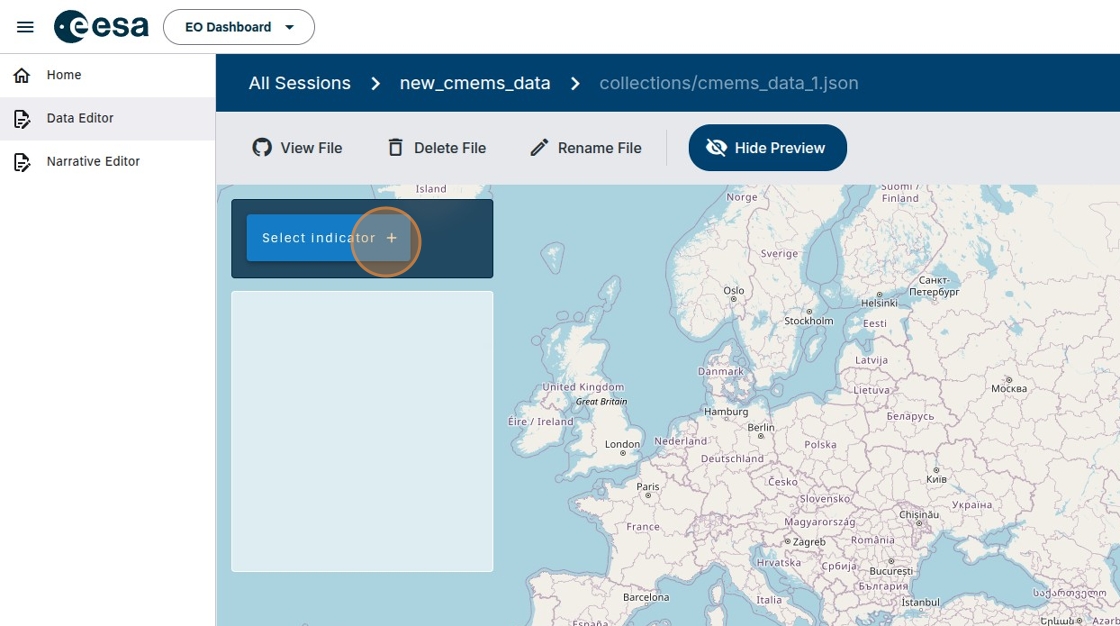
35. Click “Save”
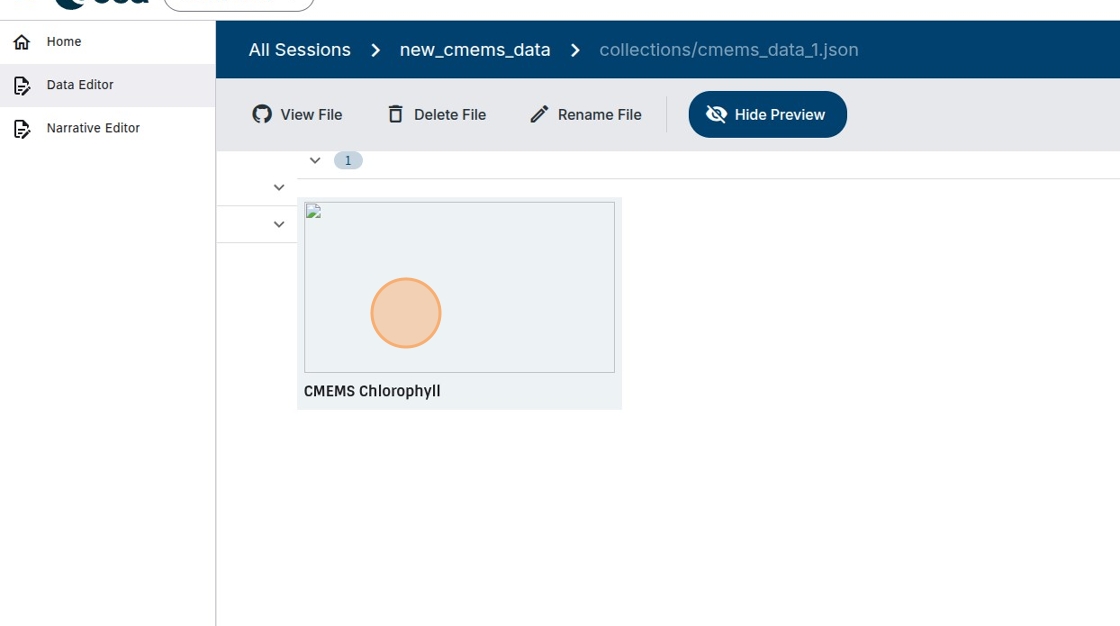
36. After about 1 minute right-click “on the preview field” (probably in white area on the right side), search for Reload frame option and click it. If not found it is also possible to reload the whole page and navigate back to the file you were editing.
37. Click to expand the preview (currently an issue that it falls back to mobile view)
38. Click to select indicator
39. You should see the indicator you just added, click on it
40. You should see the preview of your newly integrated indicator
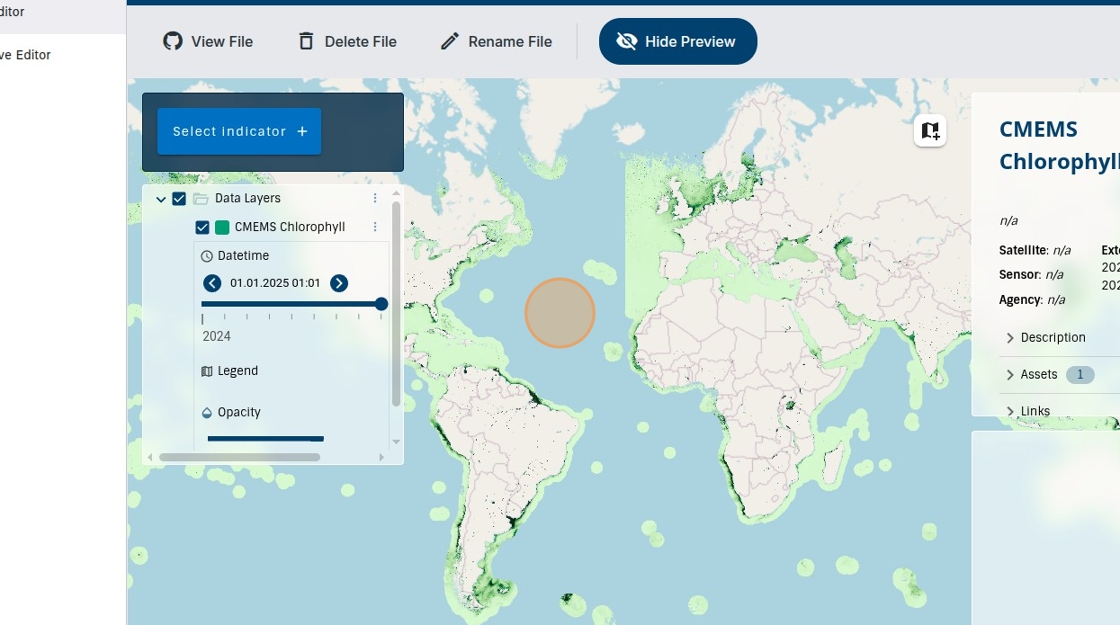
41. The elevation should be specified as Dimension (currently not possible through UI) it defaults to some value (not 0) making the data rendering look different then in the CMEMS data explorer)