This guide provides a step-by-step process for merging multiple datasets into a single display collection using the EOxHub Data Editor. It documents the task of adding a new Indicator file based on existing Collection files created beforehand. It also documents usage of additional Indicator specific properties Disable and Hidden.
1. This tutorial expects already existing Collection files in the session, which are supposed to be grouped together in an Indicator file. Each collection will be shown as a layer in the final visualisation.
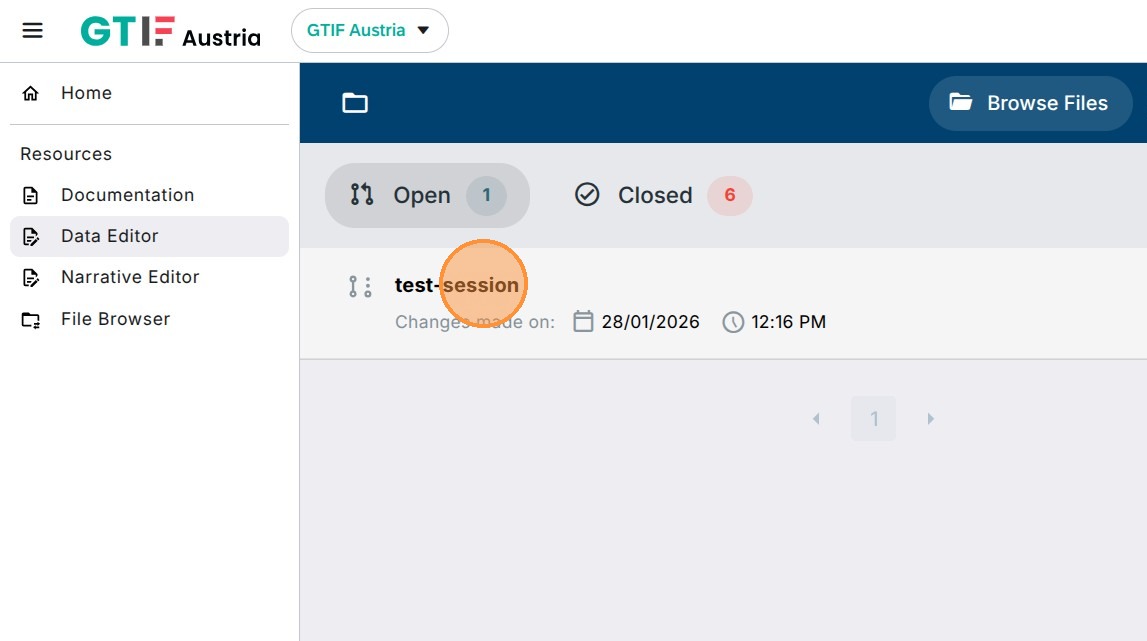
2. Navigate to Data Editor in the workspace page e.g. https://
3. Select the active session which contains already created Collection files, here called “test-session”.
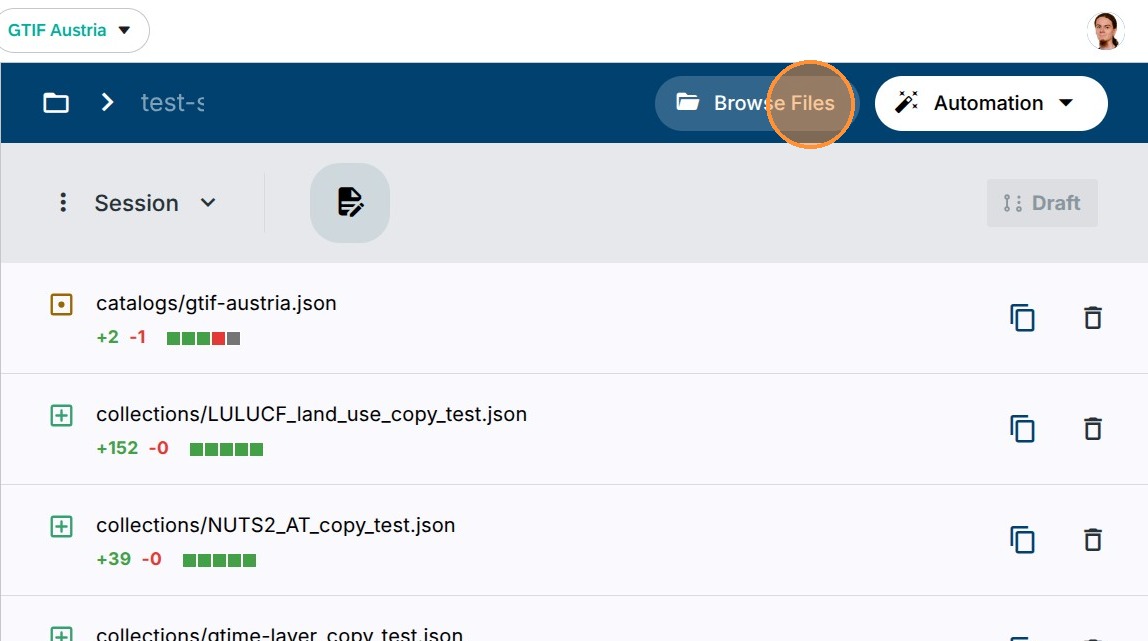
4. Click “Browse Files” to navigate to the folder with indicators definitions.
Notice existing pre-created files in collections. Their filenames will be used later.
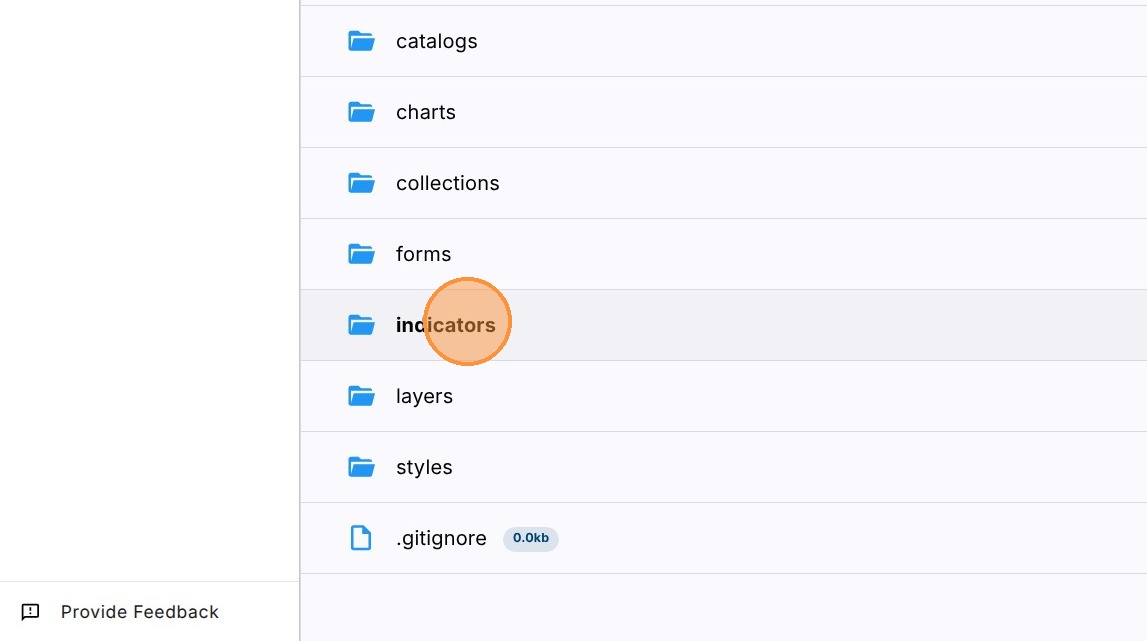
5. Click “indicators”
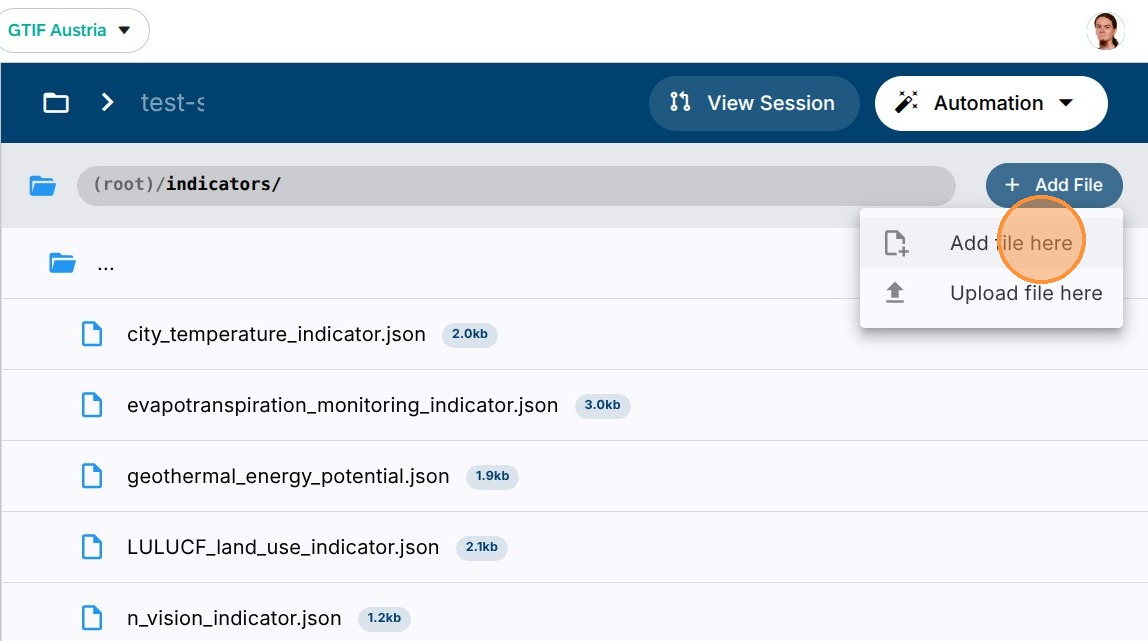
6. Click “Add File” and “Add File here” to create a new indicator definition.
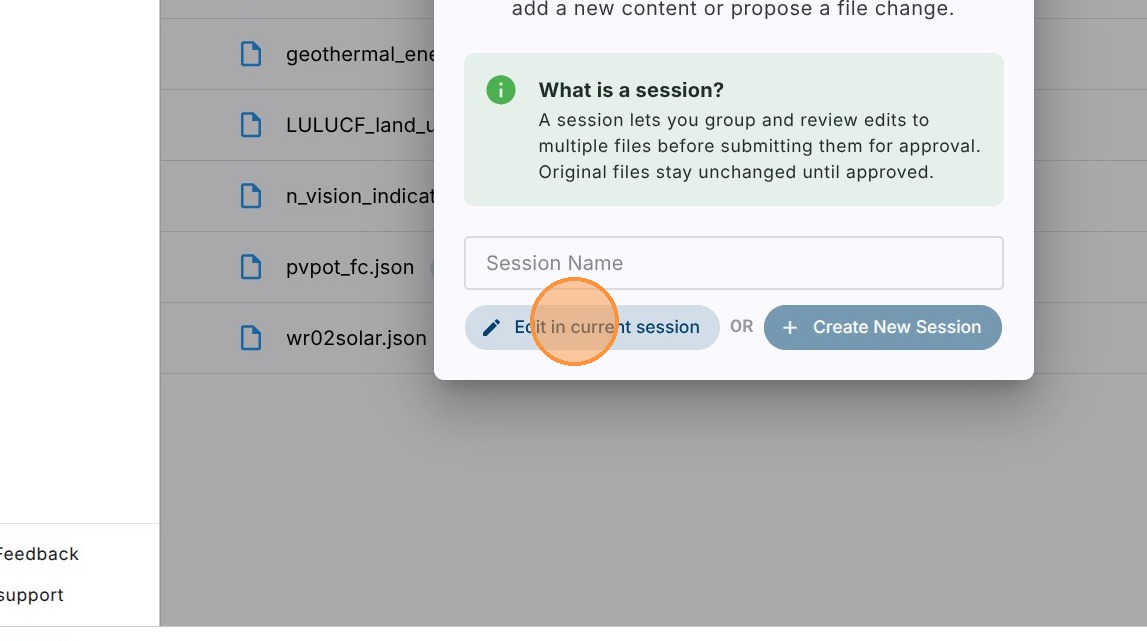
7. Select “Edit in current session”
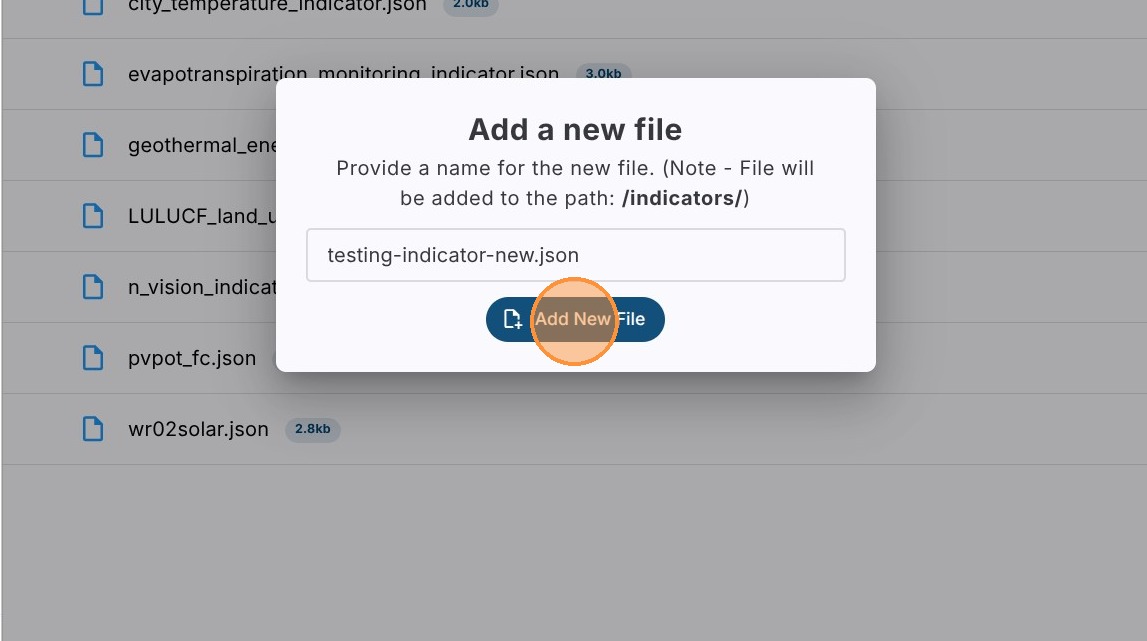
8. Type the filename of a new indicator file with .json prefix, e.g. “testing-indicator-new.json”.
Click on Add New File
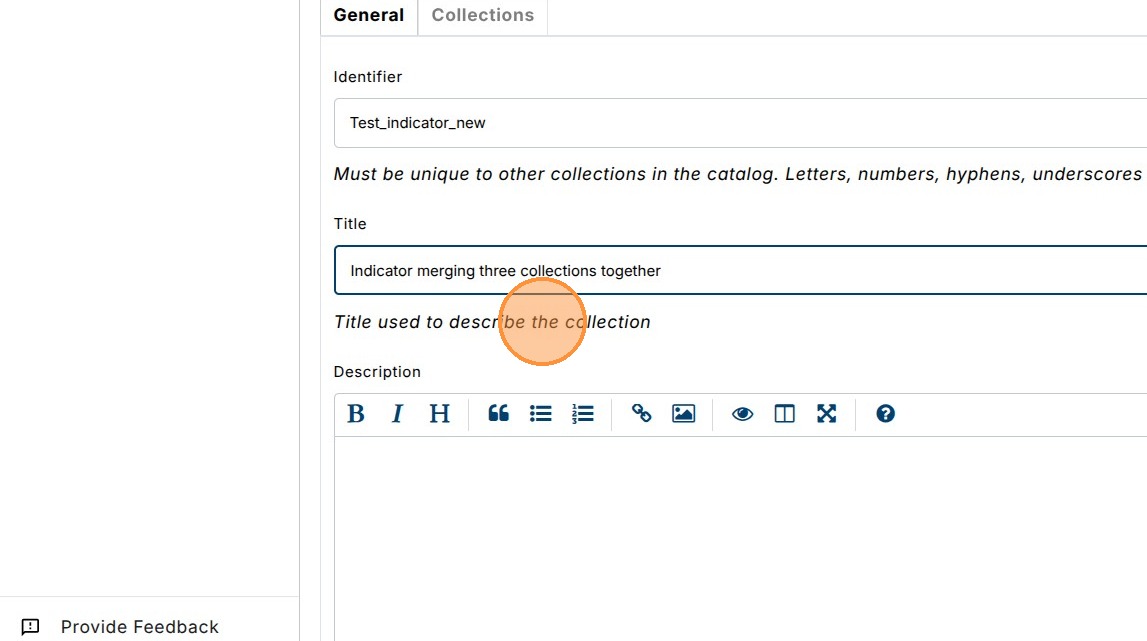
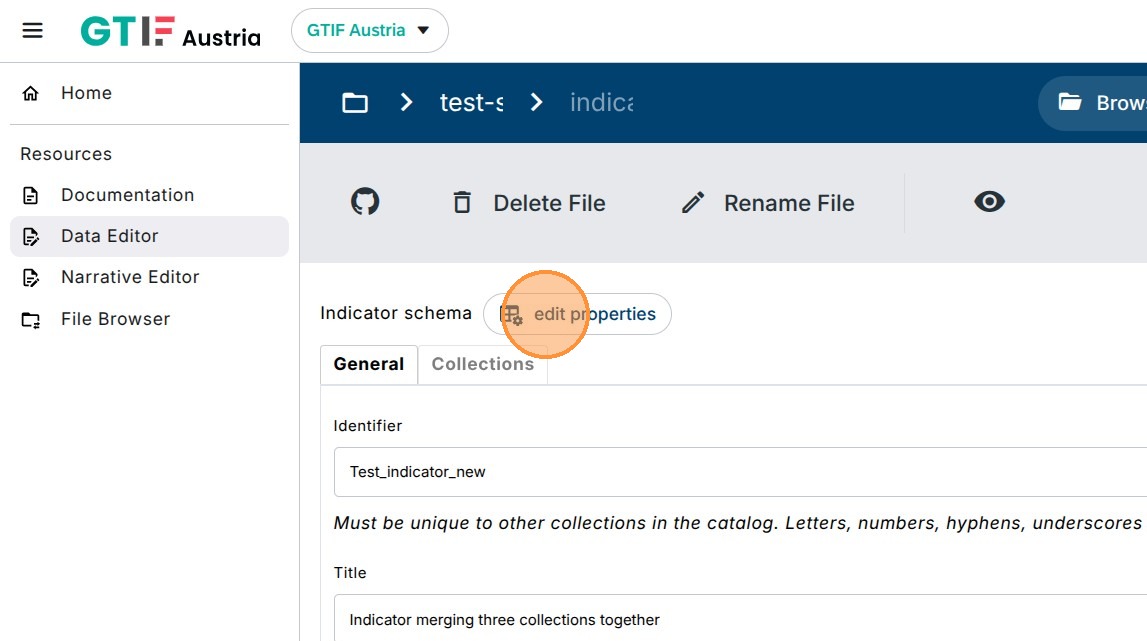
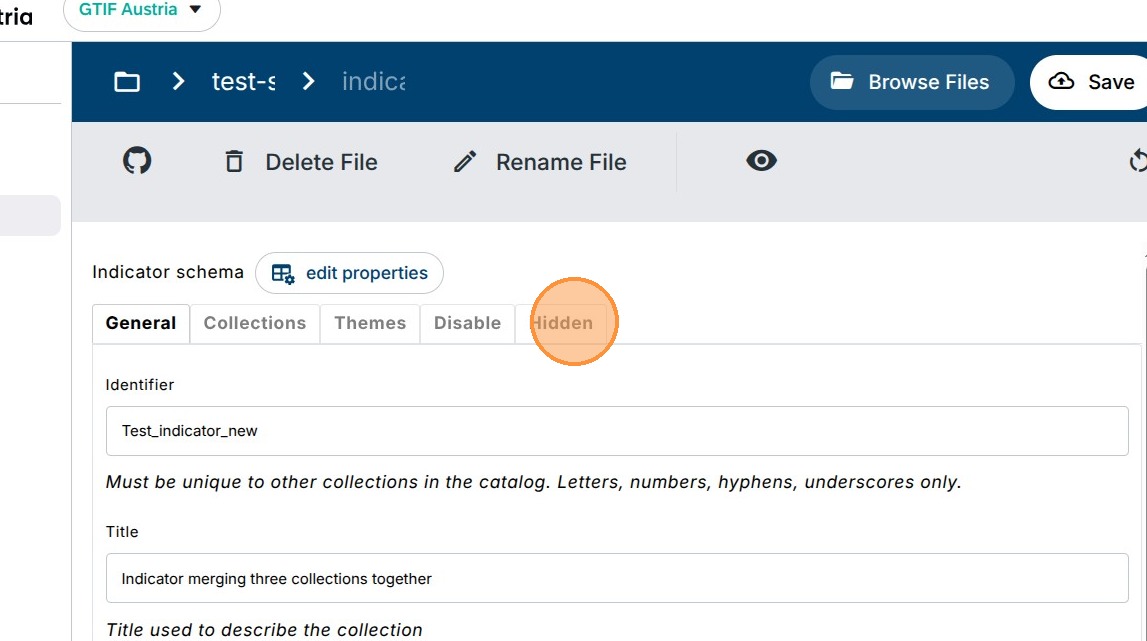
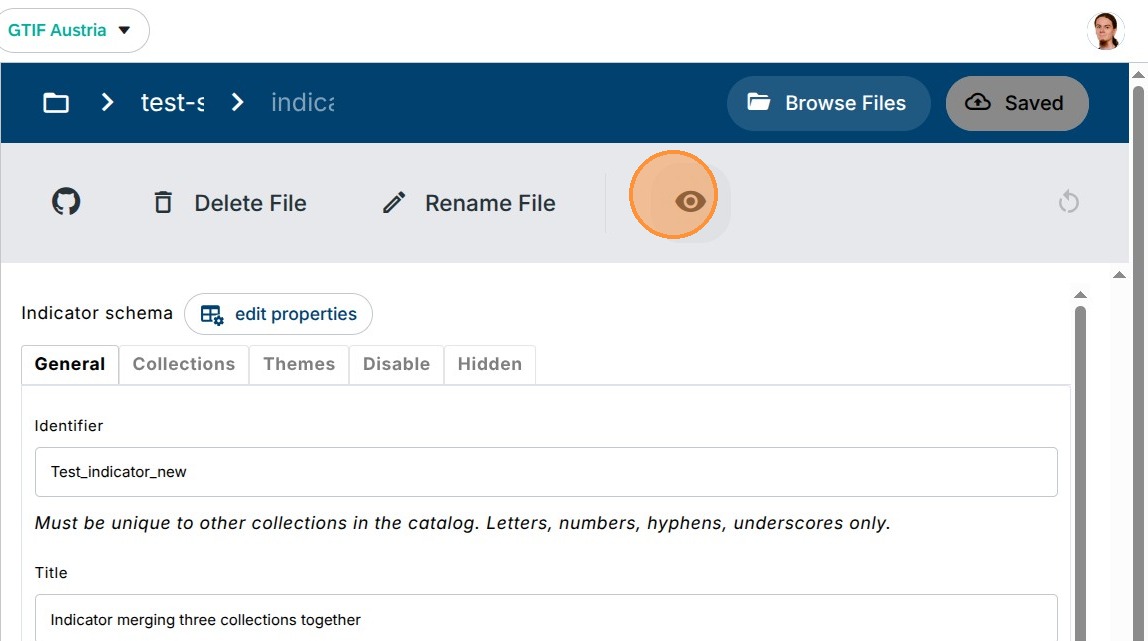
9. Insert mandatory fields Identifier and Title for the Indicator.
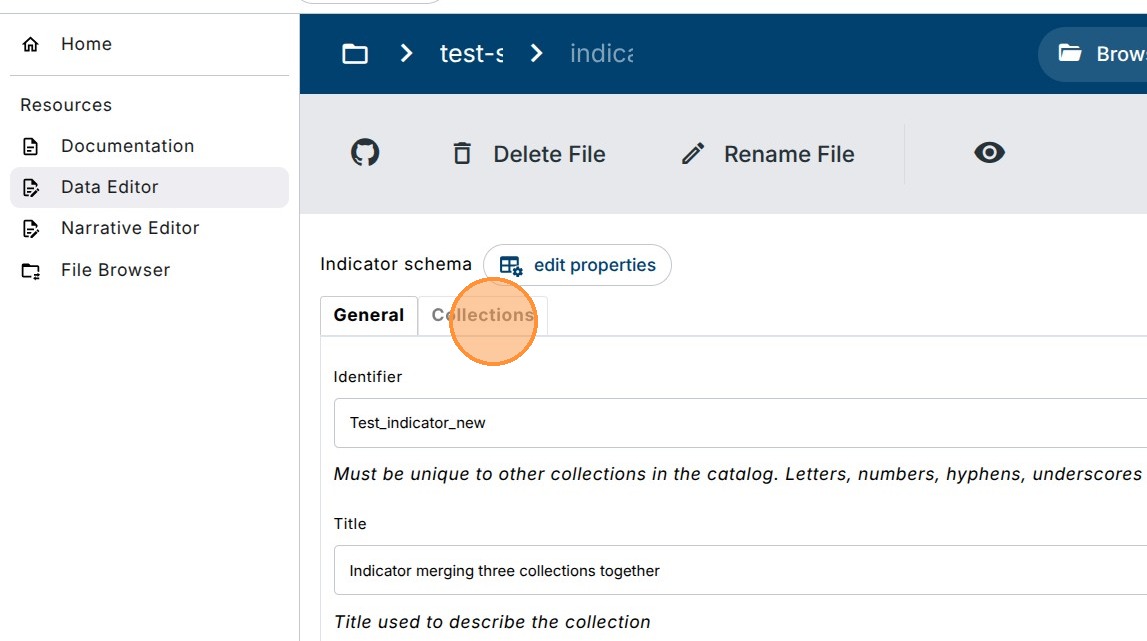
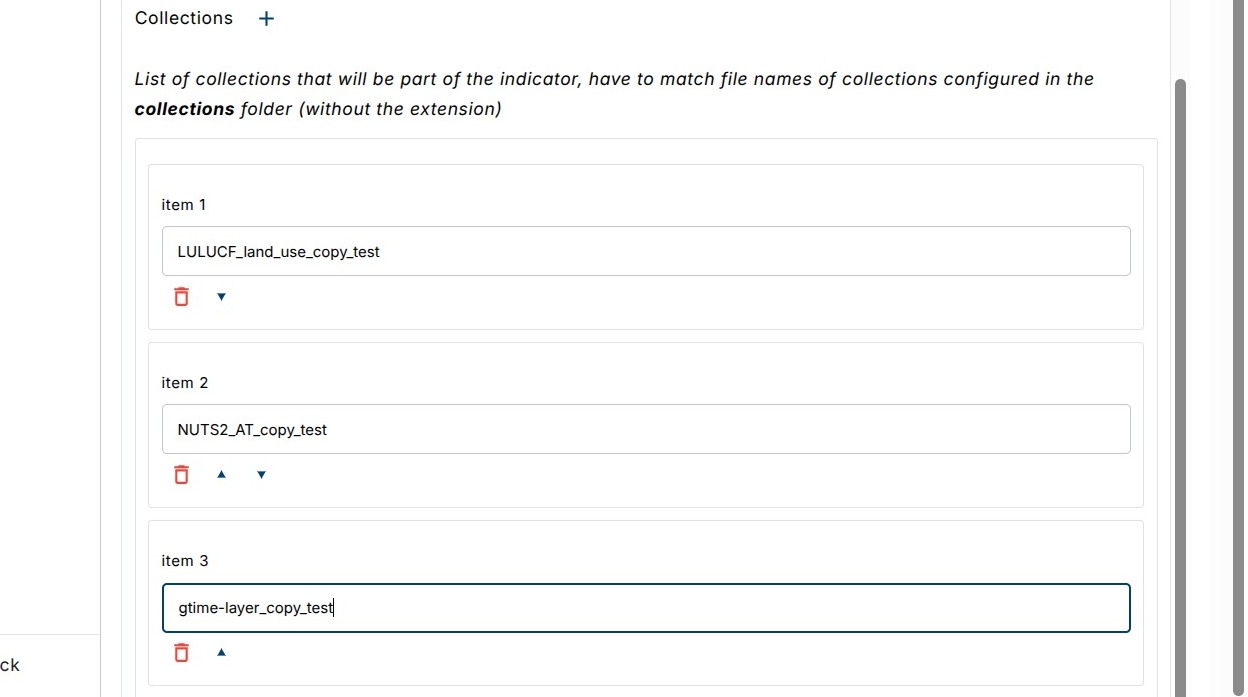
10. Add mandatory information about which Collections are linked in this indicator.
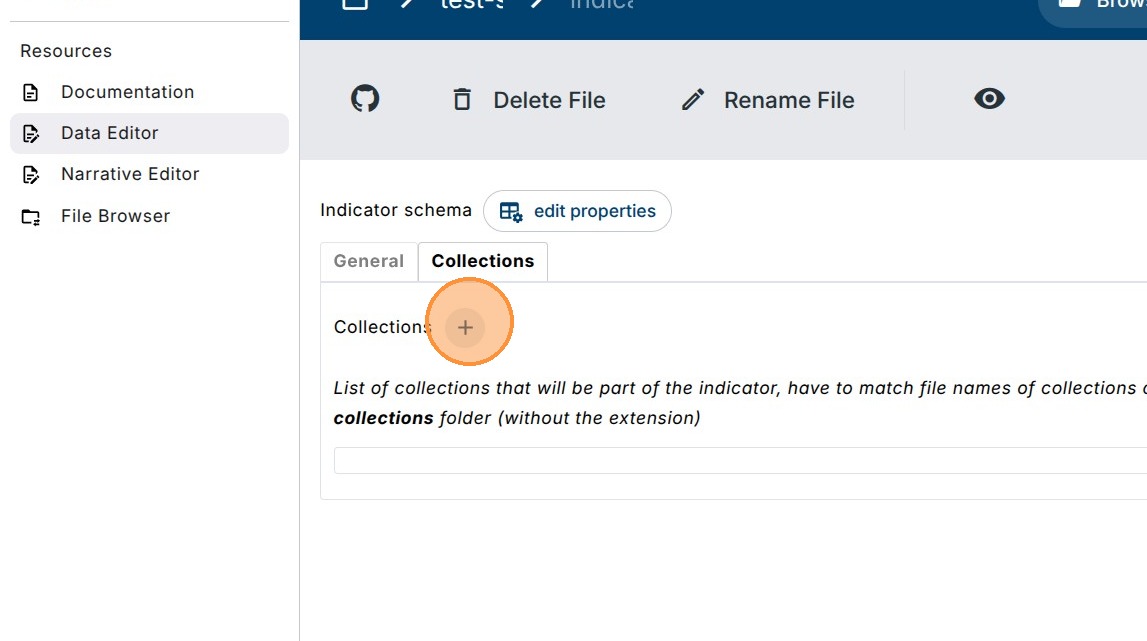
11. Click on the “+” icon to add a new link to a collection.
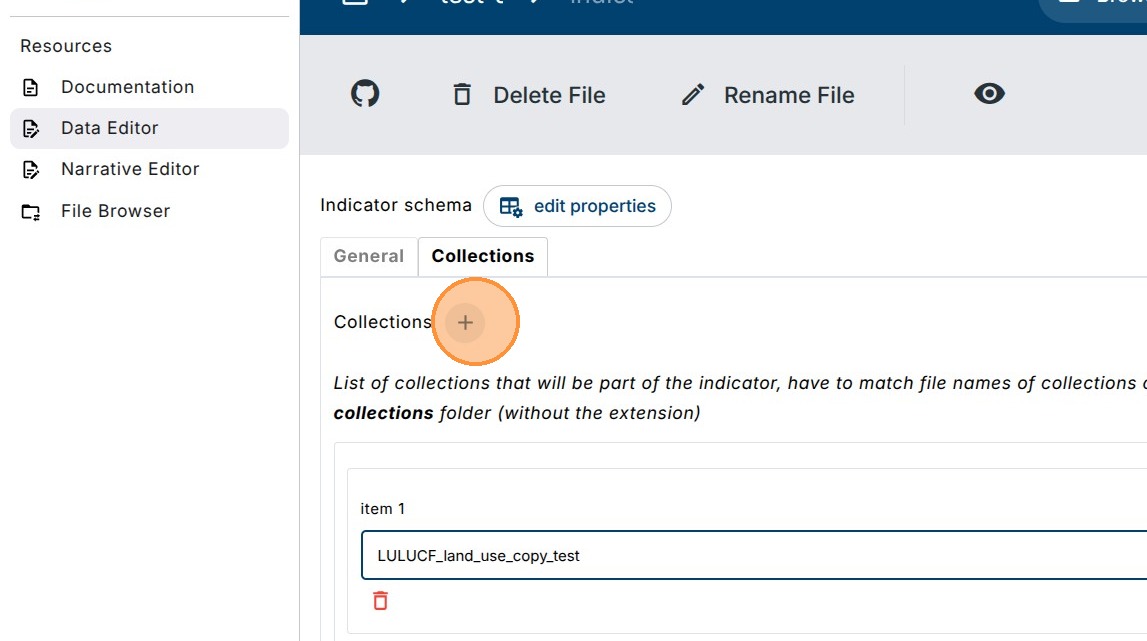
12. Each Item is a filename of a Collection without the .json suffix e.g. LULUCF_land_use_copy_test
13. Insert all Collection filenames which are supposed to be added.
14. Click here.
15. Metadata fields such as Themes defined on the Collections are not propagated into the Indicator so for indicators they must be defined here as well.
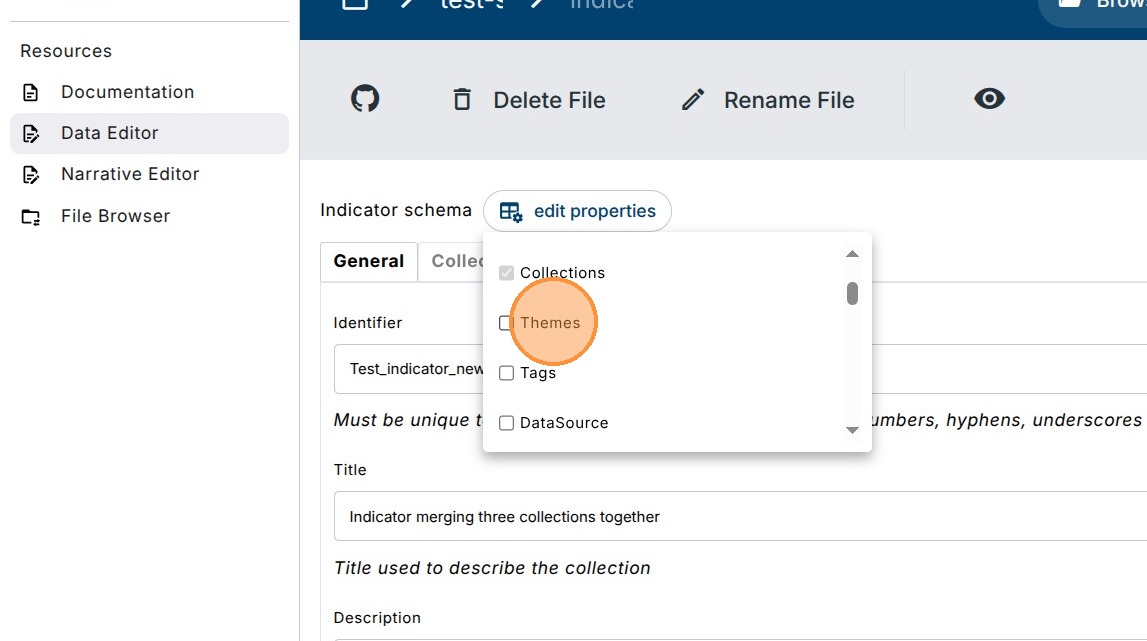
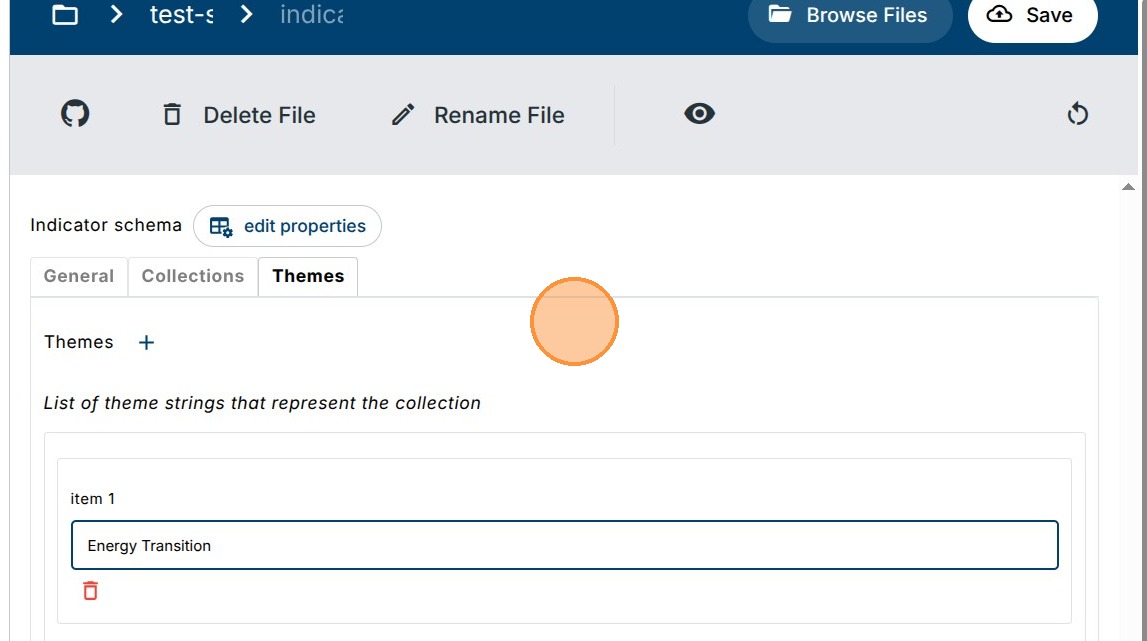
16. Click on the “+” icon to add a new Theme and type it into the field.
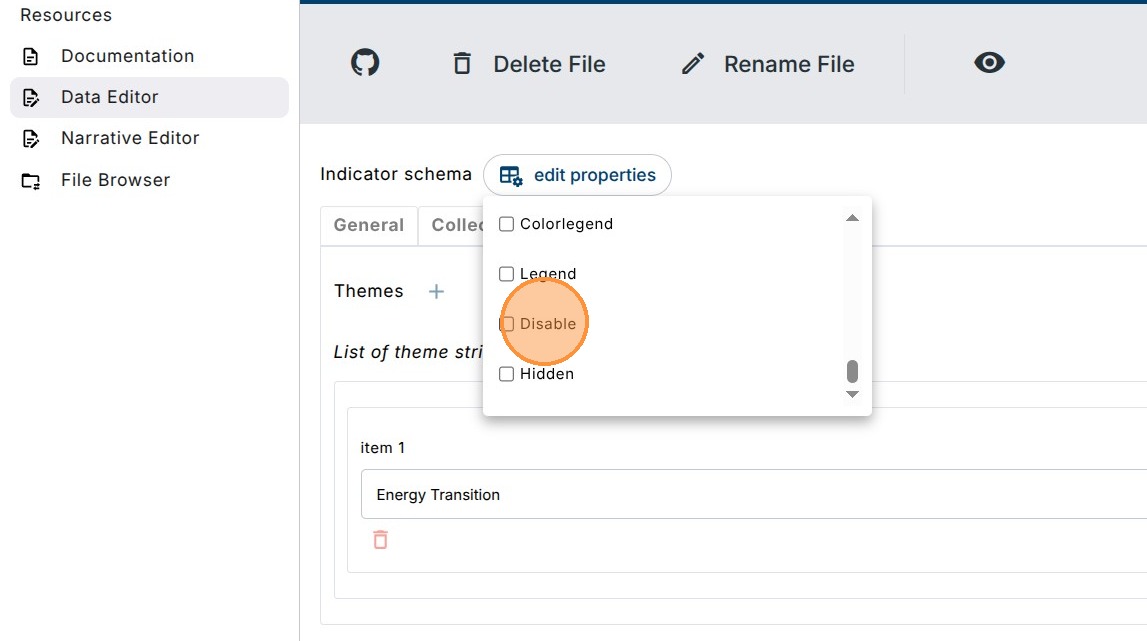
17. Two special fields for Indicators are Disable and Hidden.
Click on the checkbox to activate the field.
Disable is an optional list of Collections which should load as initially disabled in the dashboard layer control.
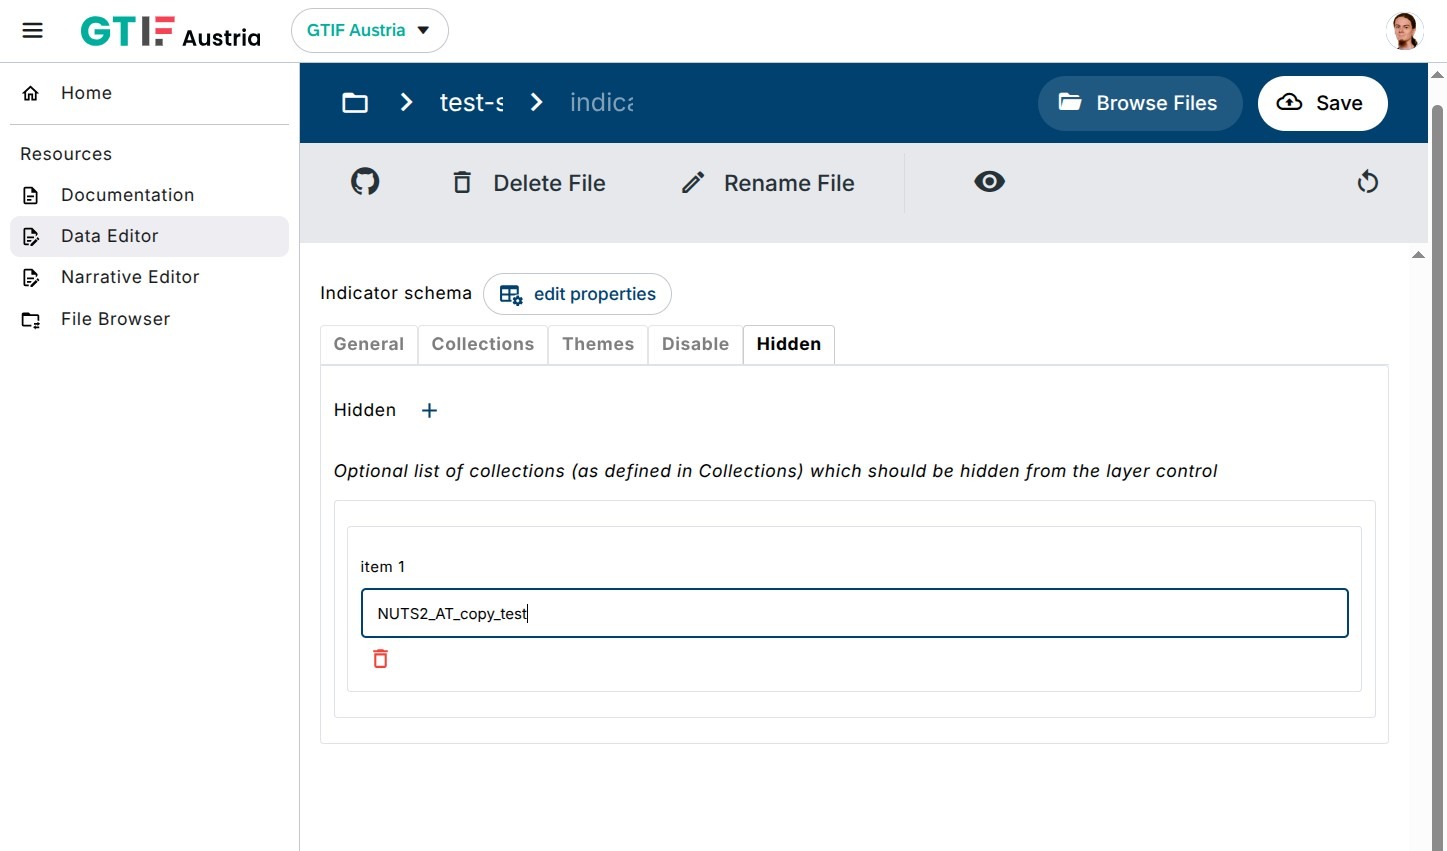
Hidden is an optional list of Collections which should be completely hidden from the layer control but still appear on the map.
18. Click on the “+” icon to add a new item and write in the filename of a collection without the file suffix to disable it.

19. Same can be done for Hidden category. Click on edit properties to add Hidden by clicking on its checkbox. Then switch to the Hidden tab.
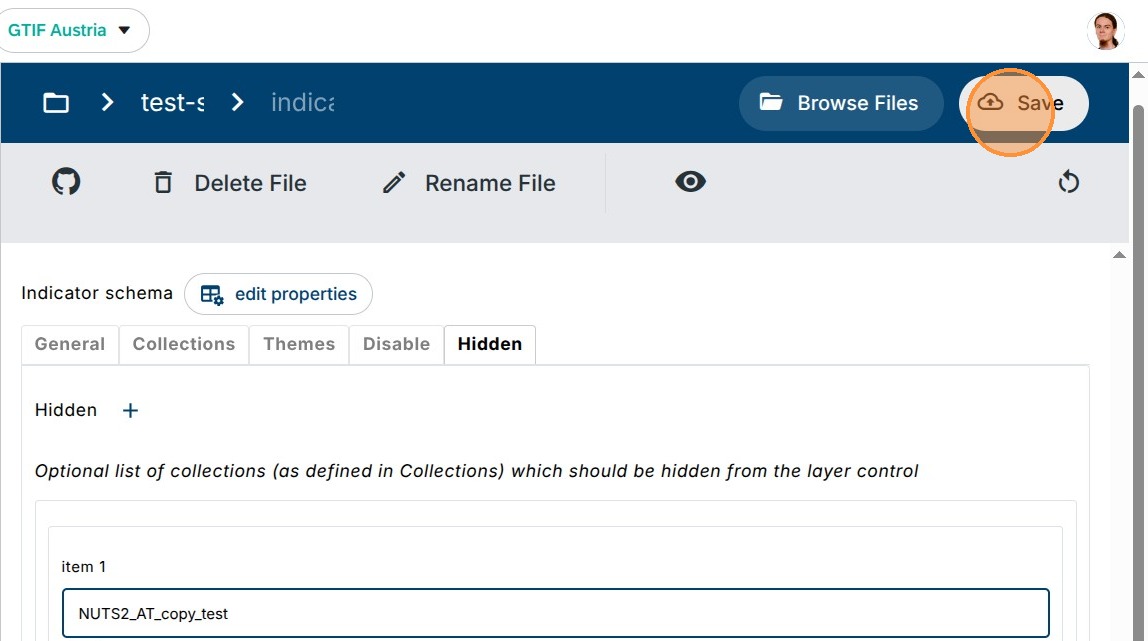
20. Click on the “+” icon to add a new item and write in the filename of a collection without the file suffix to hide it from layercontrol.
21. Click “Save” to start generation of an updated testing catalog.
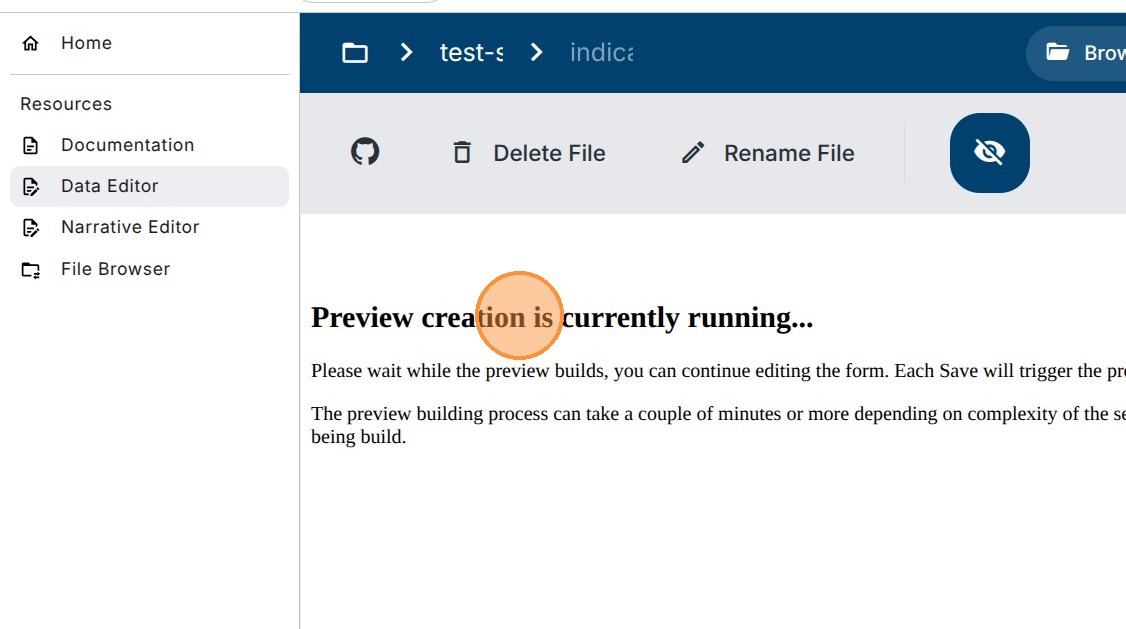
22. If on a smaller screen, in order to see the preview instance, click on the “Eye” icon
23. “Preview creation takes a few minutes to finish”
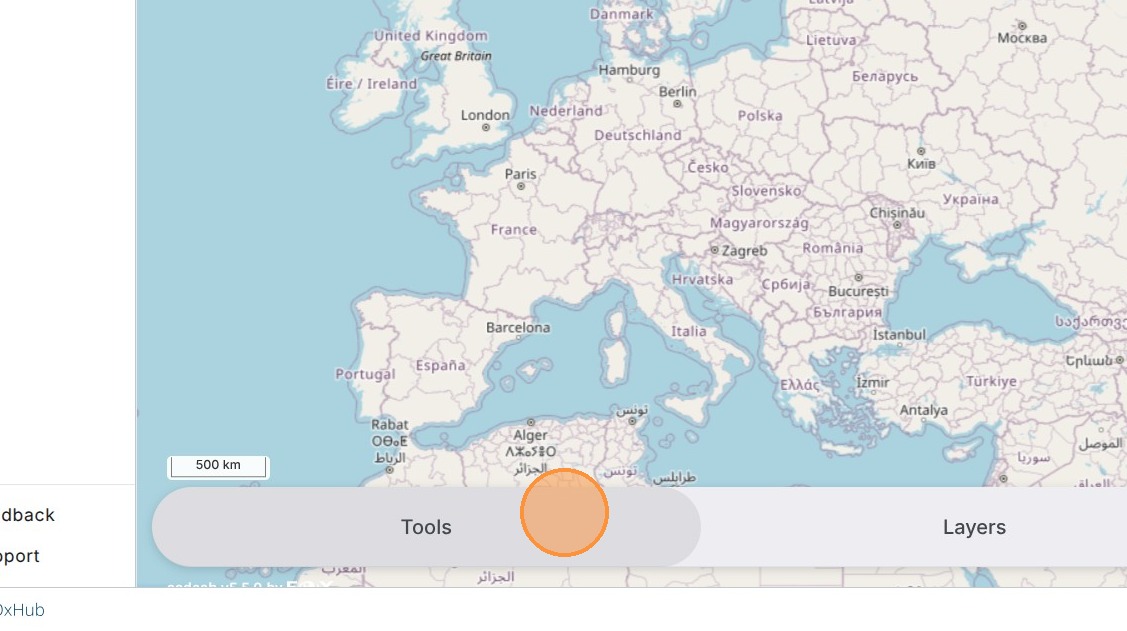
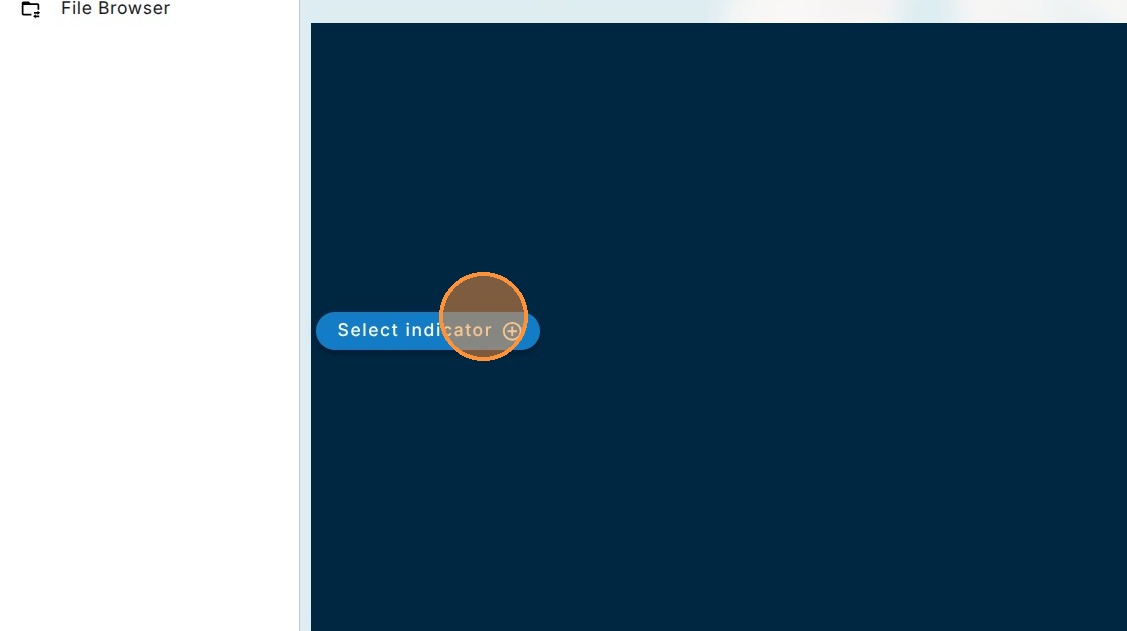
24. Once the preview generation finishes successfully, you can select the Indicator to check the visualization in the Tools section.
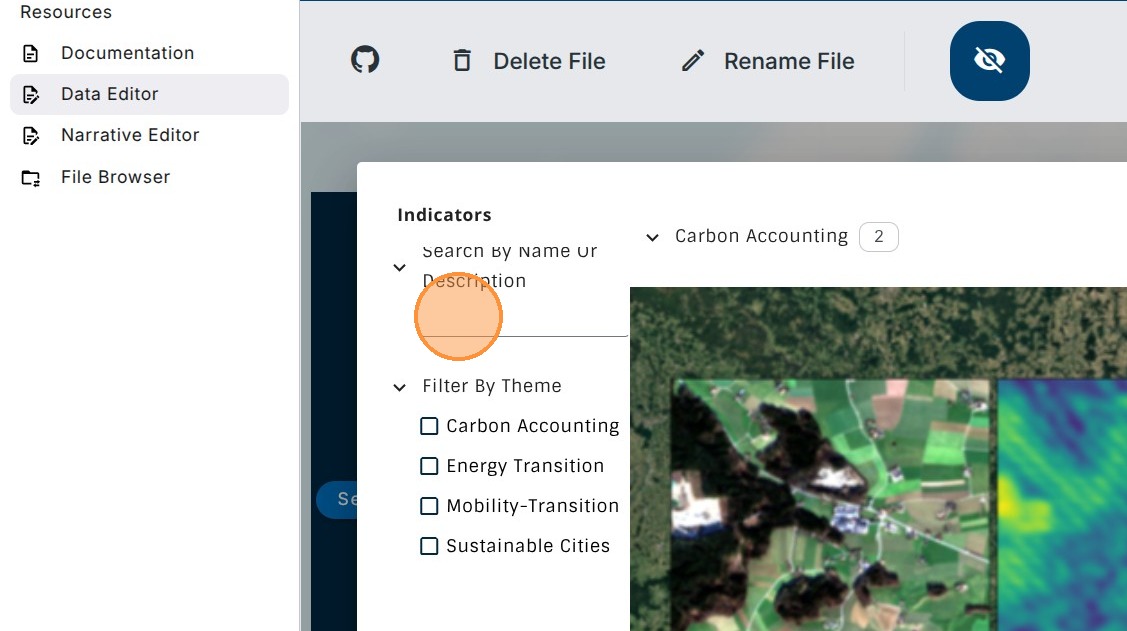
25. Click “Select indicator”
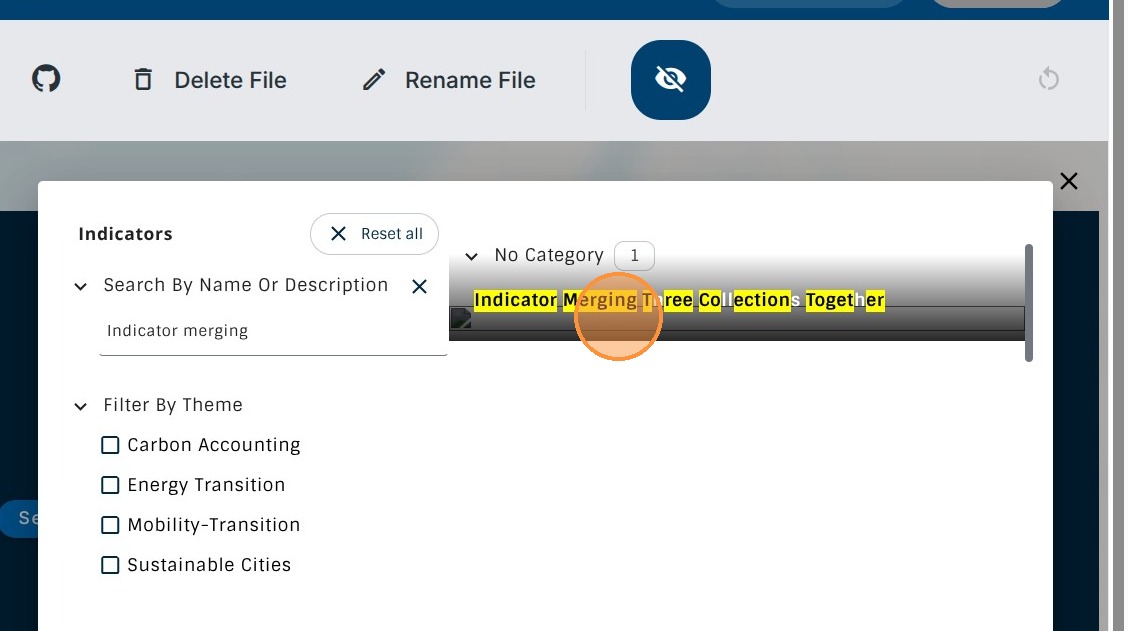
26. Search for your indicator Title to filter the list and select it.
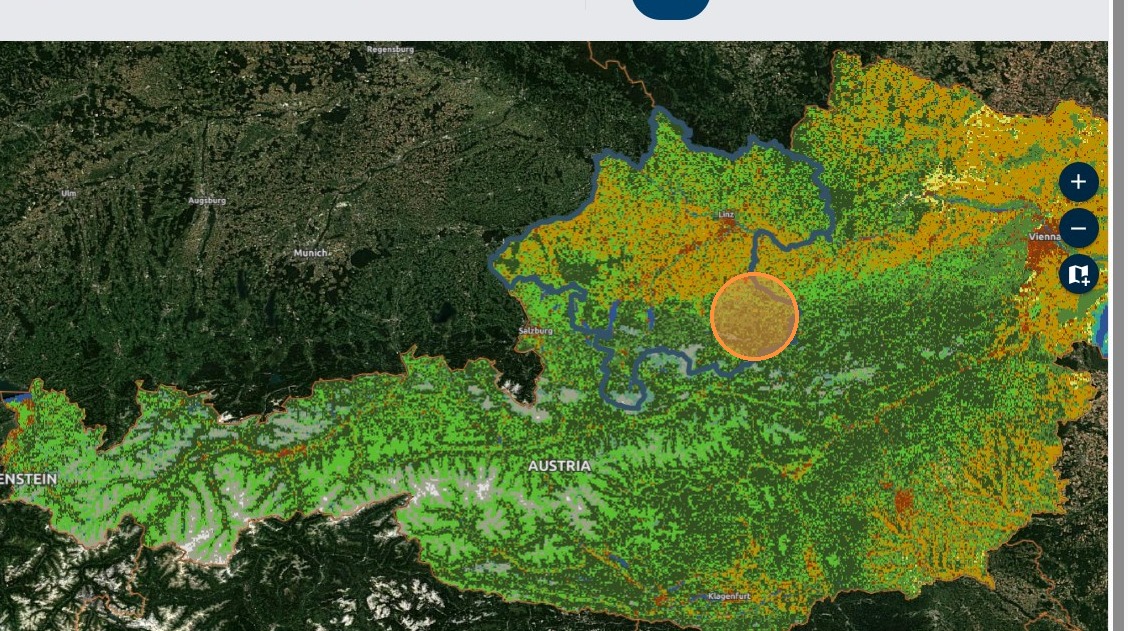
27. Click the newly added Indicator to open the visualisation.
28. Two collections are displayed by default: Land Usage raster and NUTS geometries. The third collections defined in the Hidden is not shown.
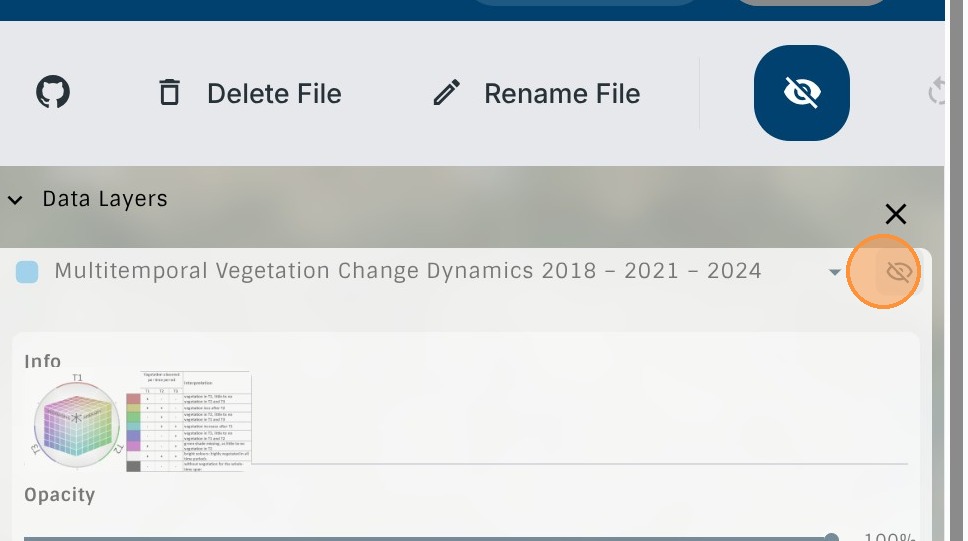
29. In the “Layers” tab,, you can confirm that the third Collection is indeed Hidden.
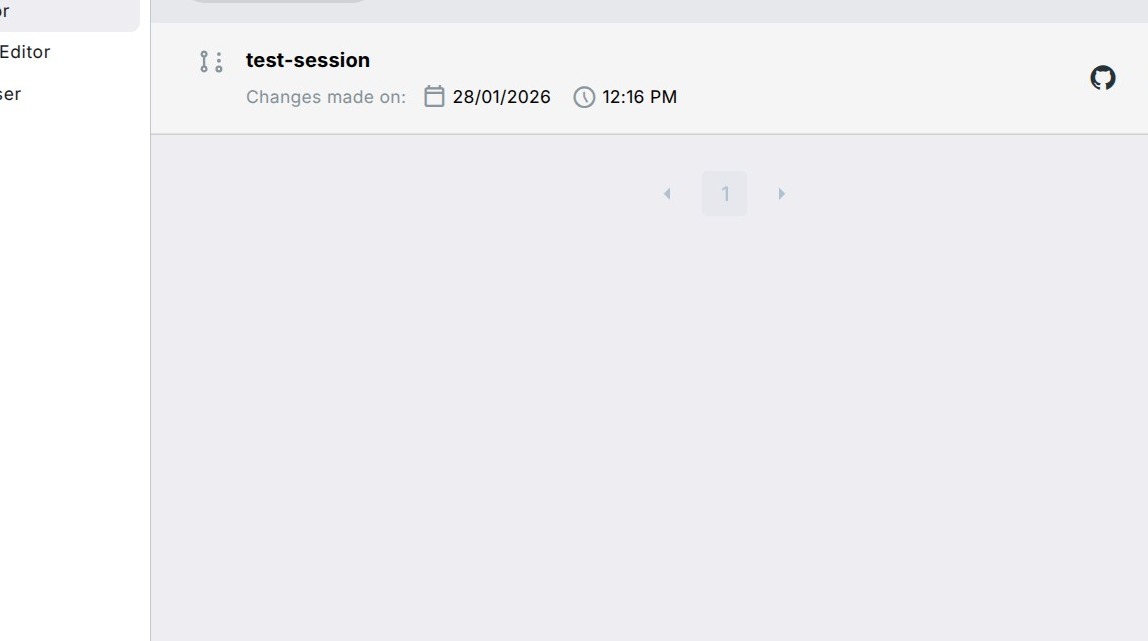
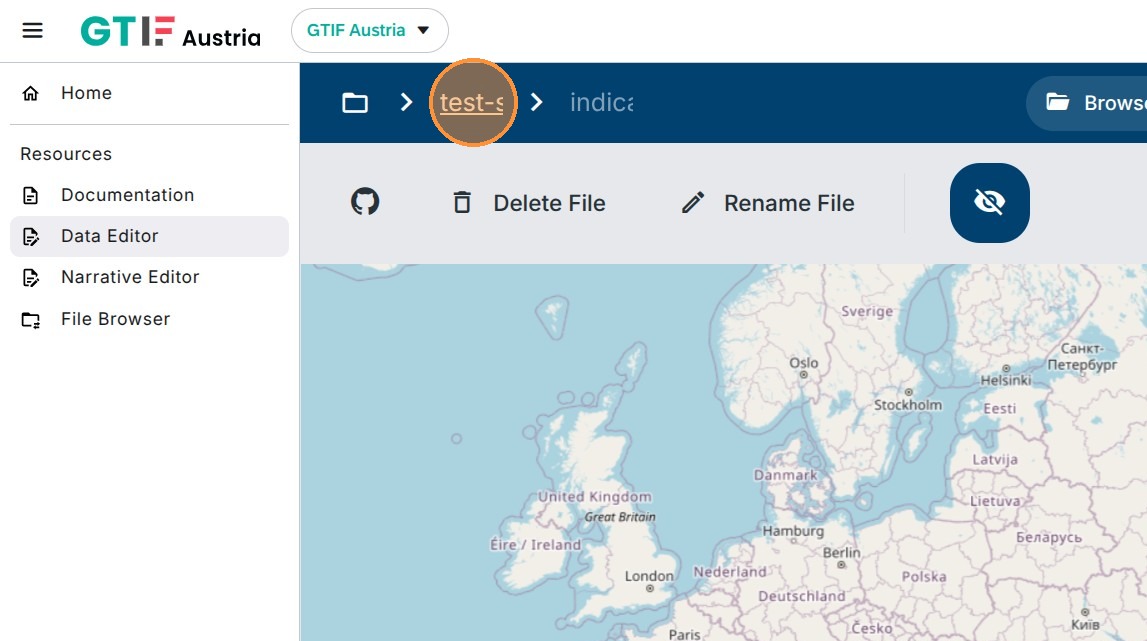
30. You can then submit the session for review by clicking on the session name e.g. testing-session
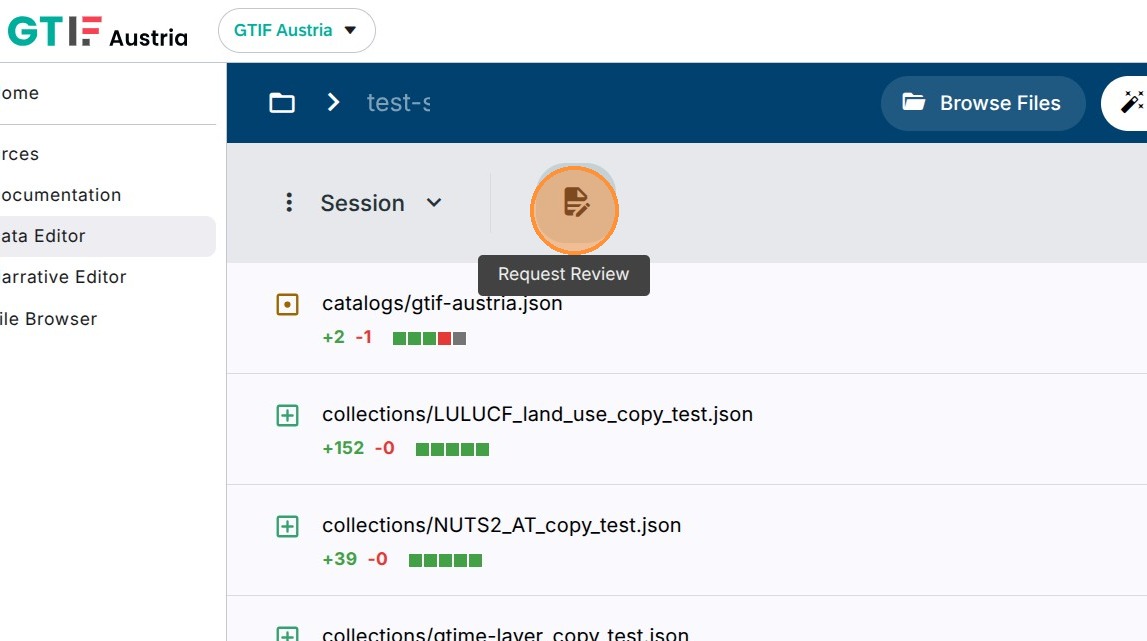
31. Request review.
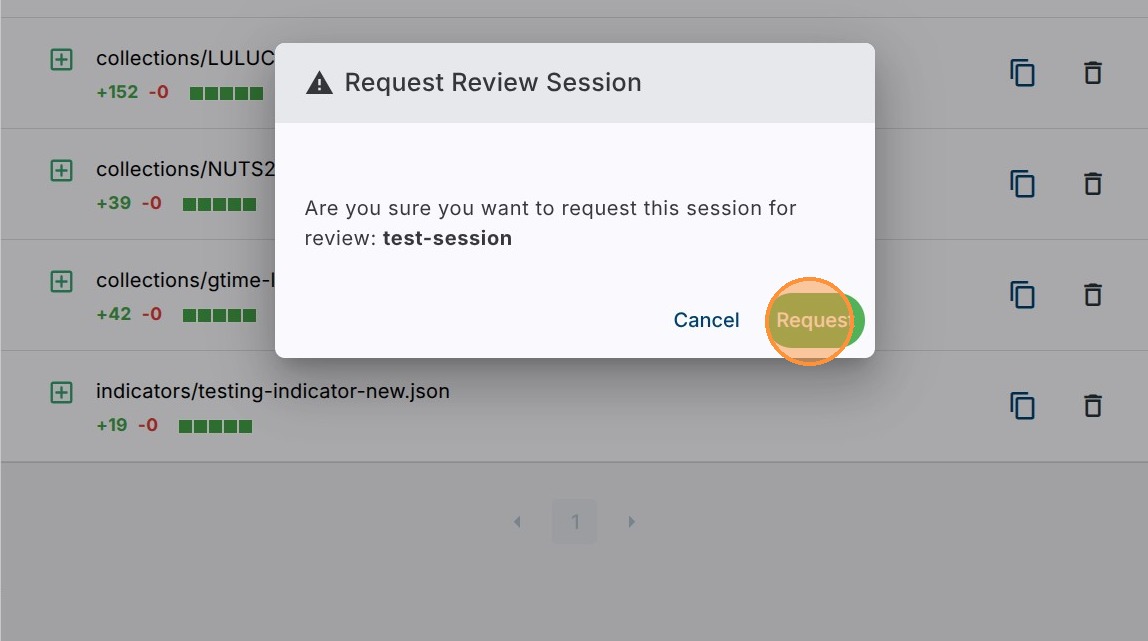
32. Click “Request button”
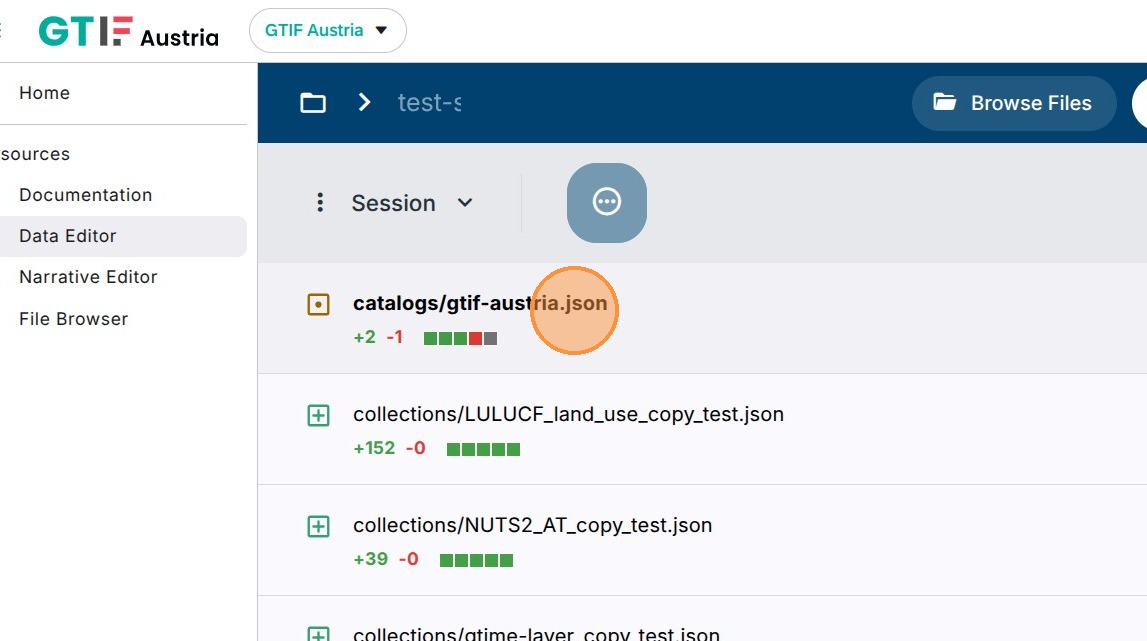
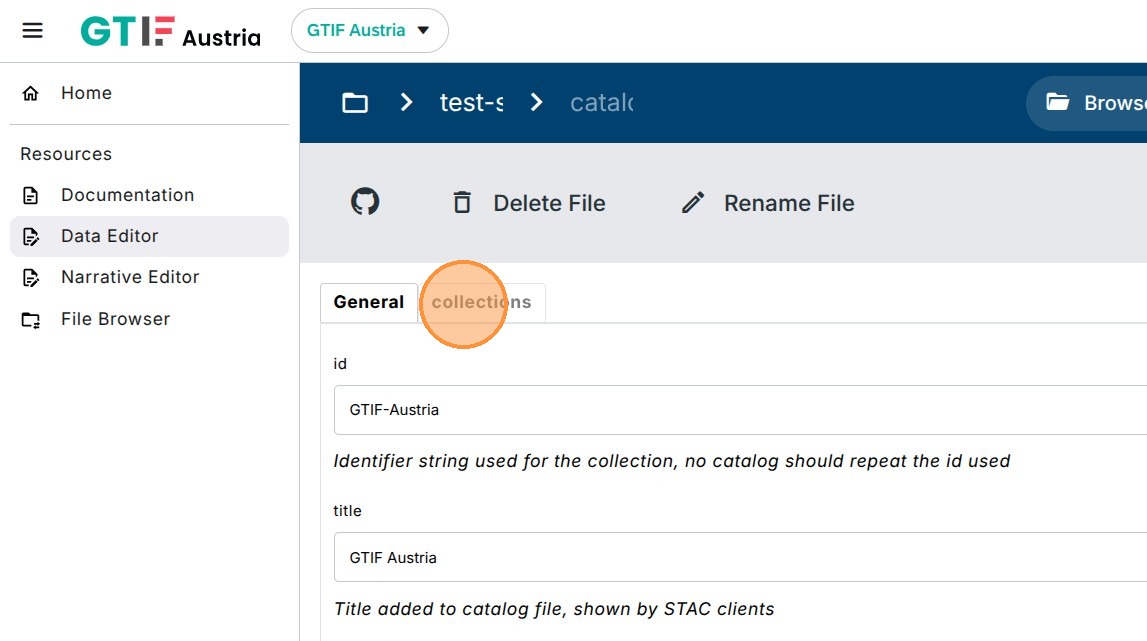
33. Indicator file needs to be added manually to the catalog definition file e.g. “catalogs/gtif-austria.json” in order to appear in the platform after merging the underlying changes from the session.
Click on the indicator file if any changes were already done, otherwise use the Browse Files and navigate to the catalogs folder.
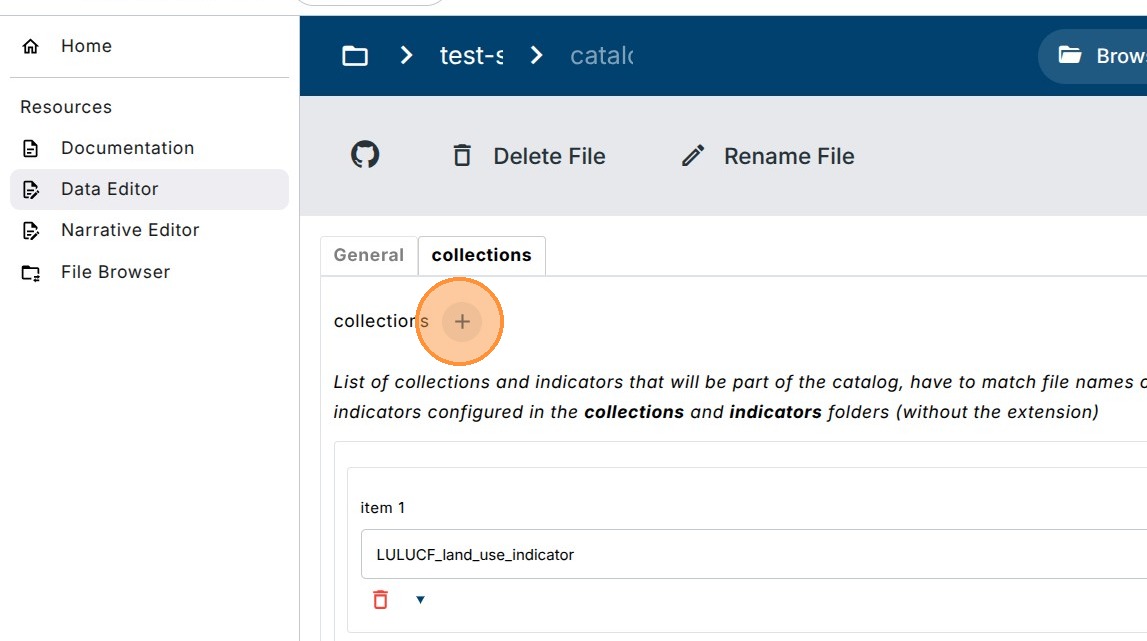
34. Edit the collections category.
35. Click on a “+” icon to add a new reference to the Indicator.
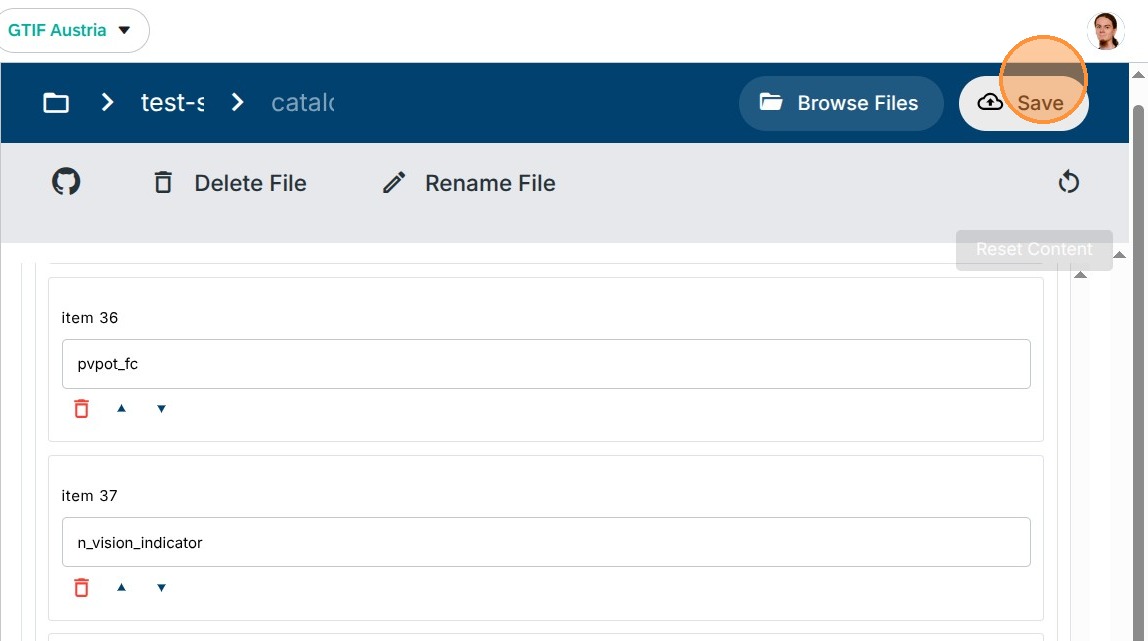
36. Scroll down to the bottom of the list.

37. Add the filename of the new Indicator file without the suffix.
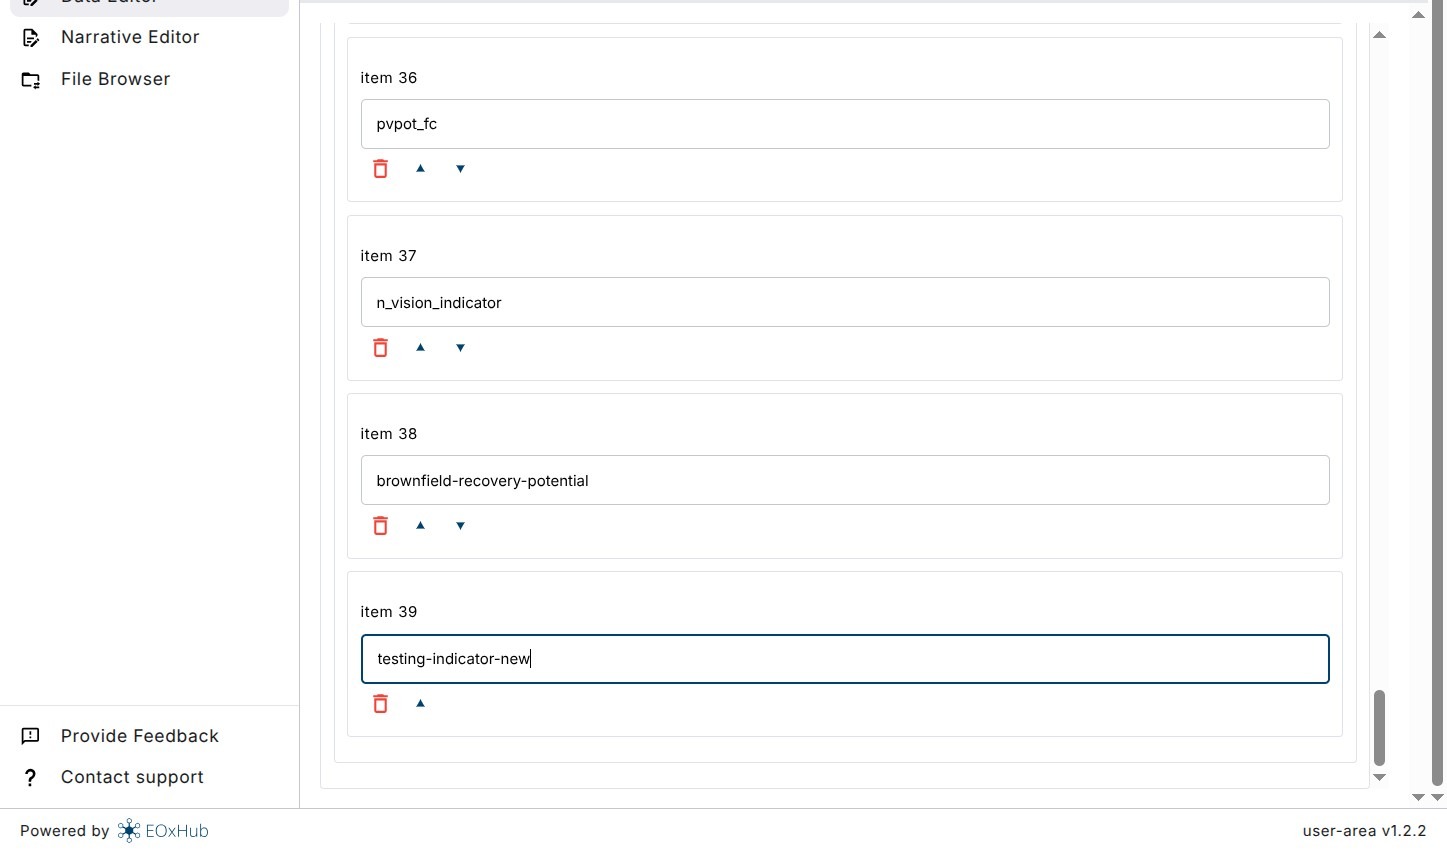
38. Click “Save”