1. Navigate to your EOxHub workspace, for example https://

2. After successfully signing in, find the “Narrative Editor” tile and click on it.

3. If this is your first time using our Narrative Editor, you will have to authorize our tool to interact with your GitHub account.
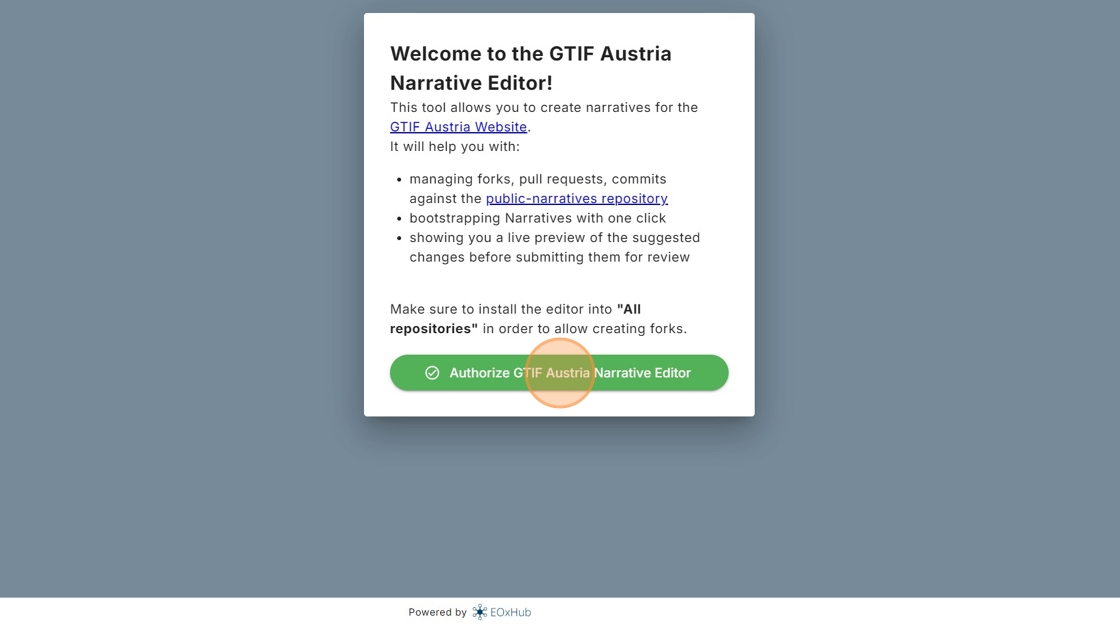
4. After doing so, make sure “All repositories” is selected and click “Install & Authorize”. The Narrative Editor requires access to all repositories to be able to create new narratives. It will not however, edit any of your other repositories.

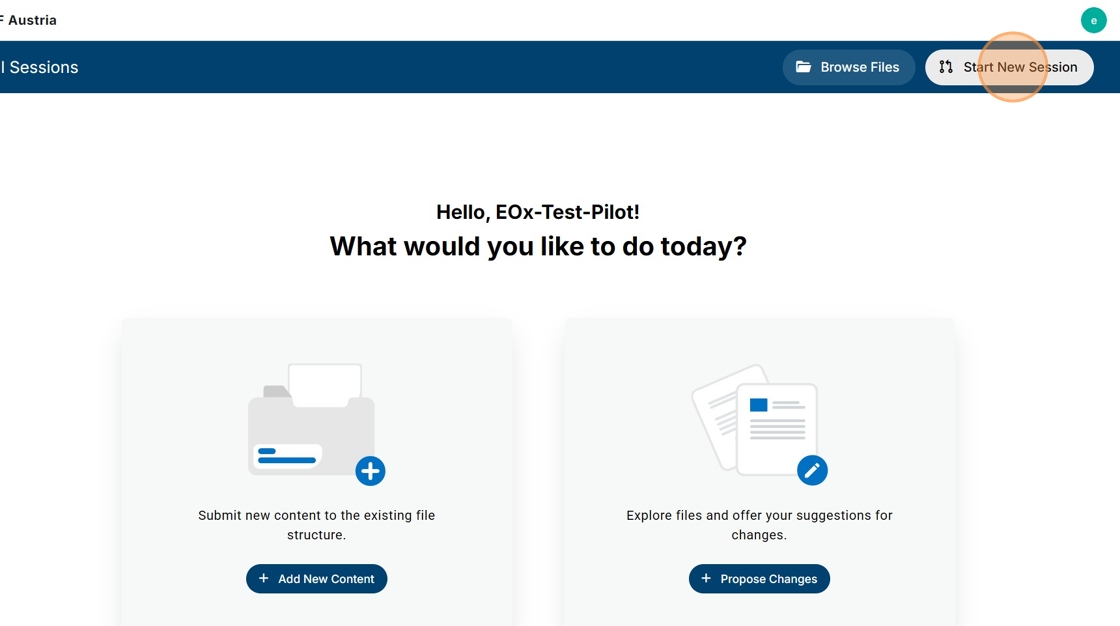
5. In order to create a narrative, you will have to create a session first. Sessions allow you to edit multiple files in one place. You will create your narrative within. To create a session click “Start New Session” towards the top right of your screen.
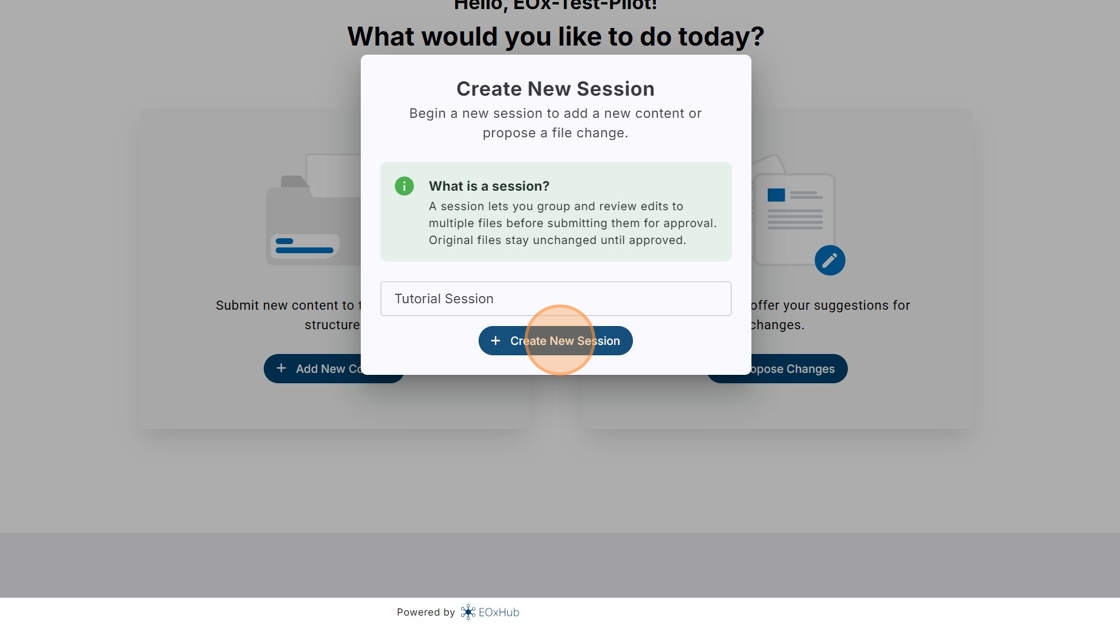
6. Your session requires a name, which will be used to more easily find your work on GitHub. After typing in a name, click “Create New Session”.
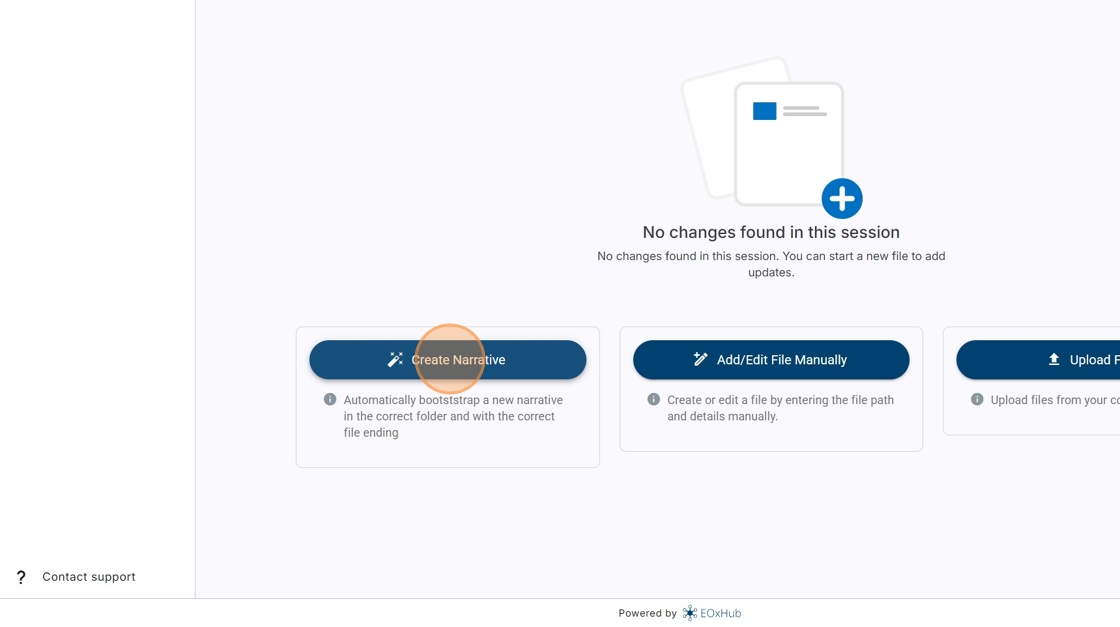
7. Select “Create Narrative” to create a new narrative. The other two options let you edit existing narratives or upload your own. Both without actually making changes to the original Website yet.
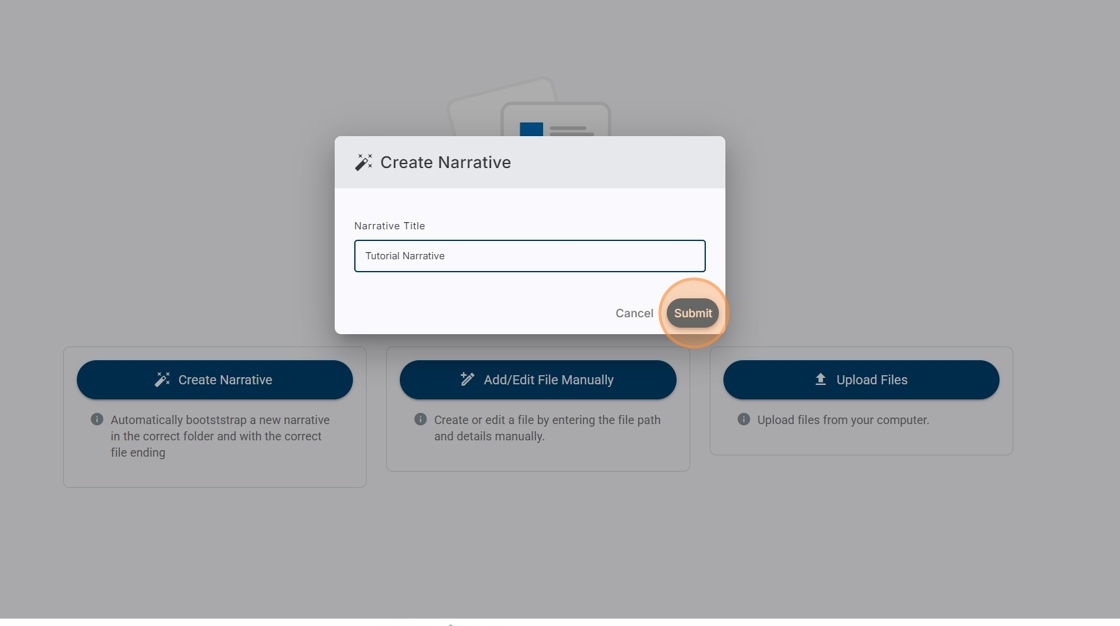
8. Be sure to give your narrative a name and click “Submit”. This will create a new branch in your linked GitHub account and create a basic template.
9. This template is only in place to get you started. Feel free to change anything you like.
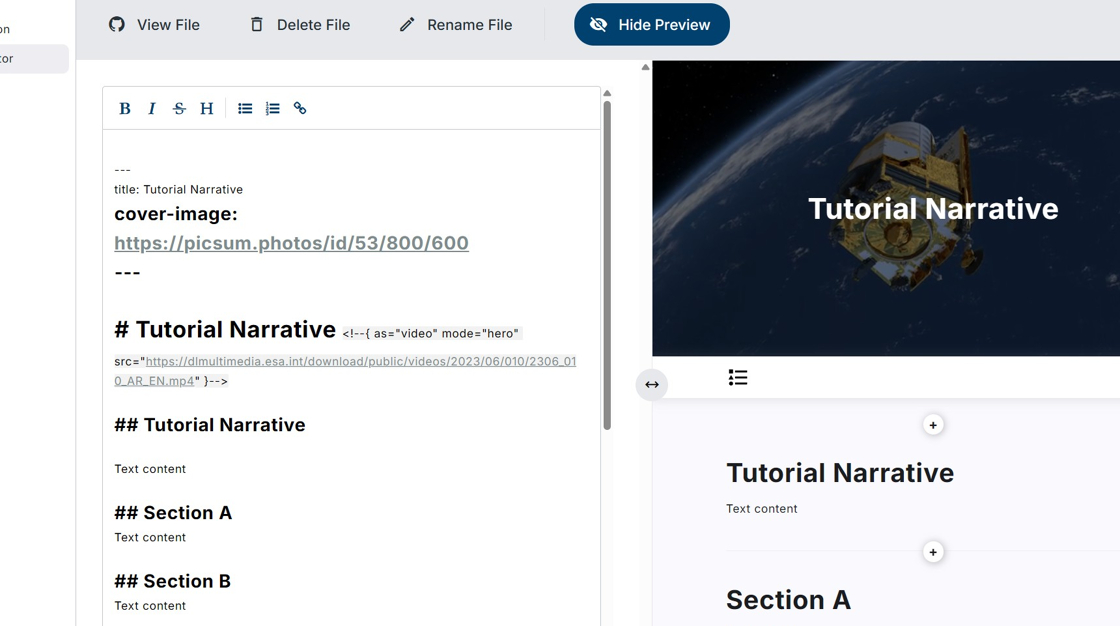
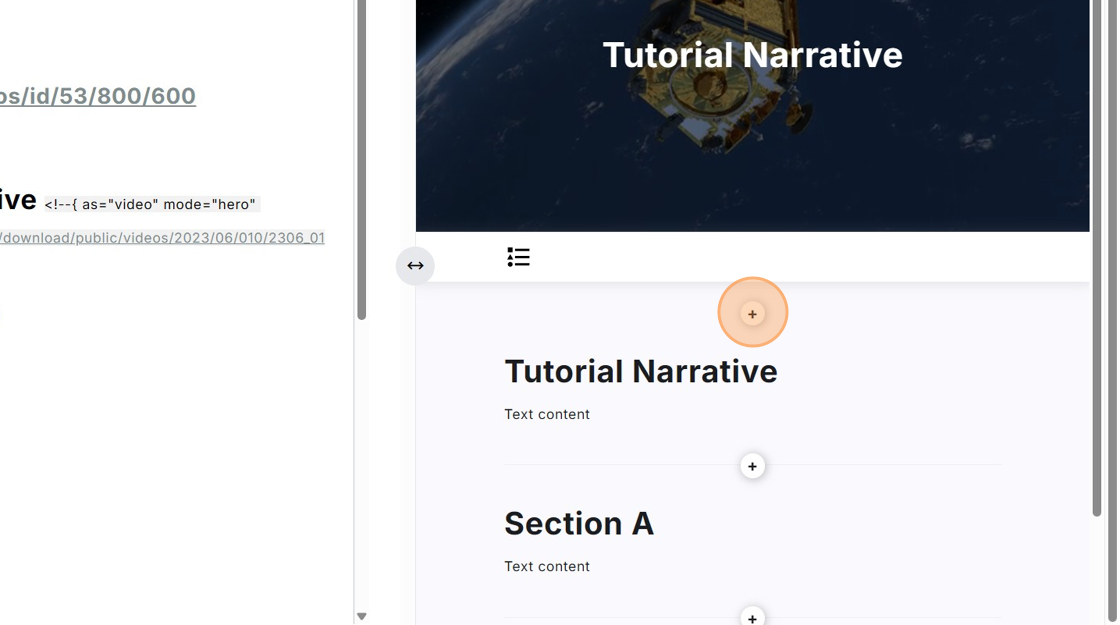
10. The title of your narrative, which is also shown on your hero image, is defined with a single hashtag “#”, while each new section in your narrative uses “##”. You can add a subheading to a section, by adding another hashtag: “###”. In total you can add up to four subheadings, by adding hashtags.
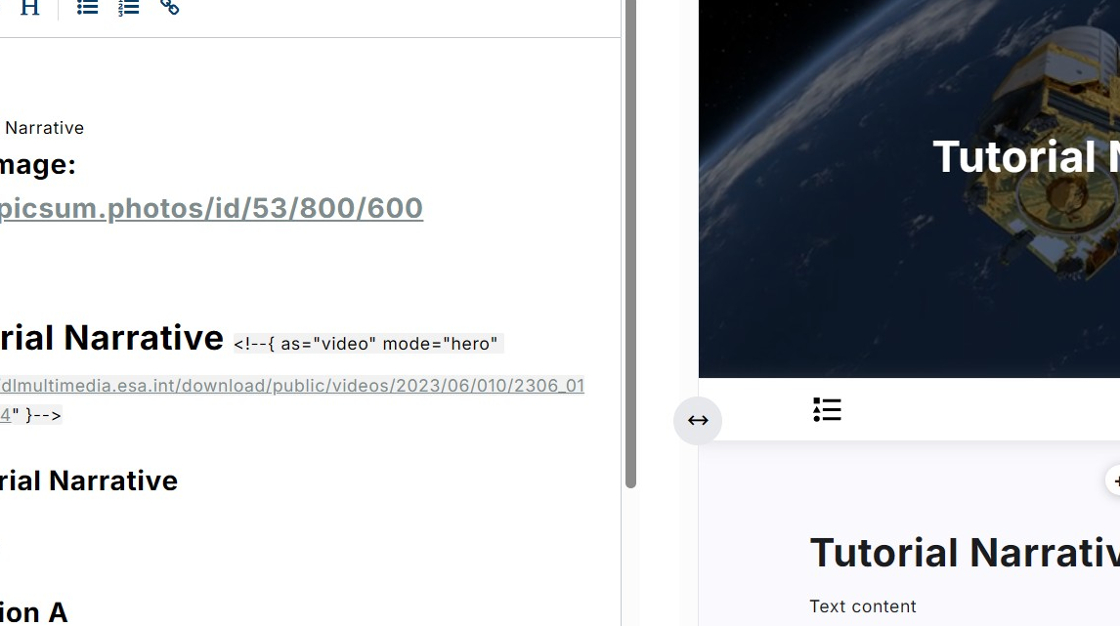
11. The “Hide Preview”/“Show Preview” button at the top allows you to view your changes as you are making them.
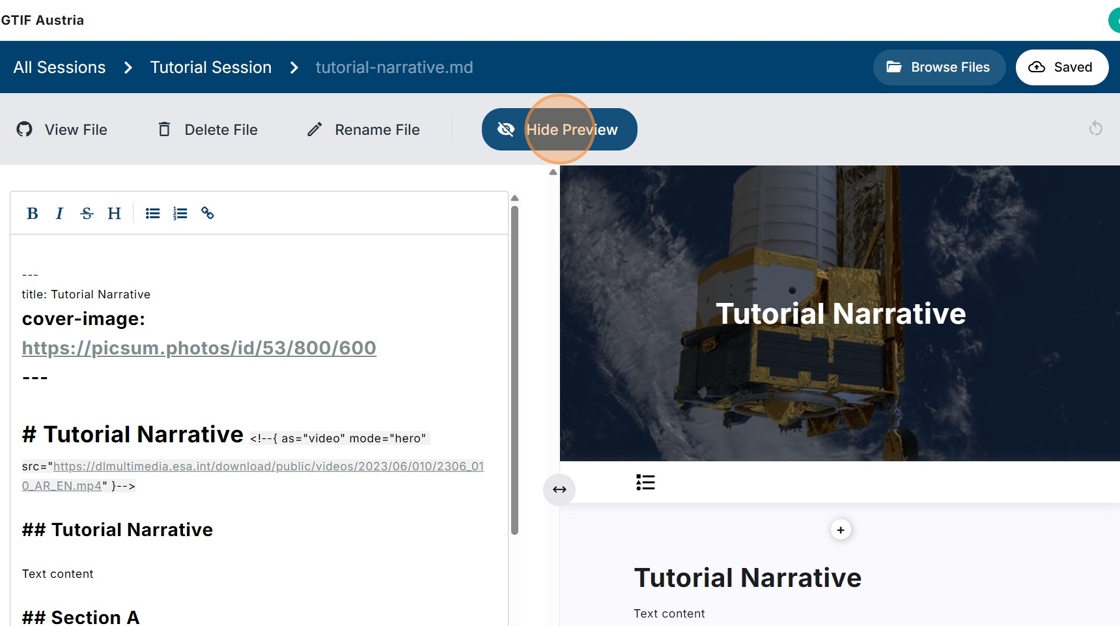
12. The little “+” icons let you add in new sections, such as paragraphs, maps, images and gifs, without having to type out the markdown syntax manually. Adding a new section, using “##”, will also add a new “+” icon in the preview section. Subheadings do not share this behaviour.
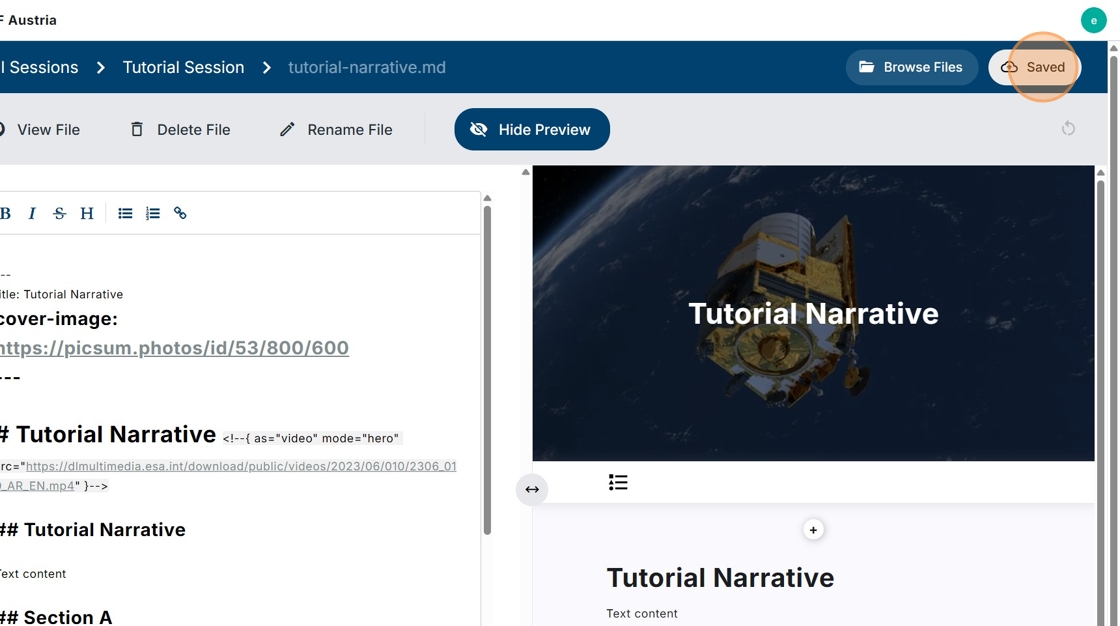
13. Click the “Save” button at the top right of your screen to save your progress along the way.
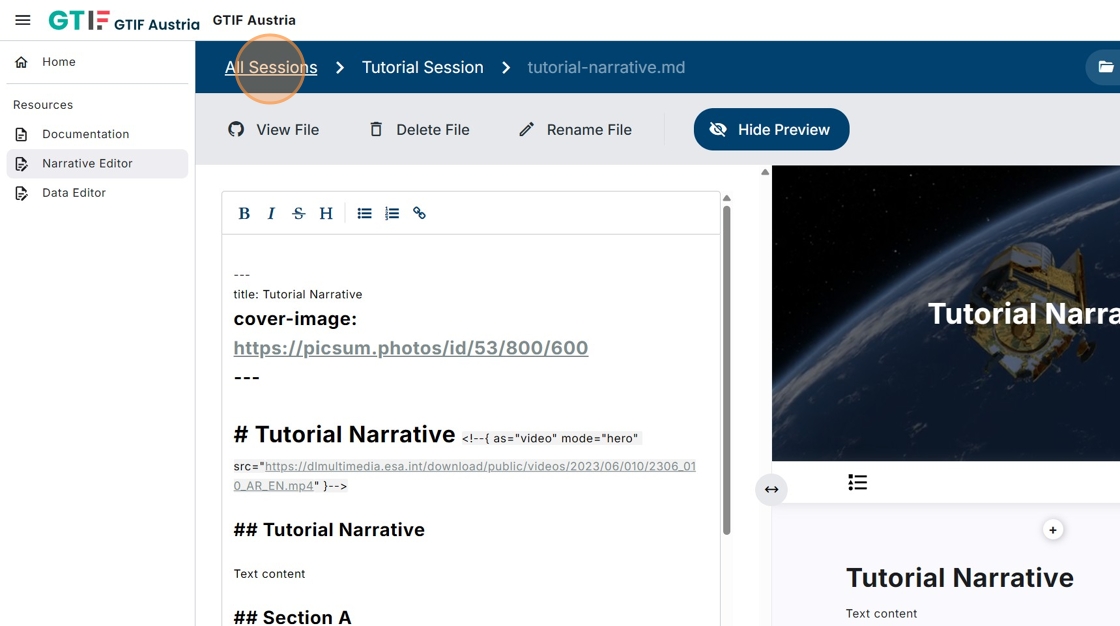
14. Once you are done creating or feel like starting a new session, click the “All Sessions” text in the top left corner of the editor. Doing so will return you to the menu displaying all of your sessions.
15. The icons on the right side of your session overview let you view your session on GitHub, request your work to be reviewed, or delete the session entirely. Once you are ready for your work to be published, click the middle icon in order to send a review request.
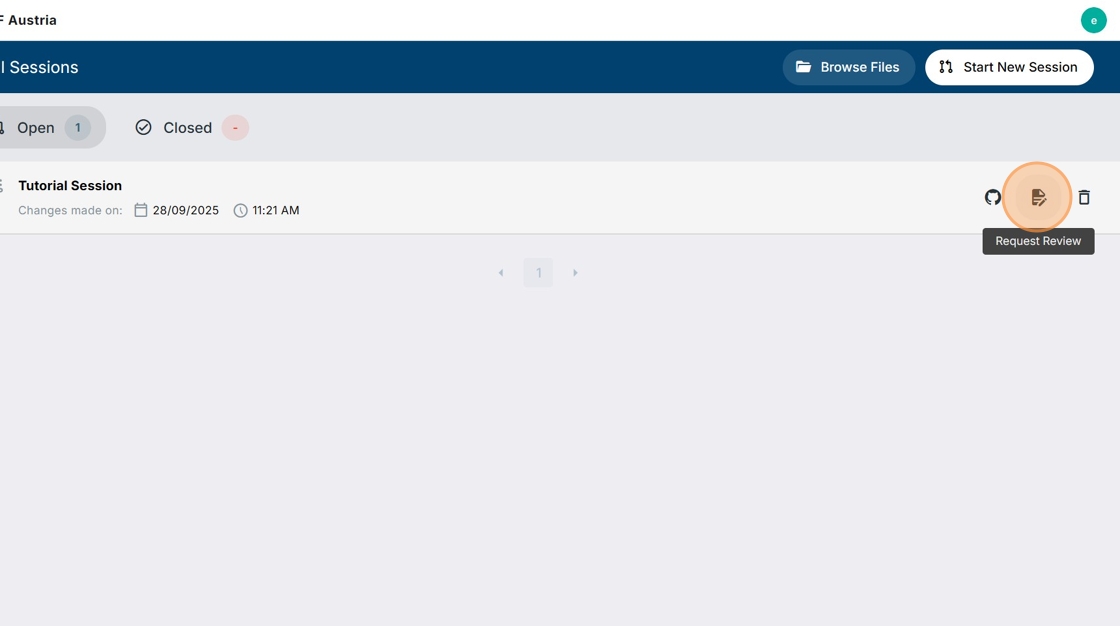
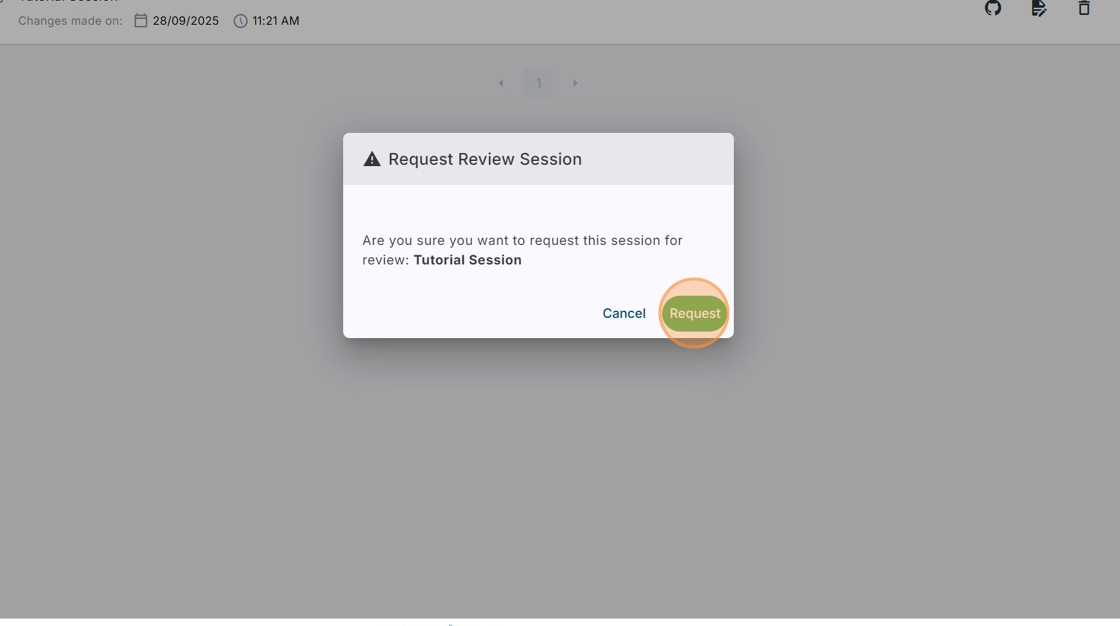
16. Confirm your request. This will create a pull request in GitHub, allowing you to view your work and any changes proposed by the review team.
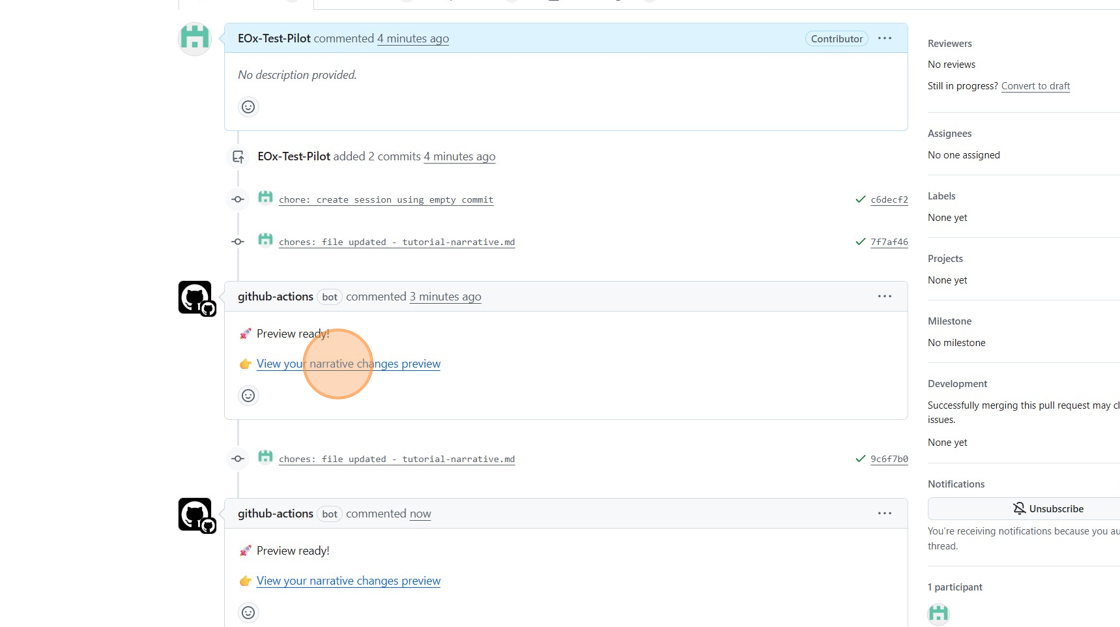
17. Click the icon shown on screen to view your session in GitHub.

18. Click the link titled “View your narrative changes preview”.
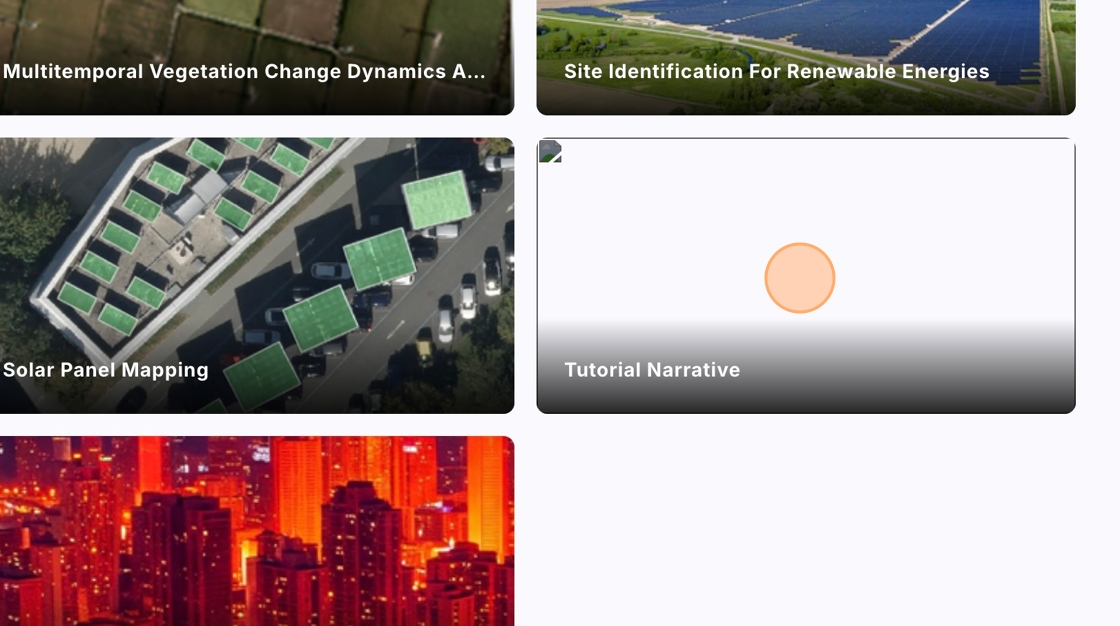
19. Scroll down to your narrative and click on it to open it.
20. You will arrive at a preview of how your narrative would look once published. Now you just need to wait for your request to publish your narrative to be accepted.