Learn how to update narrative (story) metadata and collection identifiers within the Data and Narrative Editors.
This guide walks you through the steps to link relevant files and save configuration changes to ensure your data and narratives are correctly cross-linked.
Note: The tutorial expects an initial state where you created the following:
an existing Dataset submission in Data Editor
an existing Narrative submission in Narrative Editor
both can be still a work in progress!
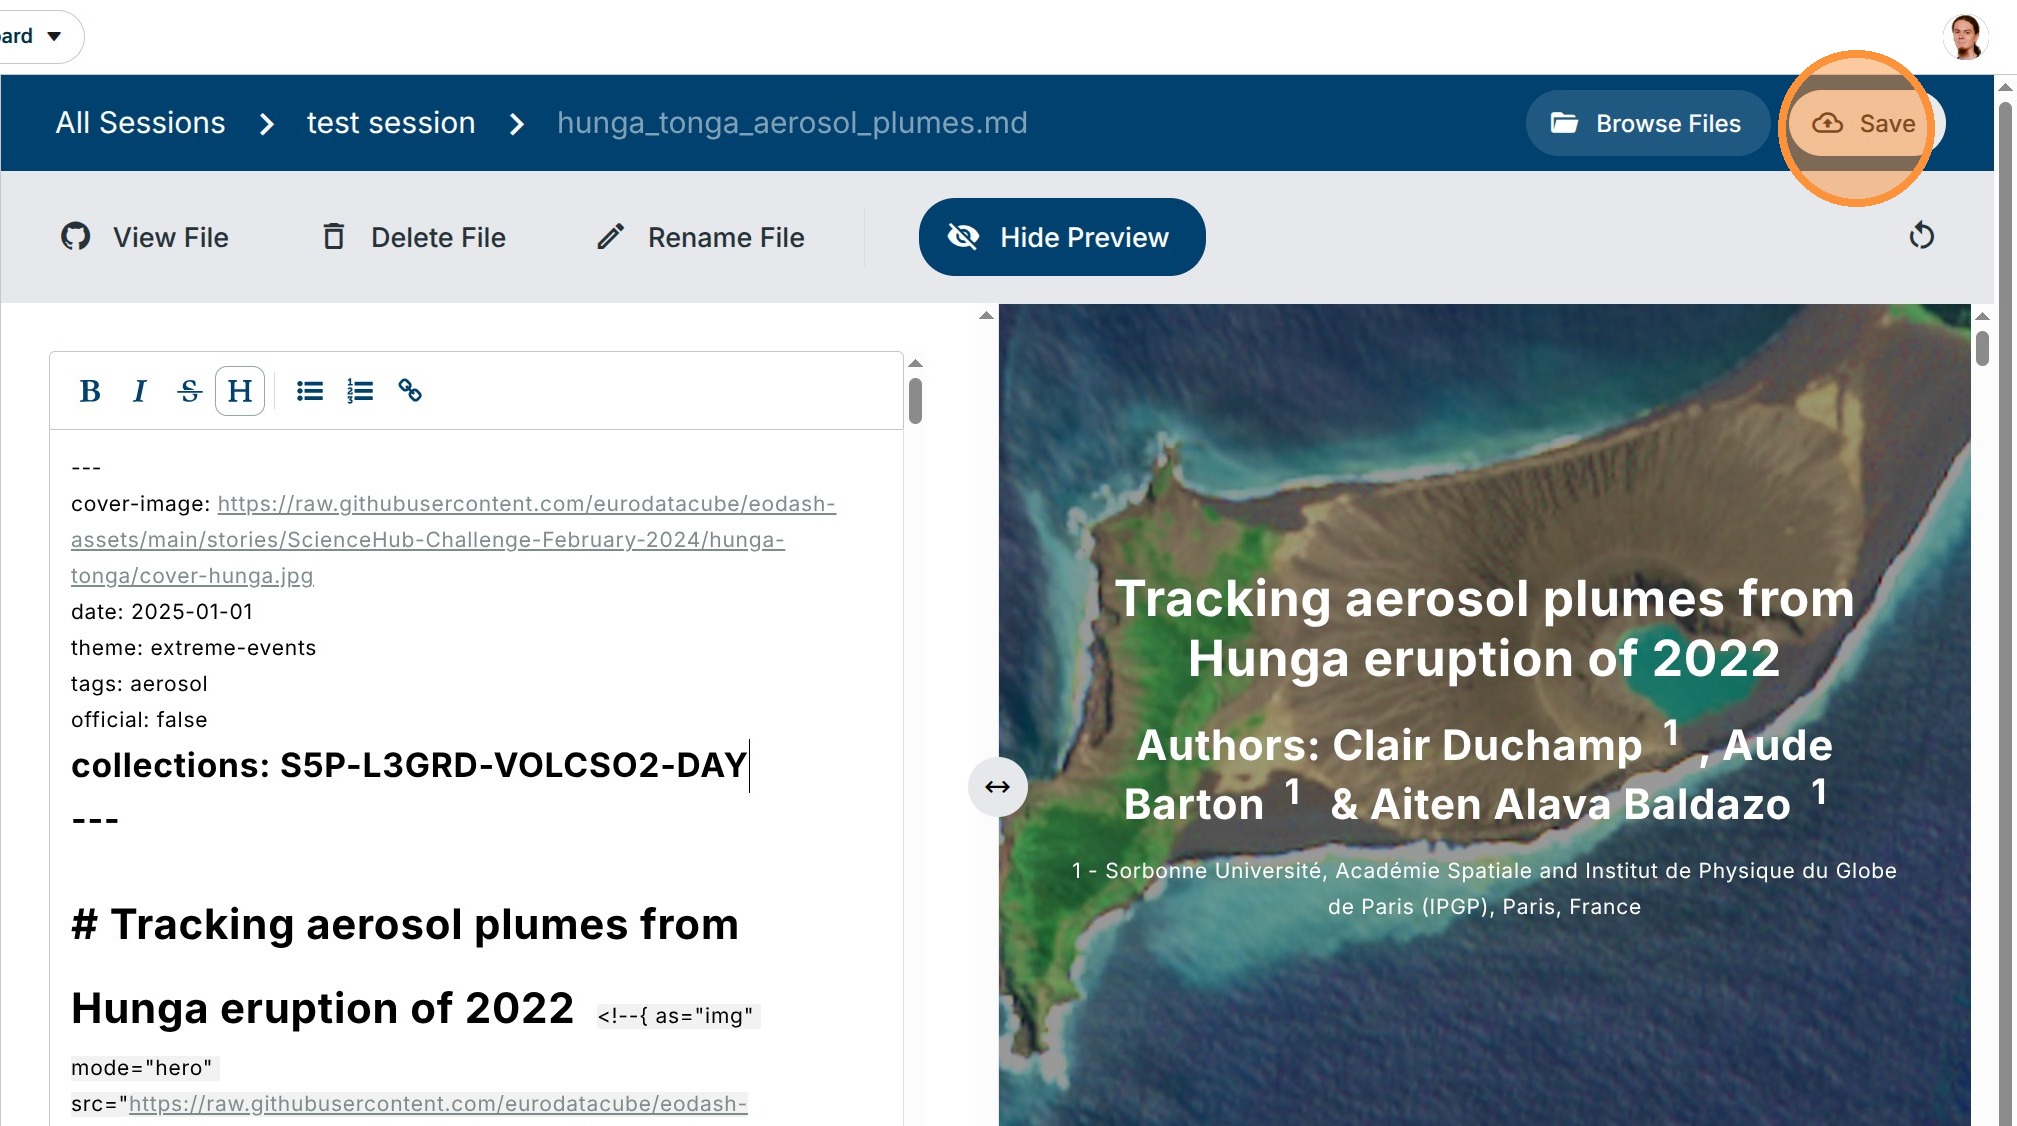
1. Navigate to a Narrative Editor, select an existing working Session, where you are creating a narrative and copy the exact narrative file name for reference later. You do not need to open it.
In the tutorial it is hunga_tonga_aerosol_plumes.md
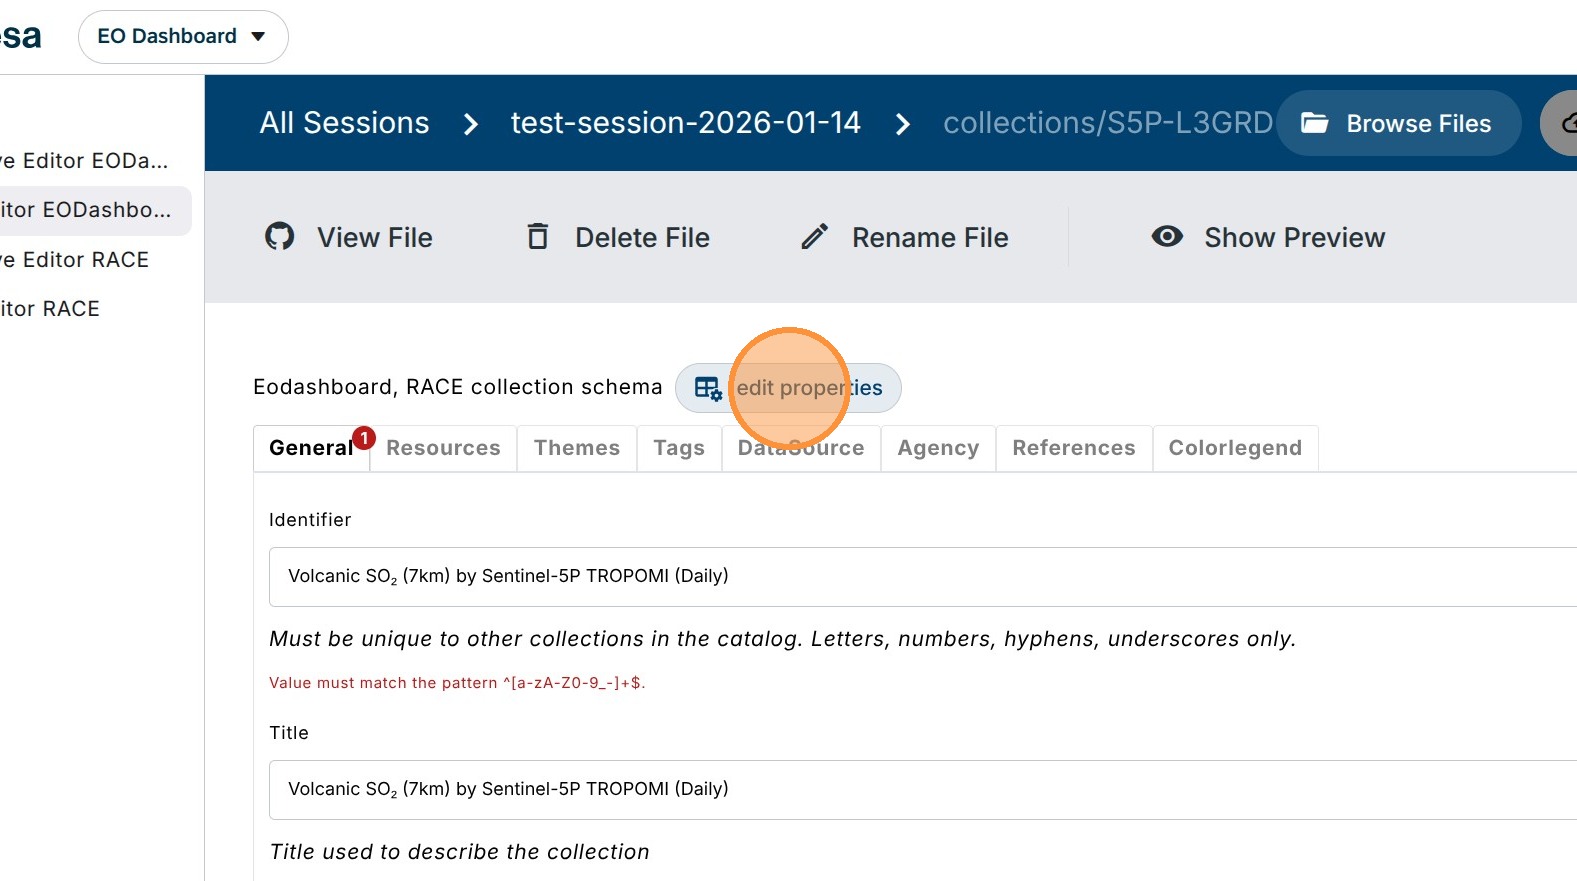
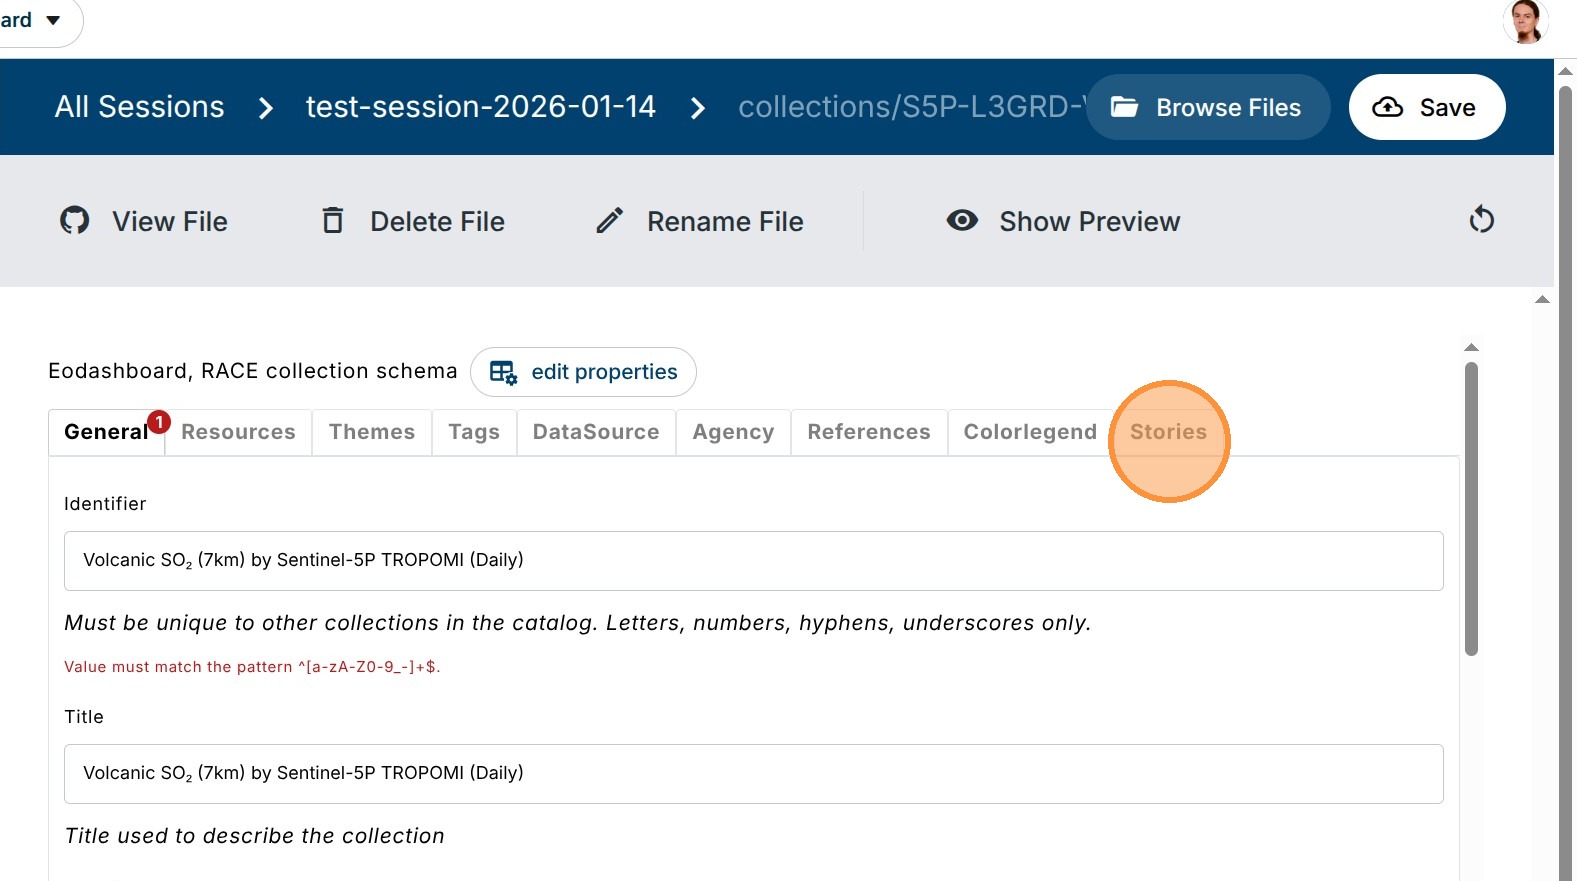
2. Navigate to a Data Editor, select a working session and modify the collection file which needs a new story reference.
In the tutorial it is S5P-L3GRD-VOLCSO2-DAY
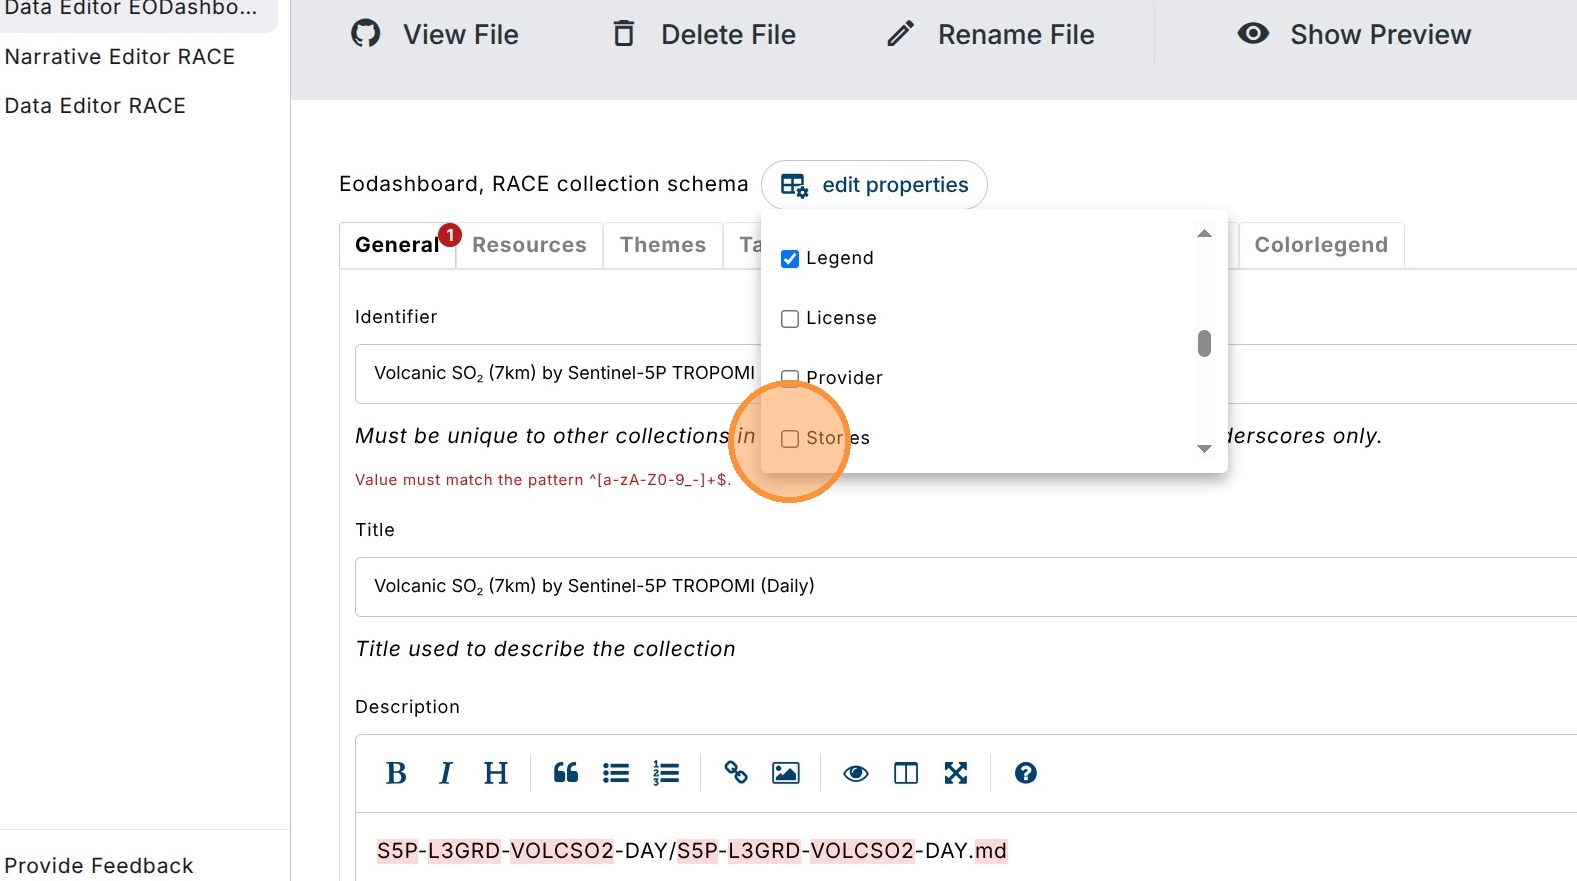
Click “edit properties” and check the add the “Stories” metadata group
3. Click the “Stories” checkbox to enable its display.
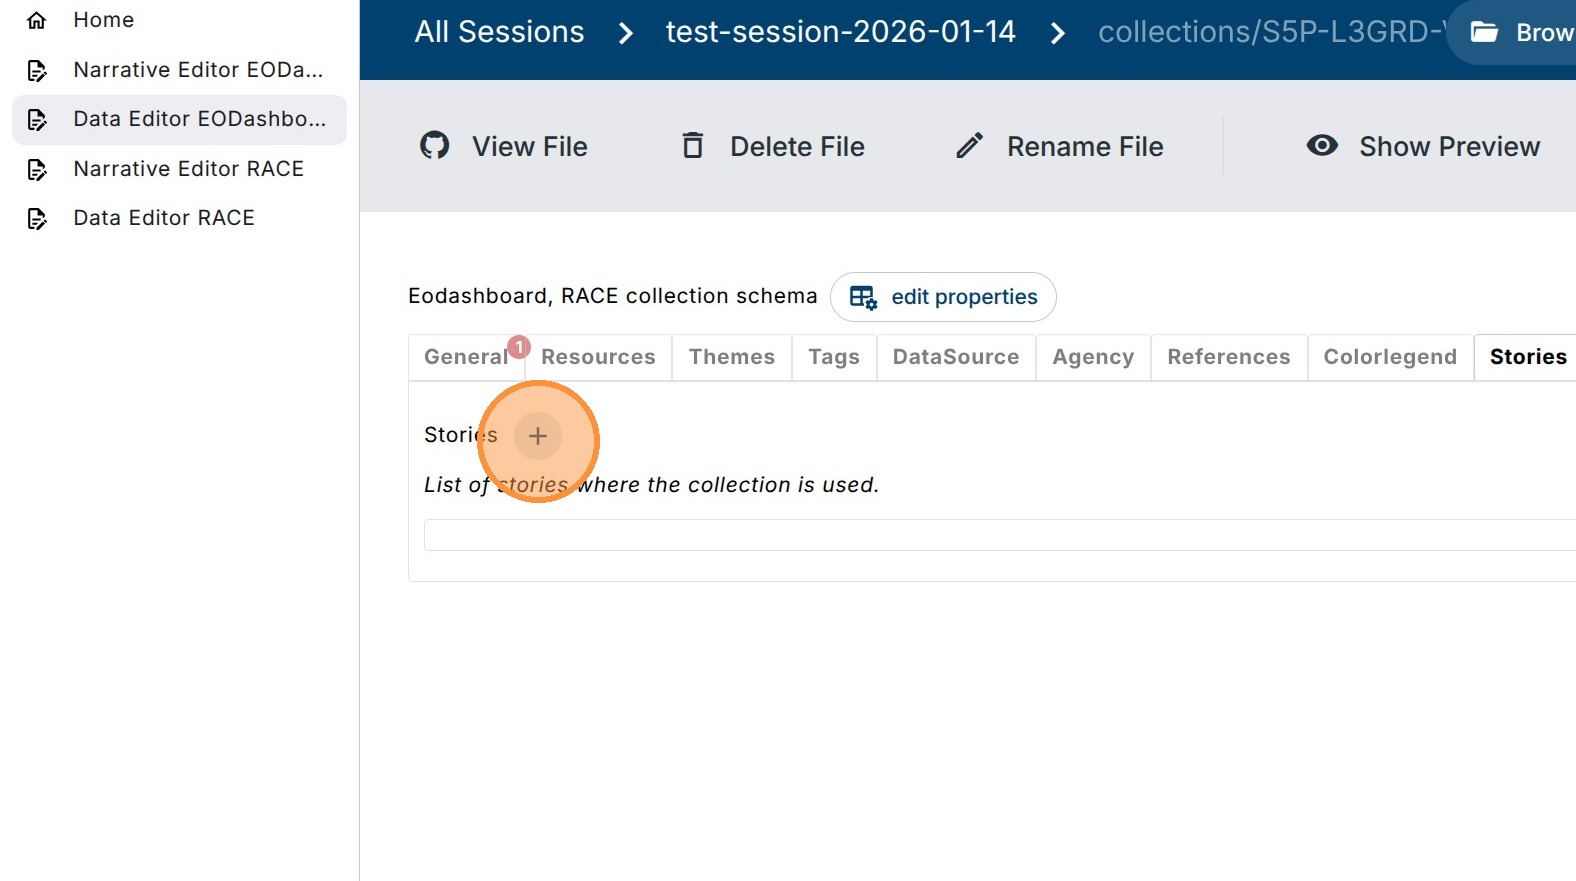
4. Click “Stories” entry to start adding links.
5. Add a new link entry by clicking on the plus icon
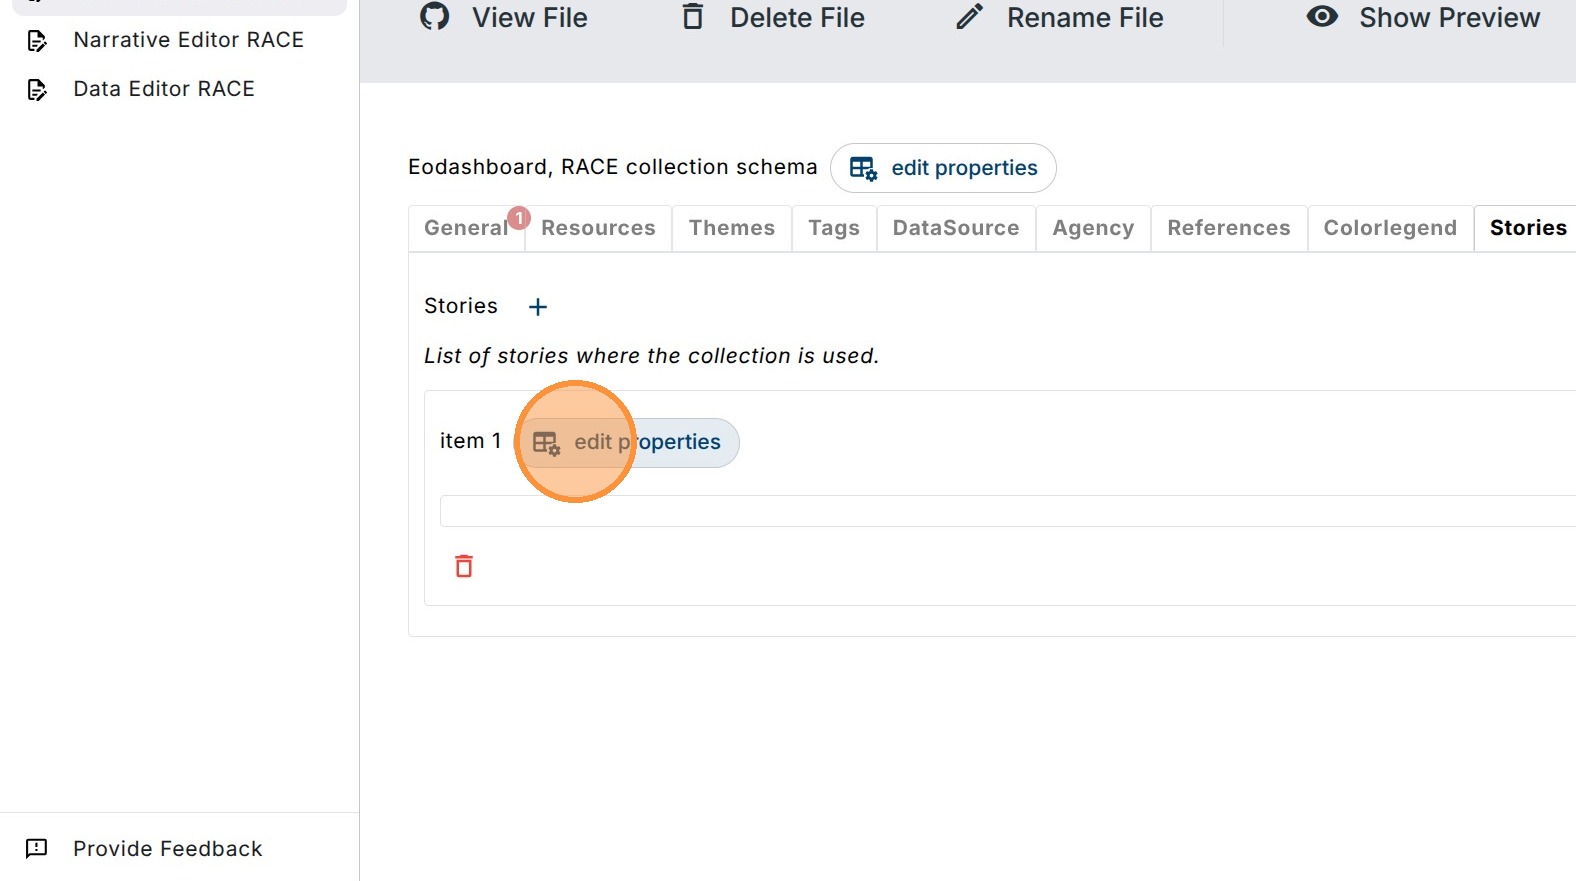
6. Click “edit properties” to add new fields
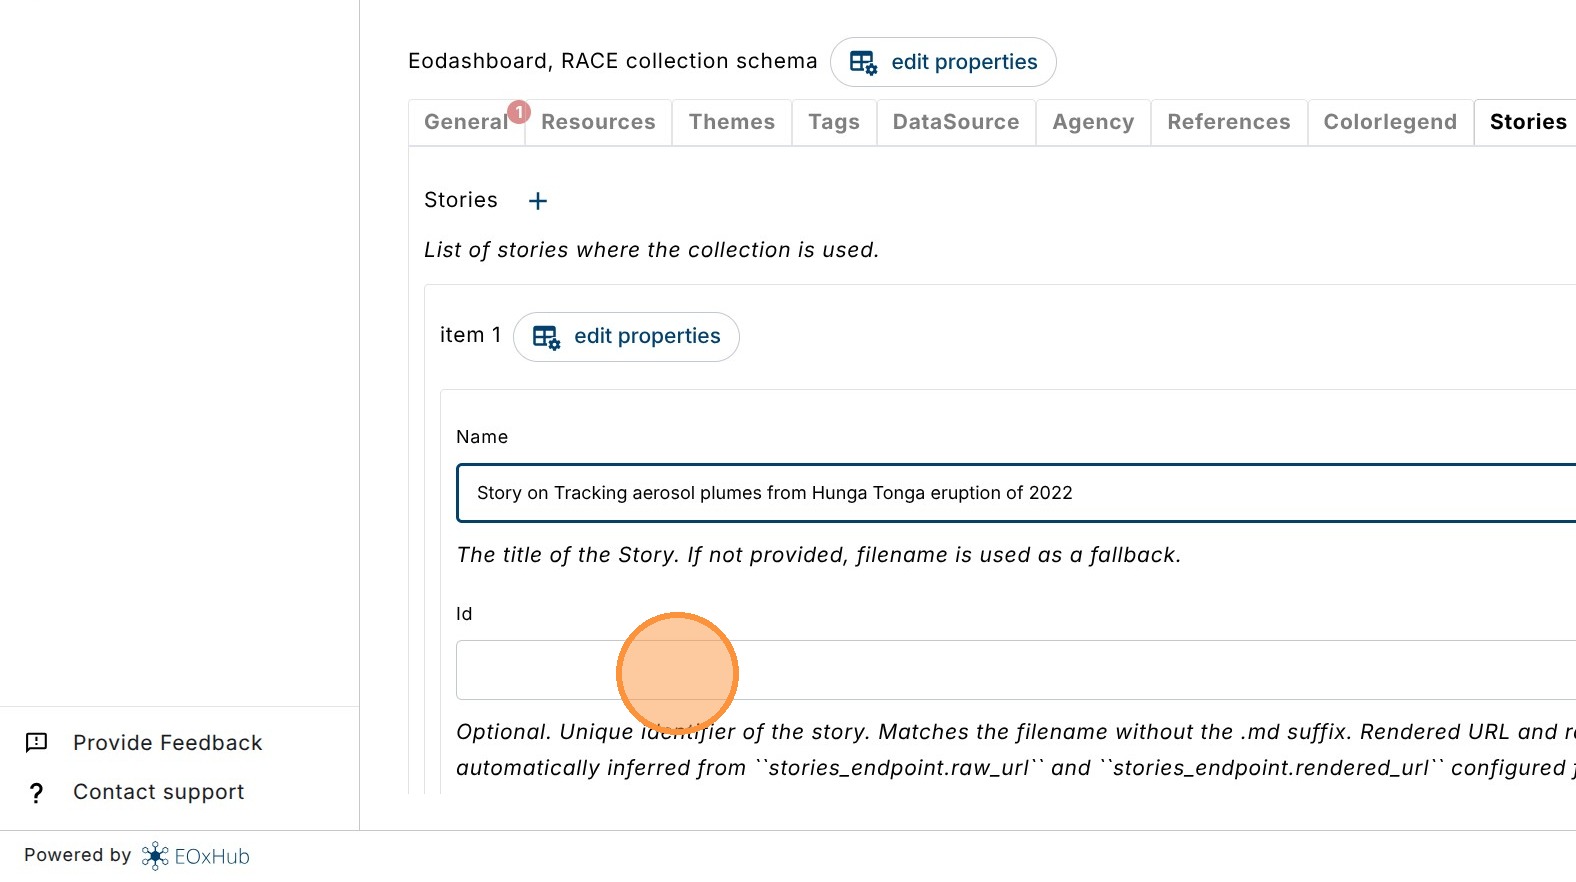
7. Tick checkboxes to enable “Name” and “Id” properties
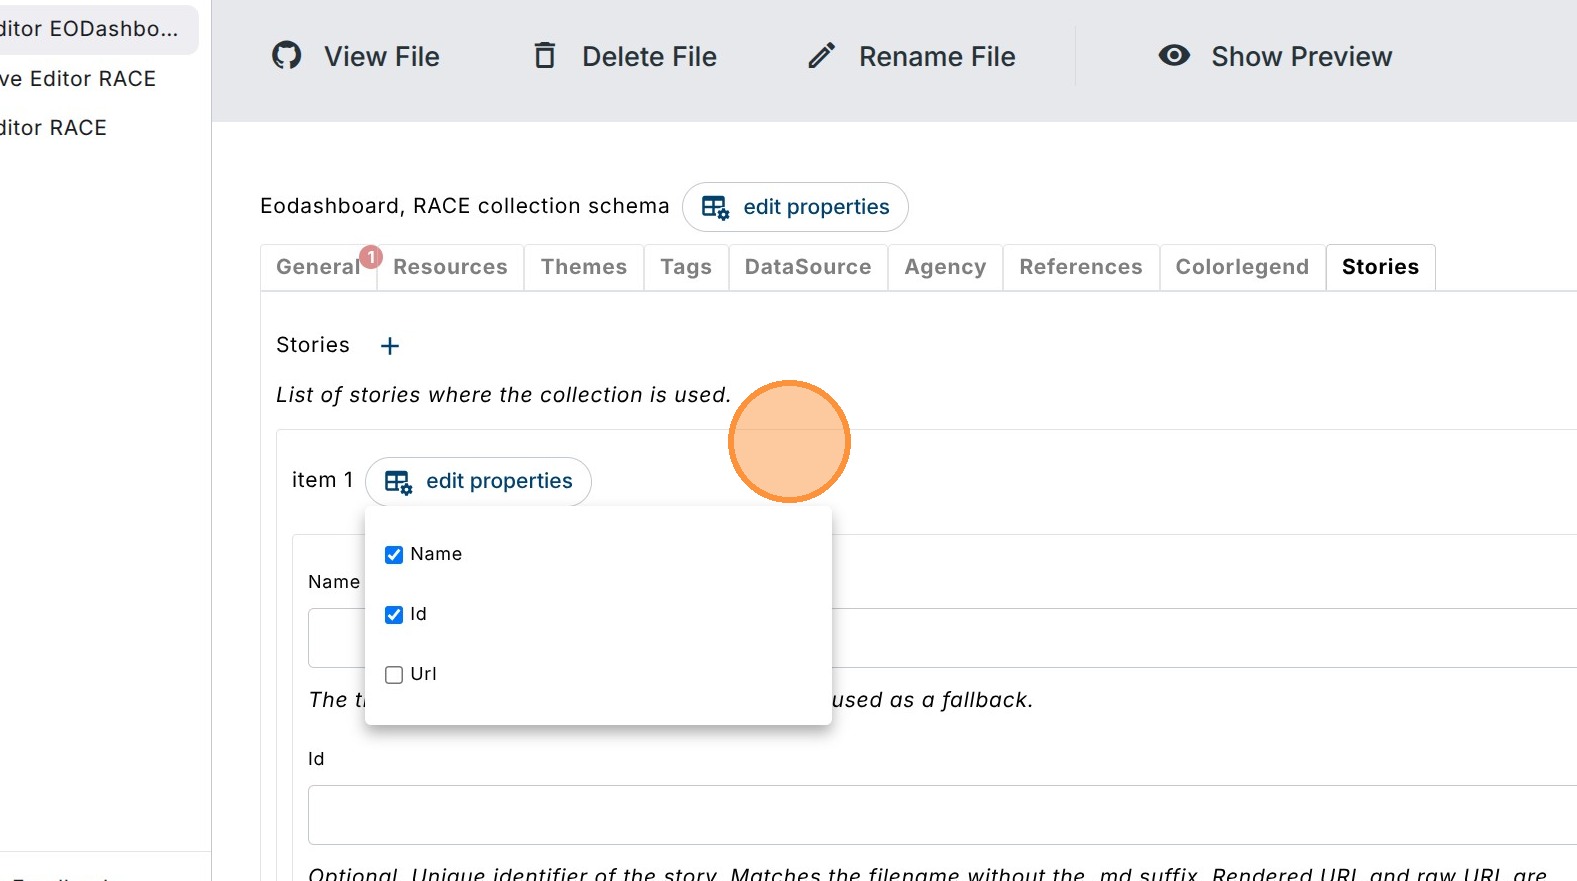
8. The “Name” field represents a human readable name for the story link
In this tutorial set as Story on Tracking aerosol plumes from Hunga eruption of 2022
“Id” field should contain the story filename without the .md suffix - can be retrieved from the Narrative Editor Session - opened in another window.
In this tutorial hunga_tonga_aerosol_plumes
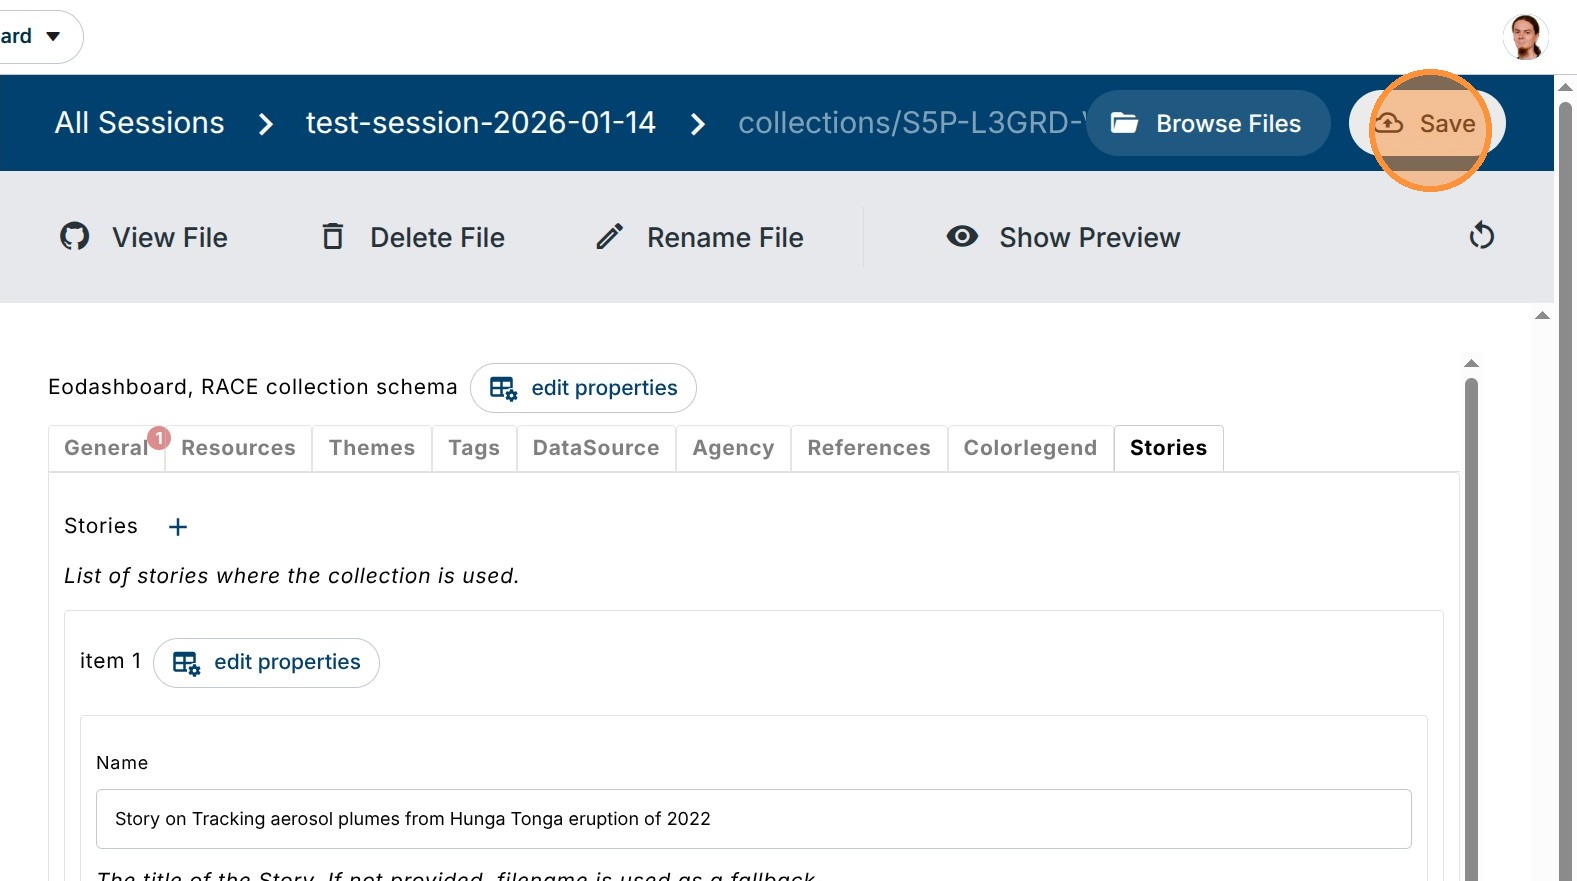
9. Click “Save” to complete the edits in this session.
Take note on the value of the Name (or EodashIdentifier if you are editing RACE or EOdashboard catalog) in the General tab - we will need it later on.
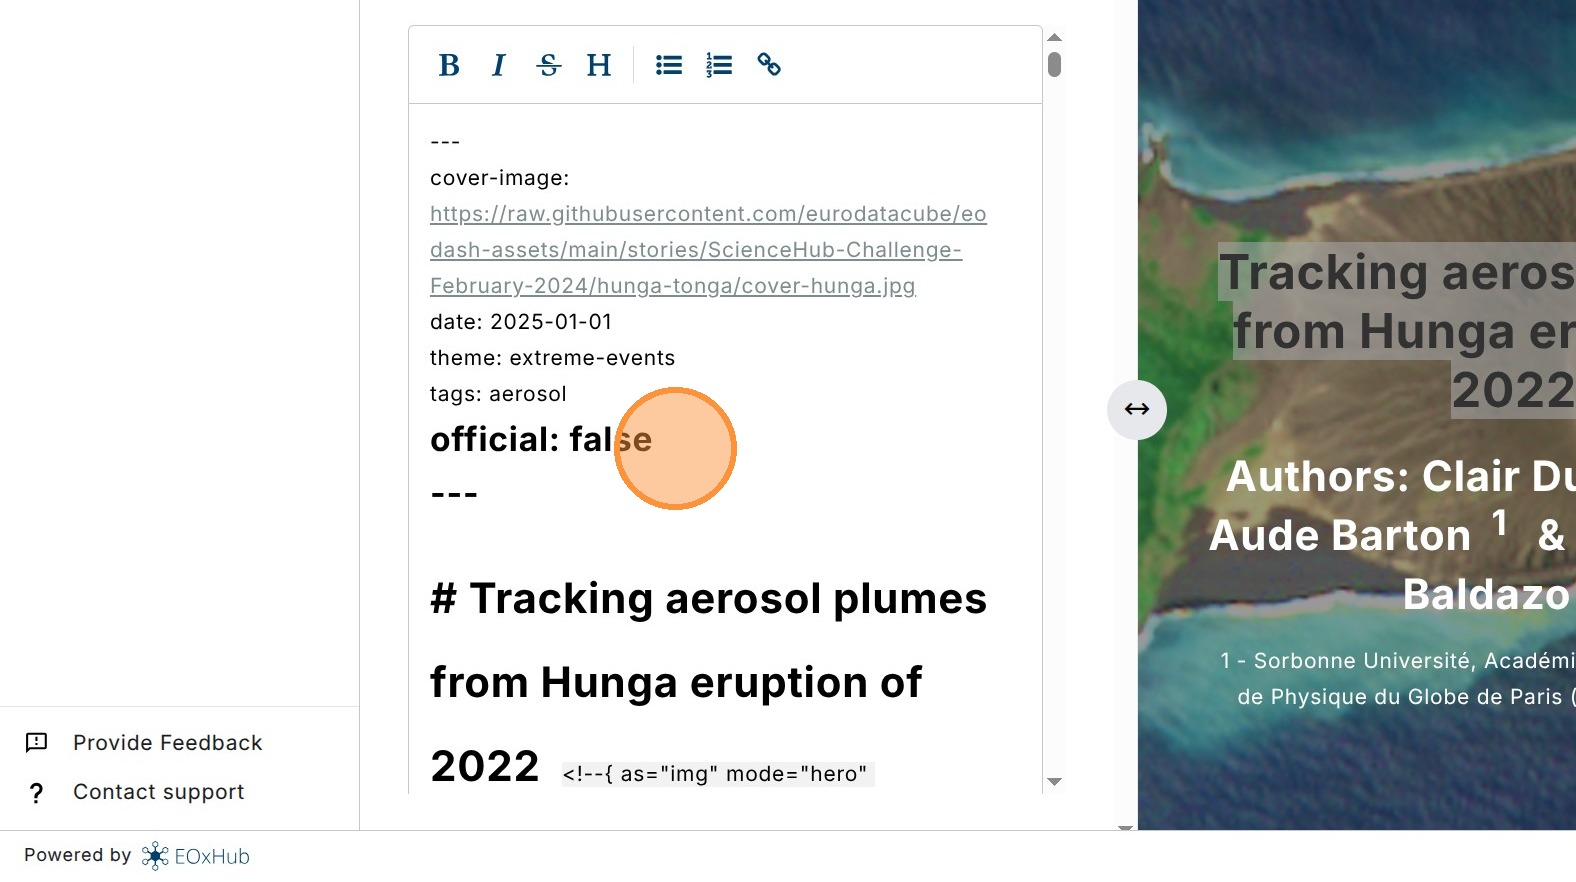
10. Now it’s time to add the link also to the narrative.
Switch to the Narrative Editor, select a working session, open the narrative which needs a new reference to a collection and update the top frontmatter information, adding a field collections with a list of comma-separated Names (or EodashIdentifiers) of all relevant collections for this narrative.
You can also get the collection name from dashboard url in the indicator= part eg. https://
In this tutorial set as collections: S5P-L3GRD-VOLCSO2-DAY
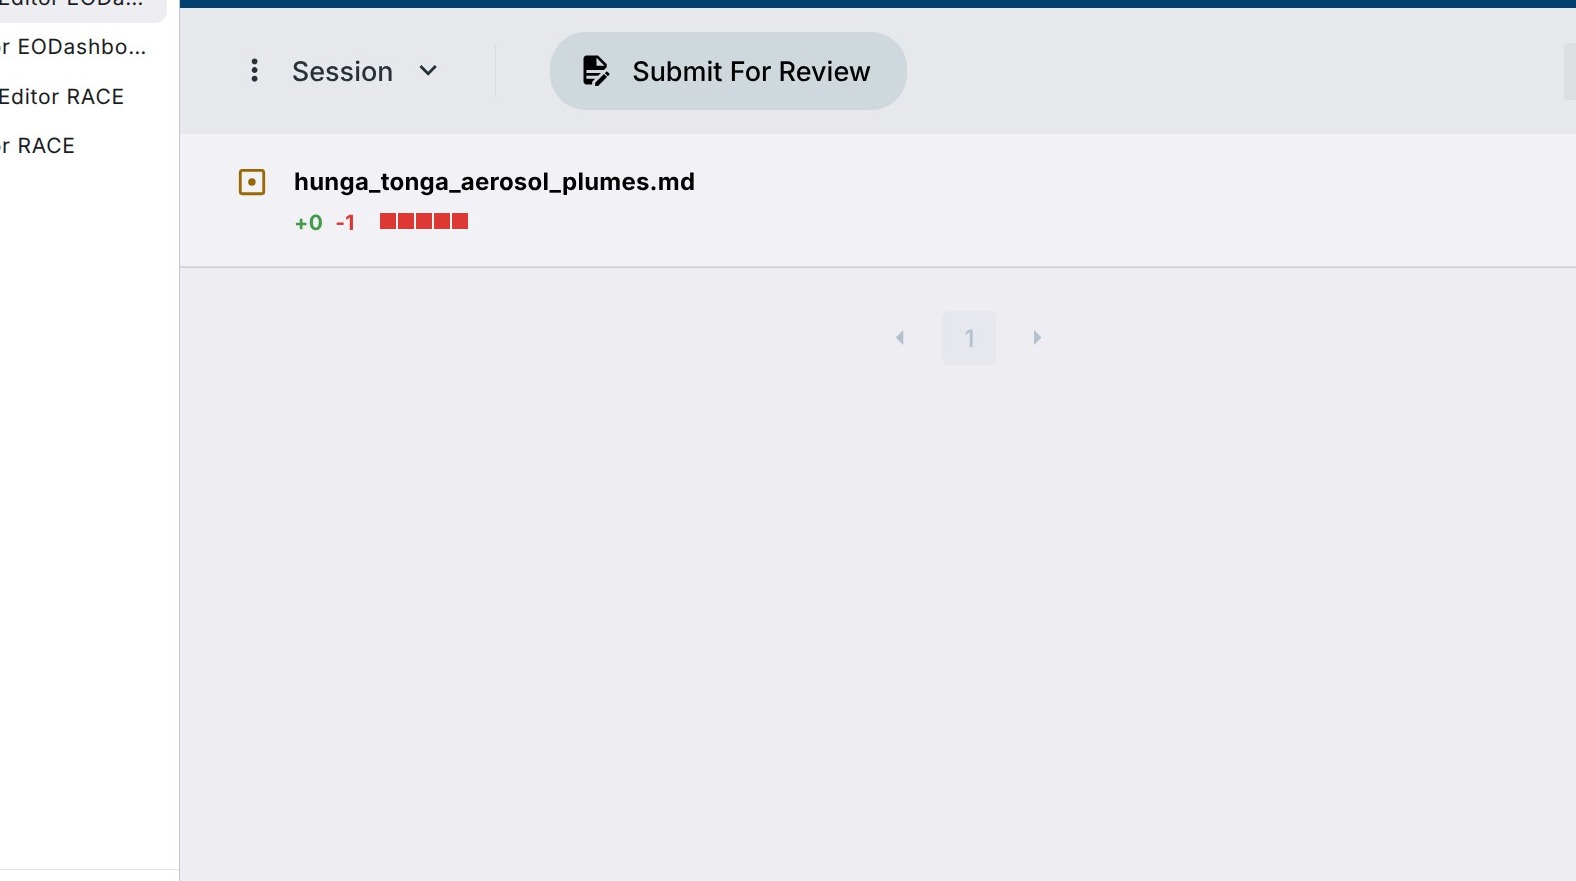
11. Click “Save” to save and exit the session.
Now we have successfully added two-way linking of a narrative and a collection.